
Spider plants are one of the easiest houseplants to propagate. In truth, for a couple of these methods, they do most of the work for you. Learning how to propagate spider plant is easy; the hard part will be finding space for all of those baby spider plants once you get started.
Spider Plant Propagation
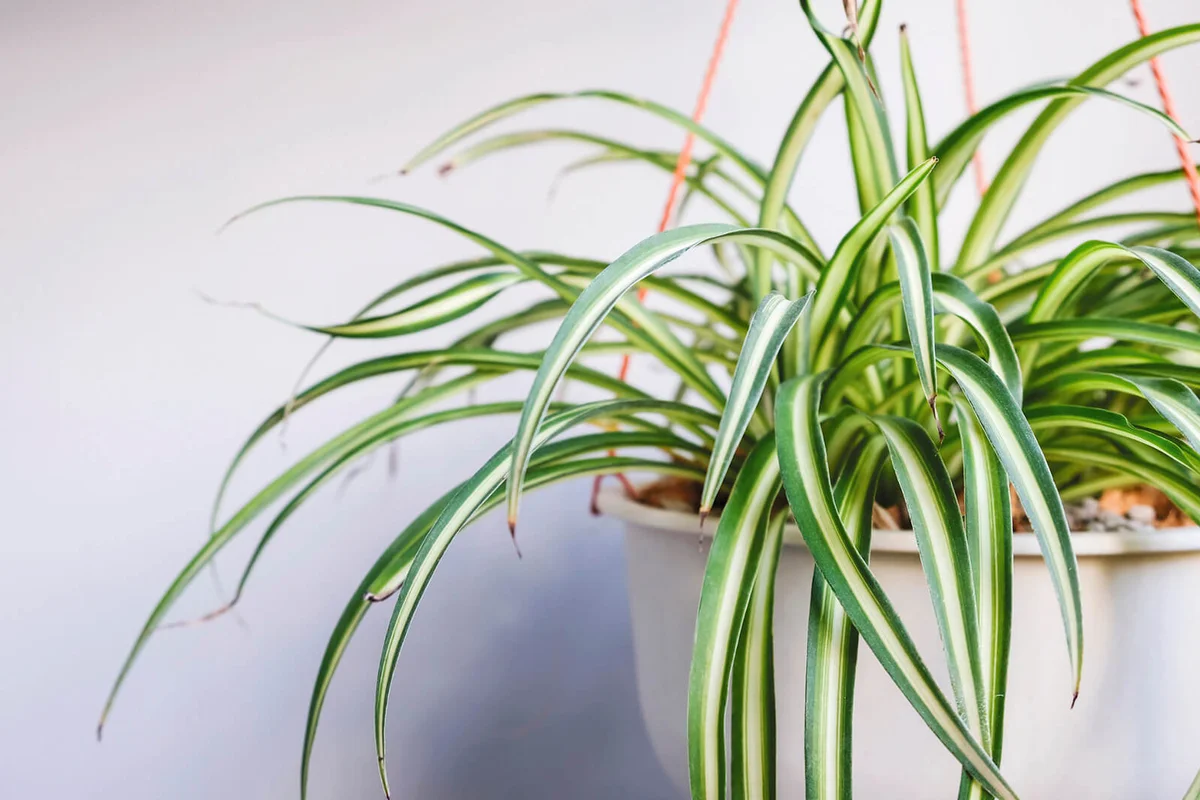
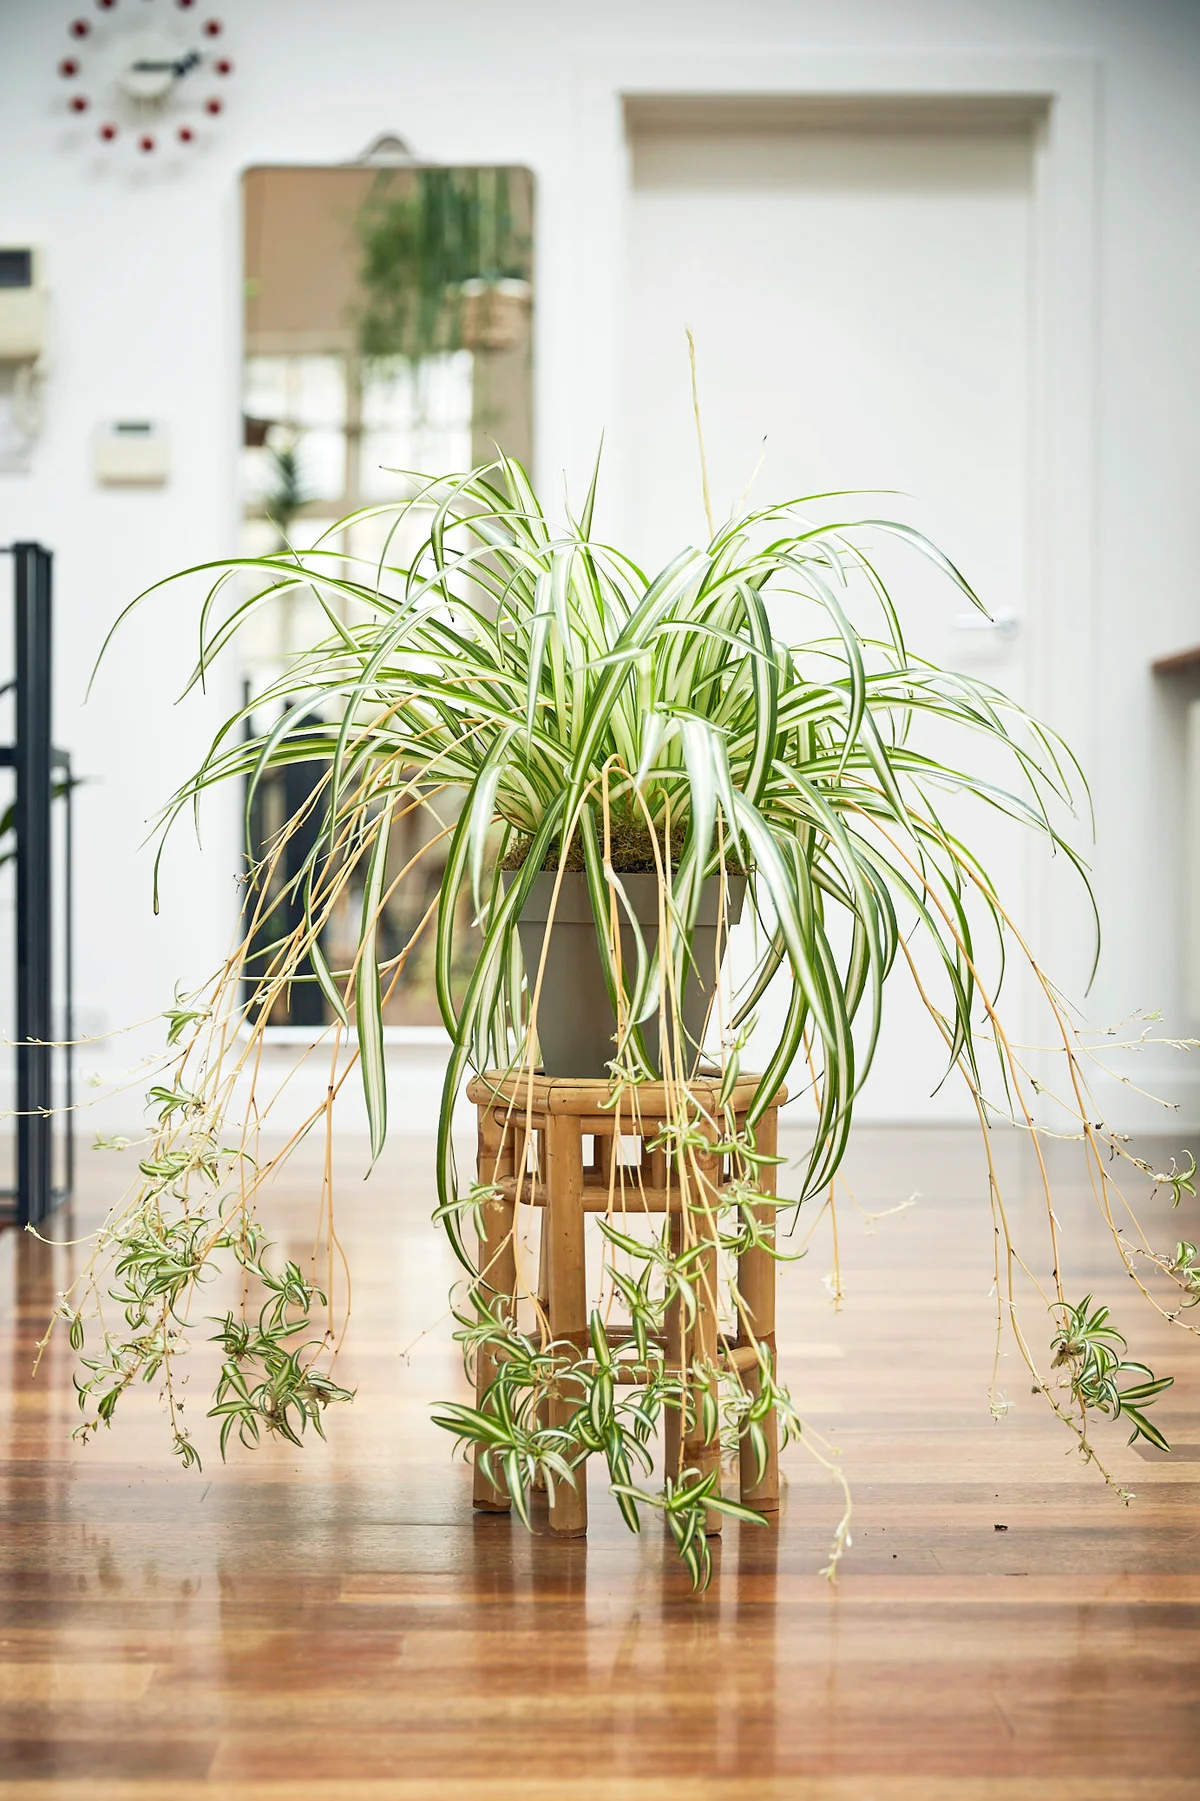
Spider plants, if they're growing well and are healthy, will bloom, and from these blooms, will produce new little baby spider plants also known as "pups" or "spiderettes" at the end of those flower stalks. You can leave these baby spider plants attached, and soon you'll have an almost Dr. Seuss-like plant, with all of the little spider plants sort of seeming to dance and hover around the mother plant. But, these little spider plants can also be easily propagated, giving you MORE plants. Never a bad thing. And, if your spider plant isn't making pups, no worries -- there's still a way you can propagate it.
How to Propagate Spider Plants With Spider Plant Babies
Once your spider plant has produced its pups, or baby plants (the botanical term is "plantlets," but you'll most often see them referred to as pups), you can propagate easily using one of these new little spider plants. There are two ways to do that.
Remove and Root the Spider Plant Pup
This is an easy method if you're getting a spider plant pup from someone else, or can't easily propagate near the mother plant.
- Remove the baby spider plant off of the mother plant by using a pair of scissors or pruning shears to cut it off of the stem that attaches it to the mother plant.
- It's also a good idea at this time to cut the stem completely off of the mother plant, since there's no longer a pup there for it to support. It doesn't add anything to the mother plant at this point.
- Prepare a small pot of good quality potting soil. A two to three inch diameter pot will be the perfect size to start with.
- Moisten the soil well, letting any excess water drain out of the pot.
- Set your spider plant pup on top of the soil, gently pressing the base of it into the surface of the soil.
- Place a clear plastic cup or glass or a clear plastic bag over the cutting. This will keep in humidity and aid rooting.
- Place the newly potted cutting in an area with medium to bright indirect light. Keep the soil evenly moist.
- After a few weeks, your spider plant will have rooted.
- You can now remove the plastic and place your spider plant wherever you'd like.
Root a Spider Plant Baby Still Attached to the Mother Plant
This is the simplest, most guaranteed way to propagate spider plants.
- Fill a small two to three inch diameter pot with good quality potting soil and get it evenly moist, letting any excess water drain out.
- Find a spot within reach of the mother plant where there are pups coming off. Setting the smaller pot on a nearby shelf, plant stand, or even in a small hanging basket will work.
- Bend the stem holding the pup down so that the base of the pup touches the top of the soil in the smaller pot.
- Hold the stem down with either a small garden pin, a paper clip, or a rock. You want to keep the pup in constant contact with the surface of the soil.
- Wait, and keep the soil in the smaller pot evenly moist. In a few weeks, it will have produced its own set of roots.
- Once the baby plant has formed roots, you can cut it off of the mother plant with a pair of pruners or scissors, and place the pot wherever you like.
How to Propagate Spider Plants From Divisions
If you don't have any pups forming, you can still propagate a spider plant. Spider plants form new shoots as the roots grow in the pot. You can divide these shoots from the mother plant to start new plants.
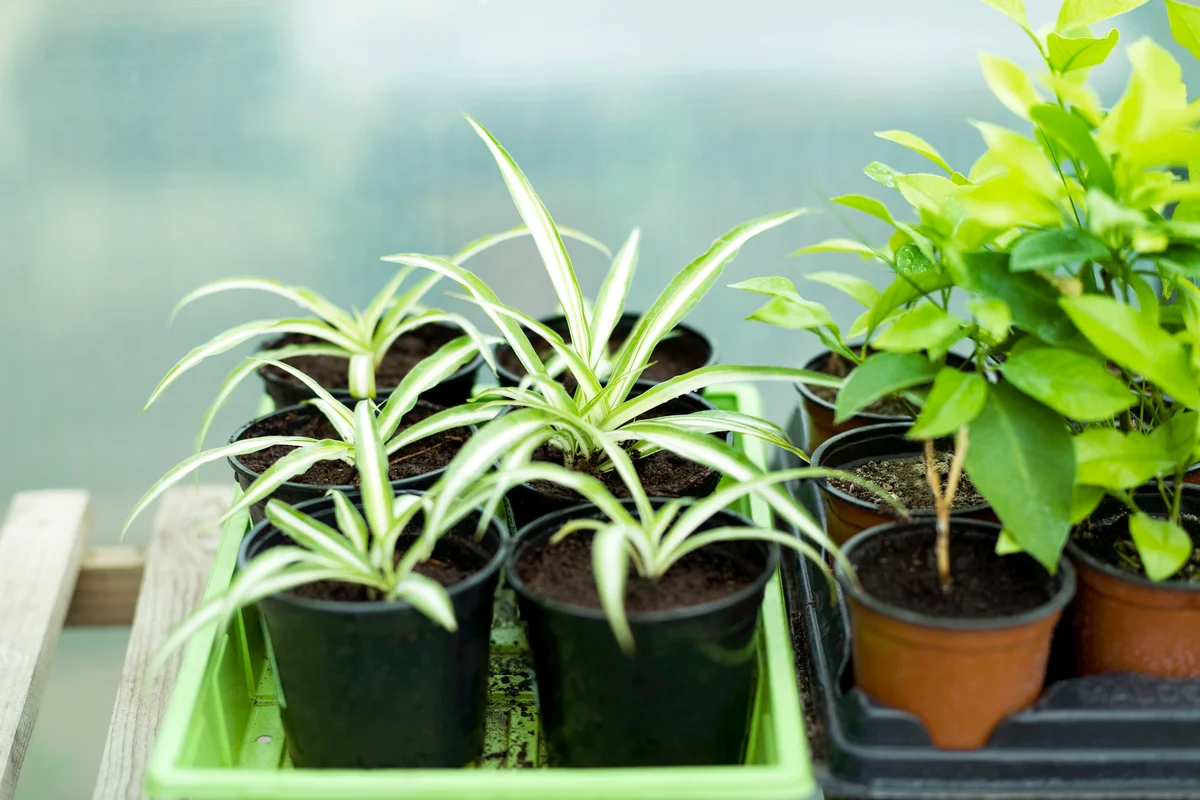
- Fill a four-inch pot with good quality potting soil.
- Remove the spider plant from its pot. Look for a shoot near the edge of the main clump of foliage. This will be what you'll remove from the plant for your division.
- Gently work your fingers around the shoot, starting to carefully pry it away from the mother plant. Try to keep as many of the shoot's roots intact as you do this. You may need to cut a bit to get it cleanly removed from the plant.
- Once you've removed it, you'll have a small shoot of spider plant, with roots attached.
- Plant this into the four-inch pot, carefully filling and gently firming around the roots. It should be planted at the same depth it was growing when it was attached to the mother plant.
- Water well, and place in a spot with medium to bright indirect light, or it can go into a low light area as long as it has a bit of supplemental lighting via a lamp. The additional light will help it root more quickly.
Keep the plant watered, and within a few weeks, you'll see new growth at the center of the plant. This is a sign that your division is healthy and that new roots are growing as well.
Bonus Tip: Propagating Spider Plants in Water
If you have a pup or a division and don't have soil available, you can root a spider plant in a vase of water. If you're rooting a pup, fill the vase so that the top of the water is just touching the base of the pup. It will root from this point. If you have a division, place the division in the vase or cup of water with the roots in the water and the foliage above the top of the water.
You can't grow a spider plant in water indefinitely, but it's a simple way to root or hold propagations until you can plant them in soil.

More Plants, Little Effort
Propagating spider plants is a straightforward process. Pot some up for yourself, or to share with any houseplant-loving friends.