The process of lifting, dividing and storing flower bulbs is one of the many secrets to gardening success. Learning to perform these tasks properly will allow you to grow your favorite bulbs year after year without having to buy new ones, and you will actually increase the number of bulbs you have to plant each year.
Guide to Lifting Bulbs
Bulbs, corms, tubers and rhizomes all provide a way for plants to store energy underground when they are dormant, and there are several reasons for removing these fleshy types of root systems and storing them indoors.
- In cold winter climates, some bulbs will not survive unless they are removed from the ground and stored in a frost-free place.
- In very mild winter climates, some bulbs are lifted and artificially chilled so they will bloom the next year.
- In wet climates, some bulbs are prone to rotting while they are dormant.
- If a plant produces more foliage than flowers, that's a sign that it needs to be divided and replanted.
Bulbs and Temperature
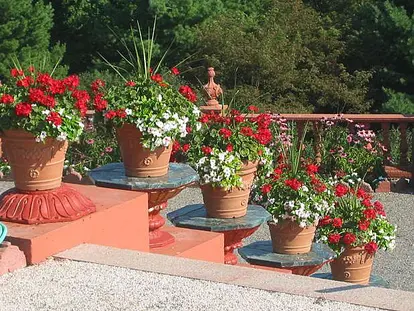
Summer-blooming and fall-blooming bulbs often need to be lifted in areas with cold winters. You could treat them as annuals and buy new bulbs every spring, but that can be quite expensive. You also can't be sure that you will be able to buy your favorite cultivar again since garden centers do not always sell the same varieties every year. Potted bulbs feel the cold far more than bulbs in the ground because of their elevated, exposed location, so these bulbs are often removed from the soil and stored during winter.
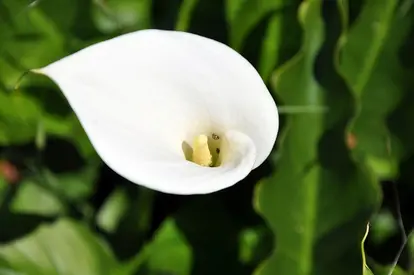
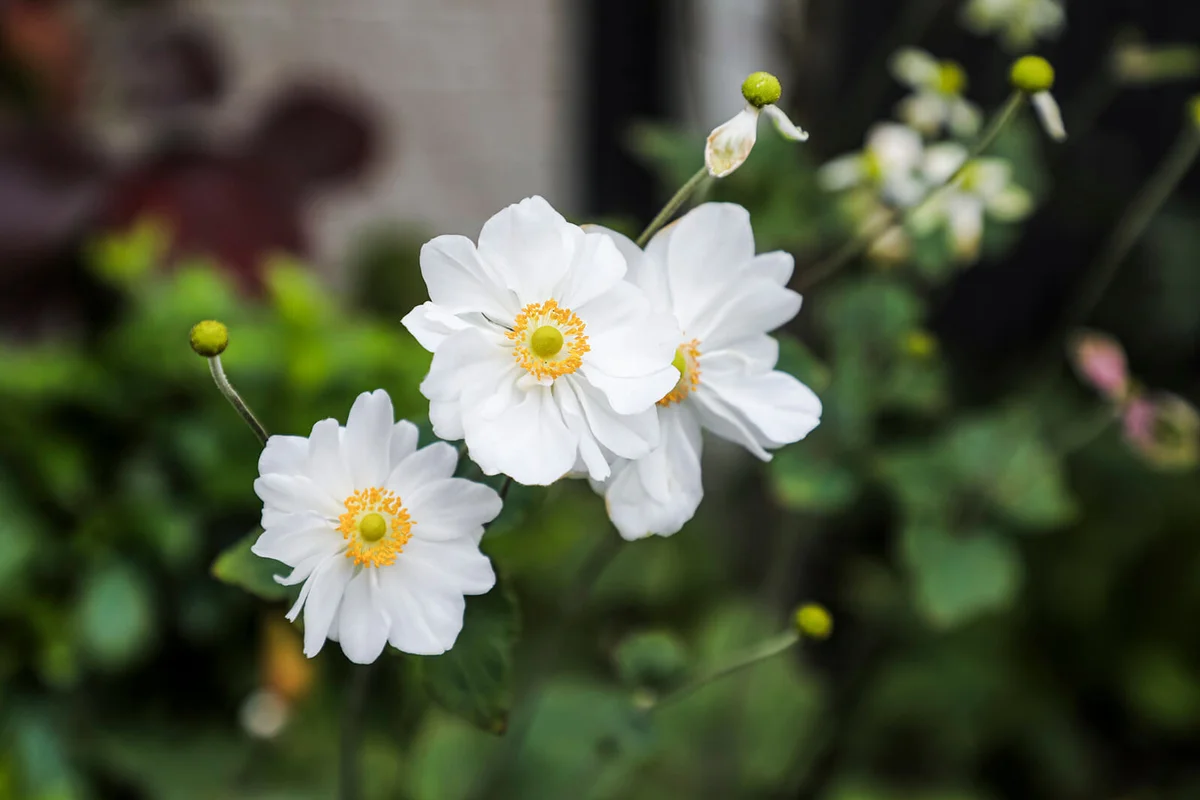
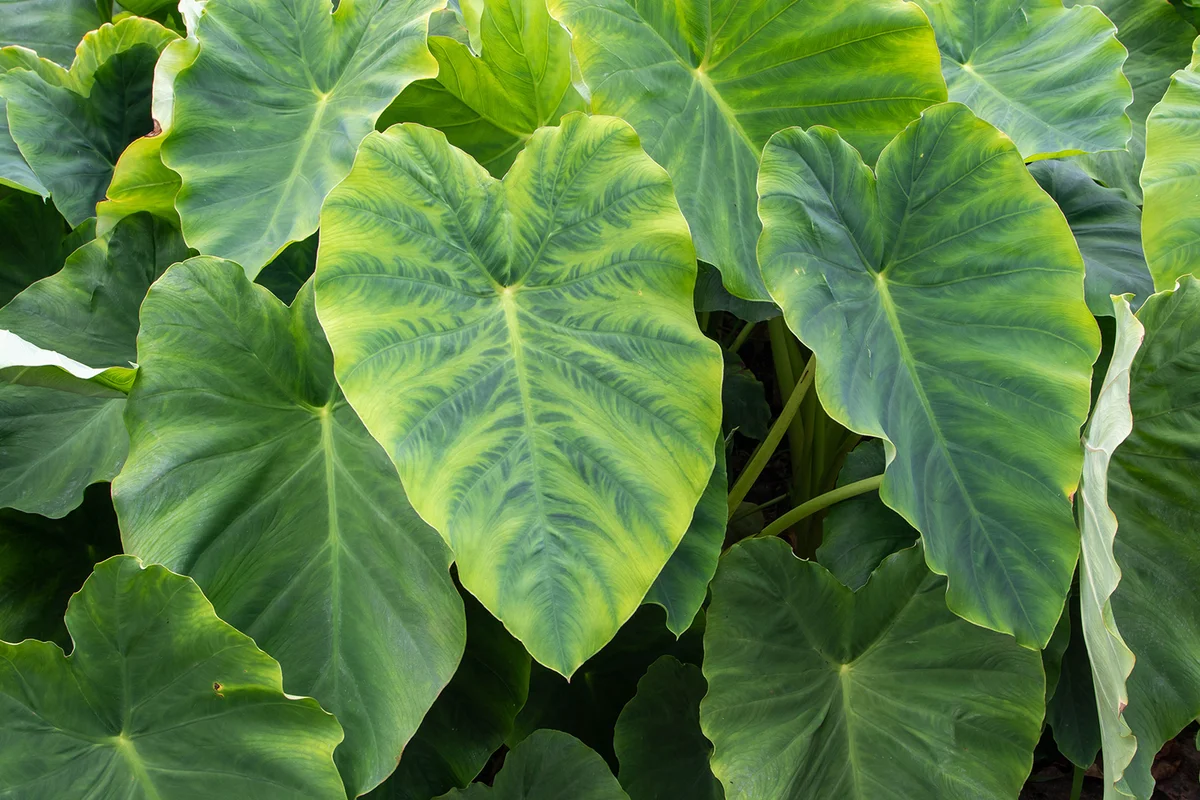
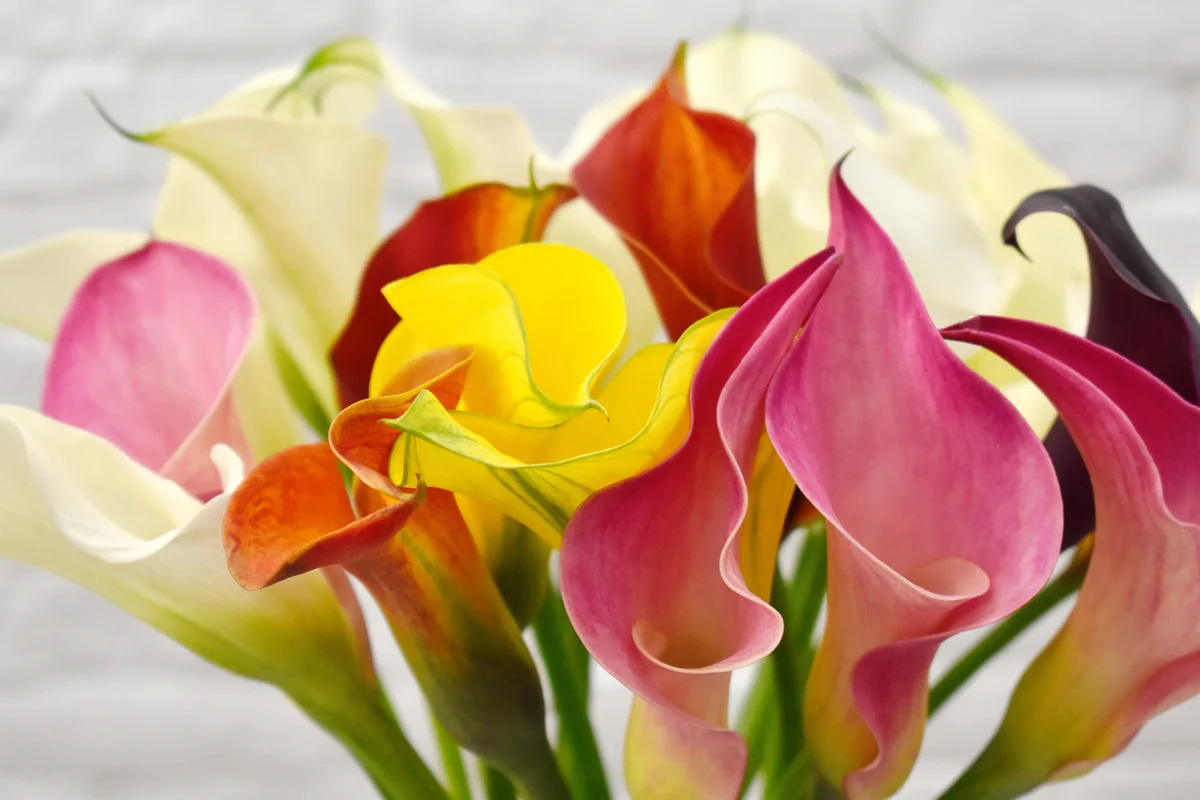
Each bulb has its own specific level of cold tolerance, so you should check the bulb's requirements with your supplier or ask local gardeners which bulbs to lift. Calla lilies, cannas, gladioli, elephant ear, dahlia, and similar bulbs and tubers are all examples of bulbs that have to be lifted in zone 6 or colder, but local conditions can vary.
Timing
Most flower bulbs, corms, tubers, and rhizomes should not be lifted until the foliage has withered and the bulb is dormant, at least six weeks after flowering. Summer-flowering bulbs and tubers are usually not lifted until after the first hard frost has left the foliage blackened and withered. That's because the frost seals the tissue of the foliage and helps prevent fungal diseases. Although the foliage may look shabby after flowering is complete, it is critical to leave it in place so the plant can photosynthesize as much as possible and store up energy in its roots for abundant flowering the following year.
How to Lift and Store Flower Bulbs
Follow these step-by-step instructions for removing bulbs from the ground without damaging them so you can successfully store them for replanting later.
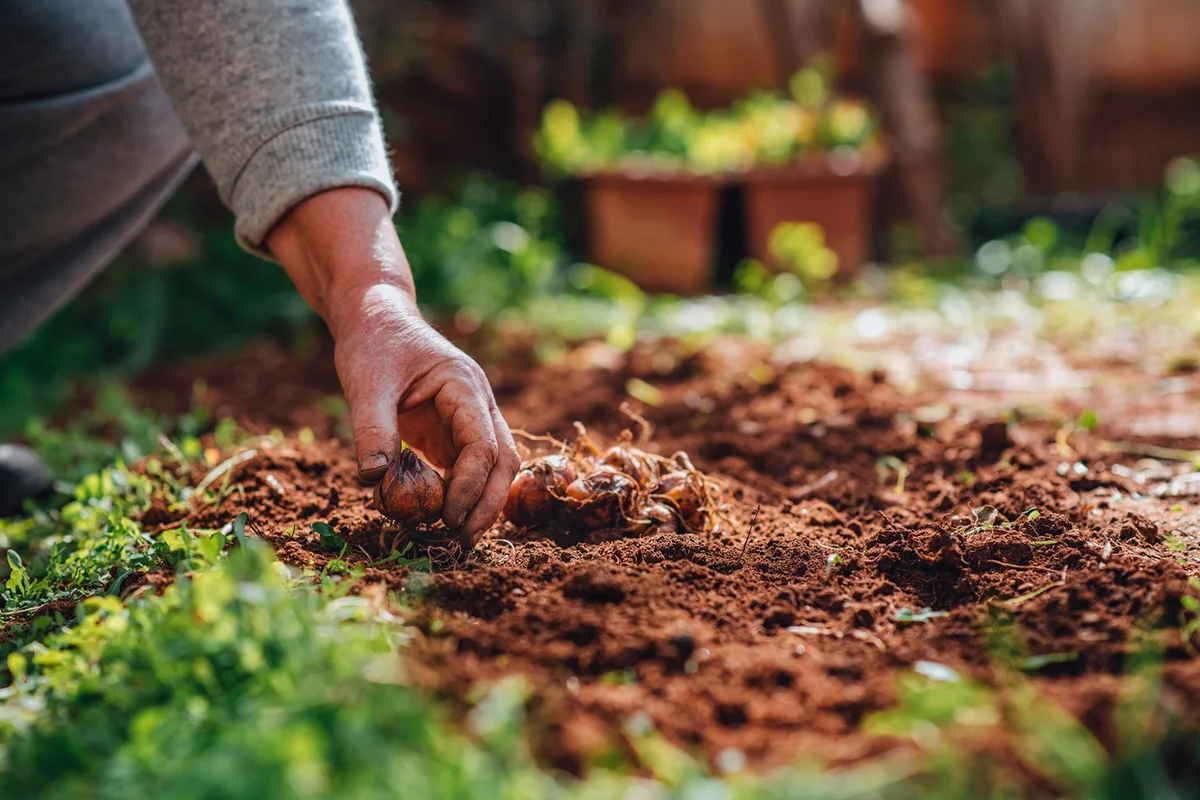
- Push a garden fork into the soil around the periphery of the bulbs and pry up gently on all sides. Some bulbs are buried up to 8 inches below the surface, so it may take some work to loosen the soil to an adequate depth. The goal is to lift the bulbs to the surface without cutting into them, so it's usually best to sift through the loose soil with your hands to find them all. You could also use a spade, but you are more likely to cut into a bulb this way.
- Use garden scissors to trim off the roots and any remaining foliage.
- Rub off the loose soil by hand and then clean the bulbs with a garden hose. With large quantities of bulbs, it's easier if you spread them on a screen made of hardware cloth so the water can drip through. Or, you can place them in a bucket of water and loosen the caked soil by hand if needed. You can also gently brush off any dried "skin" on the surface of the bulb. Removing the dirt, roots, and outer skin of the bulb helps prevent the bulbs from rotting while they are in storage. Throw away any bulbs that are damaged or diseased. Soft bulbs should not be saved.
- Divide small bulblets, also called offsets, from the larger bulbs by gently pulling them apart. If you replant them next year, they will grow larger. Most offsets need two or three seasons of growth before they are mature enough to bloom.
- Spread the bulbs far enough apart on a drying rack so that no bulb touches another one. A baker's cooling rack, some hardware cloth nailed to a square of 2" x 4" board, or an old window screen set on blocks all make decent drying racks. Let the bulbs dry for a day or two in a well-ventilated area and make sure they don't freeze.
- Store the bulbs in a cool, dry location. The ideal storage space maintains a steady temperature of about 45°, and many gardeners store bulbs in an unheated basement. You can place bulbs in burlap bags, net produce bags, or even old pantyhose and hang them from the ceiling so they have good air circulation and won't become moldy. Alternatively, you can layer them in dry peat moss, vermiculite or clean, dry sand in a paper bag or a cardboard box.
- Check the bulbs occasionally over the winter and throw out any that have become soft or moldy. Don't worry if they're shriveled and dry. They'll be ready to plant in the spring.
Tips for Success
A few extra pointers can make the process go smoother and ensure that you end up with great bulb plantings year after year.
- If you plan to lift different kinds of bulbs, or bulbs with different colors, be sure to keep them separated after you've taken them out of the ground. It's very easy to mix up bulbs, and you may end up with surprises in your garden next year if the bulbs aren't correctly identified.
- Categorize the bulbs and their offsets according to size (i.e. small, medium and large) and store them separately. You can then replant the largest bulbs in a prime garden location to showcase the abundant flowers that come from them. Smaller bulbs which will produce few or no flowers can be planted in out-of-the-way nursery beds to mature.
- To ensure that disease does not break out while the bulbs are in storage, use a soft paintbrush to dust them with fungicide after they have dried.
Elevate Your Gardening to the Next Level
Lifting and storing bulbs is one of those little tricks that elevates beginning gardeners to the next level. Going the extra mile ensures that you won't be disappointed with poor bulb performance, and you'll be sure to have spectacular flower beds year after year.