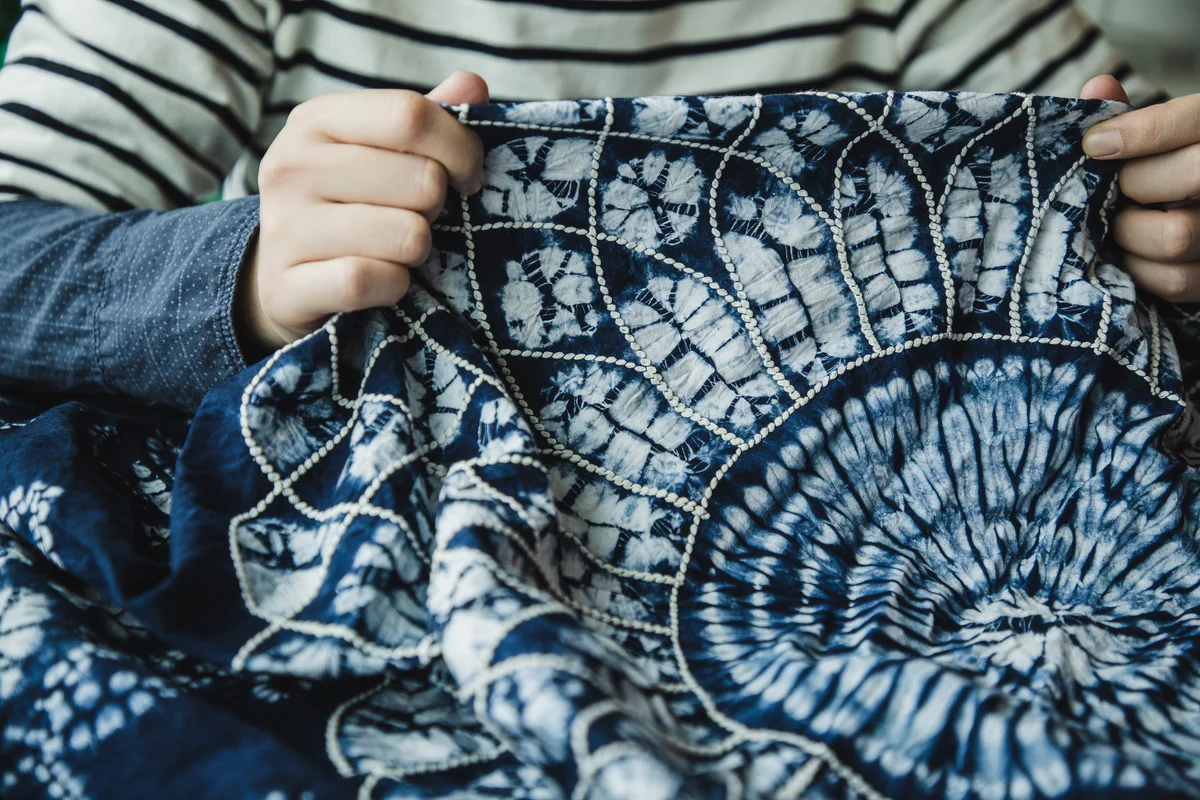
Get creative and embrace the beauty of artistic imperfection with shibori tie-dye fabrics. Learn the steps of the shibori technique yourself and how to use shibori in your design scheme for a trendy decor detail that is truly one of a kind.
How to Dye Fabrics With the Shibori Technique
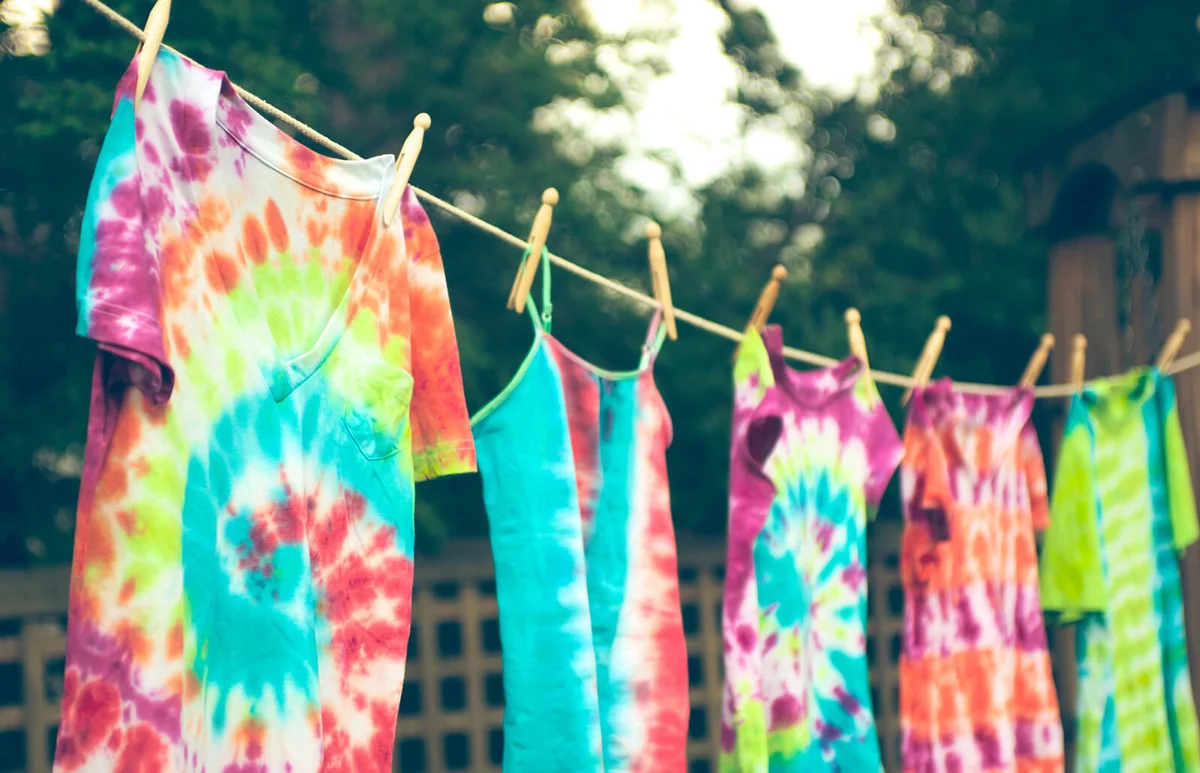
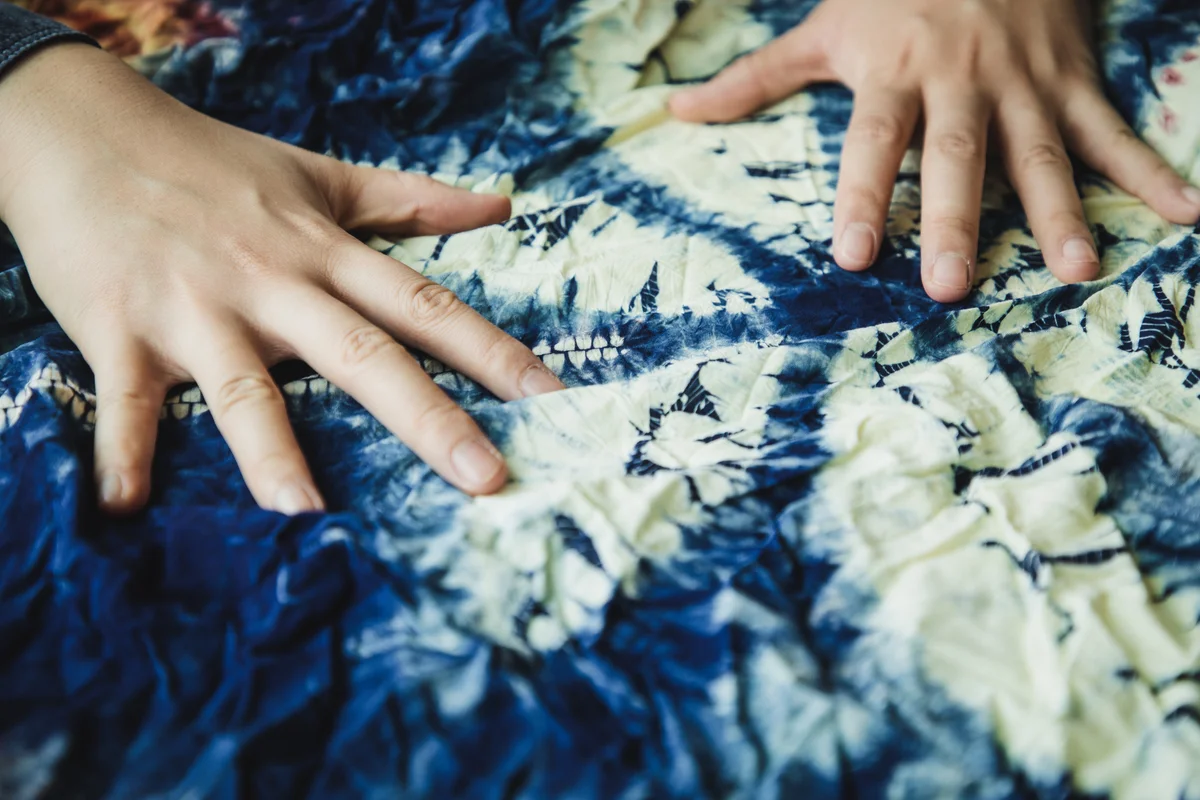
Before you can begin displaying shibori textiles in your home, you need to first understand how you can achieve this tie-dying technique yourself. Not only is this type of dyed fabric popular in home interiors, but it's also a therapeutic and fun process if you're making it yourself. Shibori differs from your typical tie-dye because it relies on various techniques to achieve a resist-dye look. The goal is to create negative space as you fold, pleat, or wrap the fabric prior to applying the dye. This process produces an imperfect but beautiful final result.
Step One: Decide on Your Technique

There are tons of options for applying the shibori technique to your tie-dye DIY. Start with a simple technique like accordion folds, pinched pleats, or a wrap and ripple technique if you're a beginner. Once you know which approach you want to try, you can complete your tool checklist and get started.
Step Two: Gather Your Tools
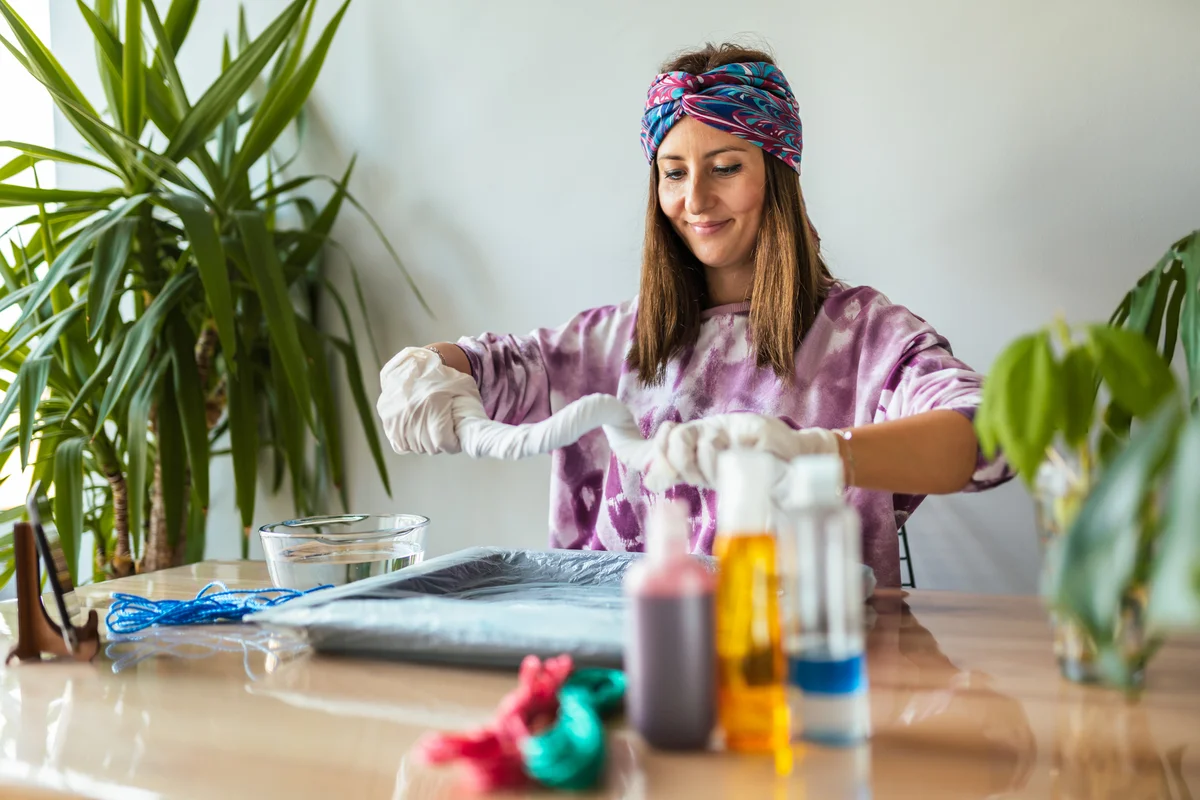
For this DIY, you'll be using tools similar to those used in other tie-dying techniques. You will need a natural fiber textile, your all-purpose dye of choice, a large tub or other container, and rubber gloves. Most shibori textiles are indigo, but there are no rights or wrong with color choice, so choose the dye that best suits your home. Be sure you have a tool for stirring that will not stain or absorb the dye. You might also need twine or yarn, a cylinder like a PVC pipe, scissors, and a few rubber bands. Protect your workspace with a tarp or disposable table cloth or take your project outside to avoid making a mess.
Here's the entire list:
- Tarp or disposable tablecloth
- Natural fabric
- Fabric dye (indigo is classic, but choose your own color)
- Something to stir with
- Twine or yard
- PVC pipe
- Scissors
- Rubber bands
Step 3: Prep Your Fabric
With a folding technique determined and all your tools gathered, you can start prepping your fabric for the dye process. You might test your technique on a scrap piece of fabric first to make sure your plan will bring about the result you're looking for.
For an accordion fold:
- Tightly crease your fabric in equal sections.
- Begin your folds with an inward crease, then fold that creased section outward, alternating directions as your fabric takes on the look of an accordion fan.
- Loosely tie a rubber band around your fabric to keep everything in place, careful to leave enough space for the dye to reach the banded area.
The pinch pleat technique is easy for beginners and is customizable to fit your style.
- While your fabric is laying flat, simply pinch the sections you want to bind and give them a little twist.
- Once you have a gathered section of fabric, tightly wrap it with a rubber band.
- To create more detail, continue to bind the gathered section with additional rubber bands until a long, twisted pleat forms.
- Repeat this process until you achieve your desired pattern.
The wrap and ripple technique may look as if it requires expertise, but it's a rather simple process.
- Using a PVC pipe or similar tool, roll your fabric around the cylinder.
- Once you roll all the fabric around the pipe, tie a strand of yarn or twine to the end of the pipe and begin to tightly wrap the fabric with the strand until you reach the other side of the pipe.
- Finally, scrunch the wrapped fabric from the center of the pipe as tightly as you can to ensure the ripple pattern is consistent across the fabric.
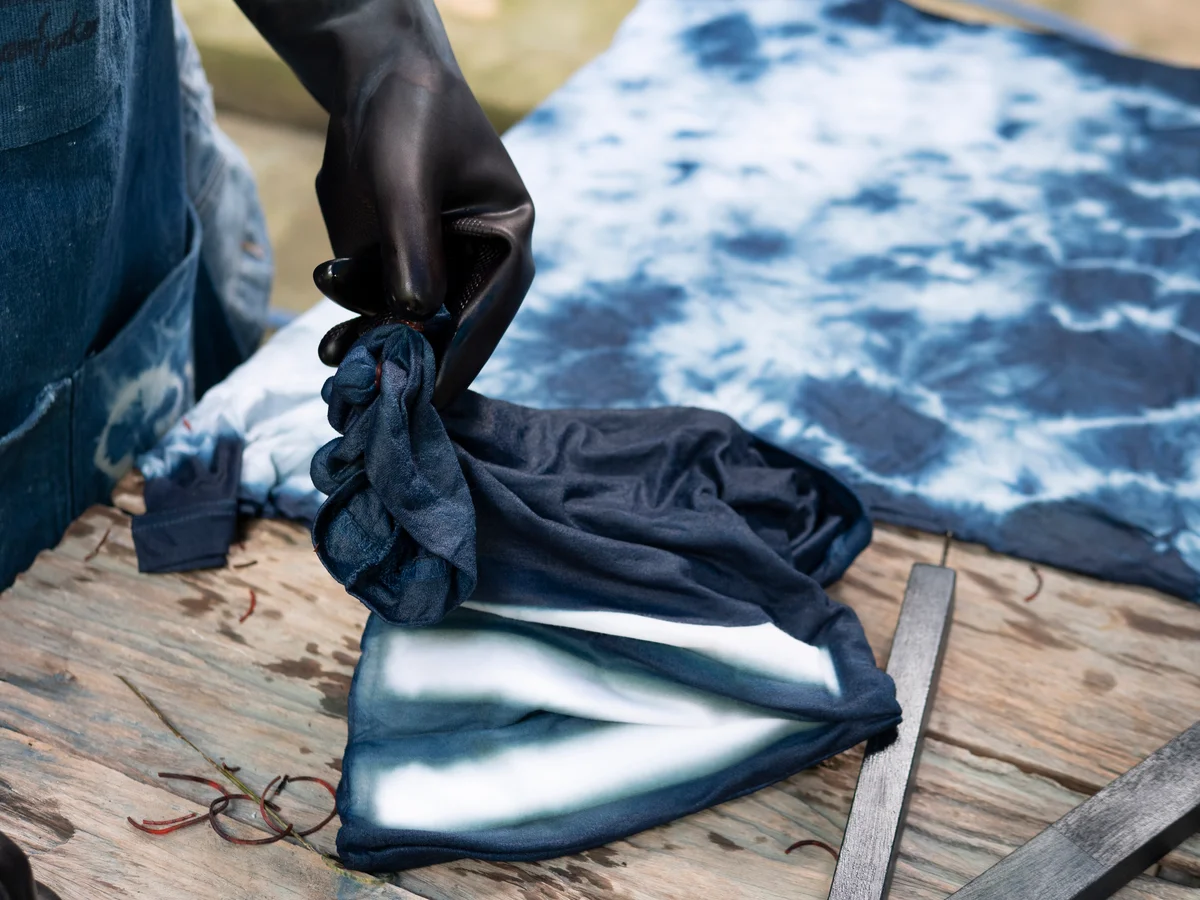
Step 4: Dye Your Fabric
Prepare your dye with water according to the package instructions in a large tub or basin. Place your wrapped or pleated pieces into the dye bath, making sure that you submerge every part of the fabric in the dye. If your fabric is a natural fiber, expect to leave your pieces in the dye bath for up to an hour so they can fully absorb the color. For other fabrics, 10 to 30 minutes should be enough. Once the fabric has absorbed the desired amount of color, remove your pieces and allow them to set for up to 24 hours. The longer the fabric sits, the more vibrant your pieces will be.
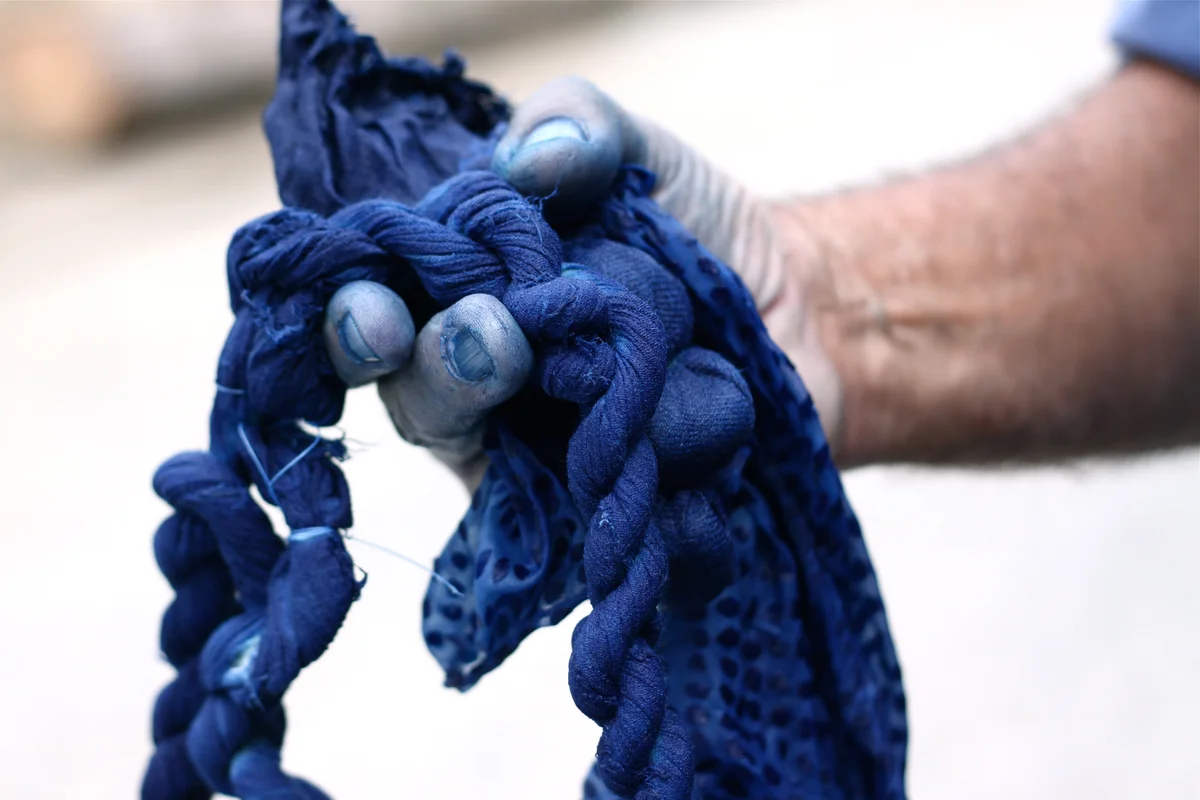
Step 5: Rinse Your Fabric
After your dyed fabric has set and before you remove any twine or rubber bands, give your pieces a thorough rinse in cold water. Rinse your pieces until the water runs clear for the best results.
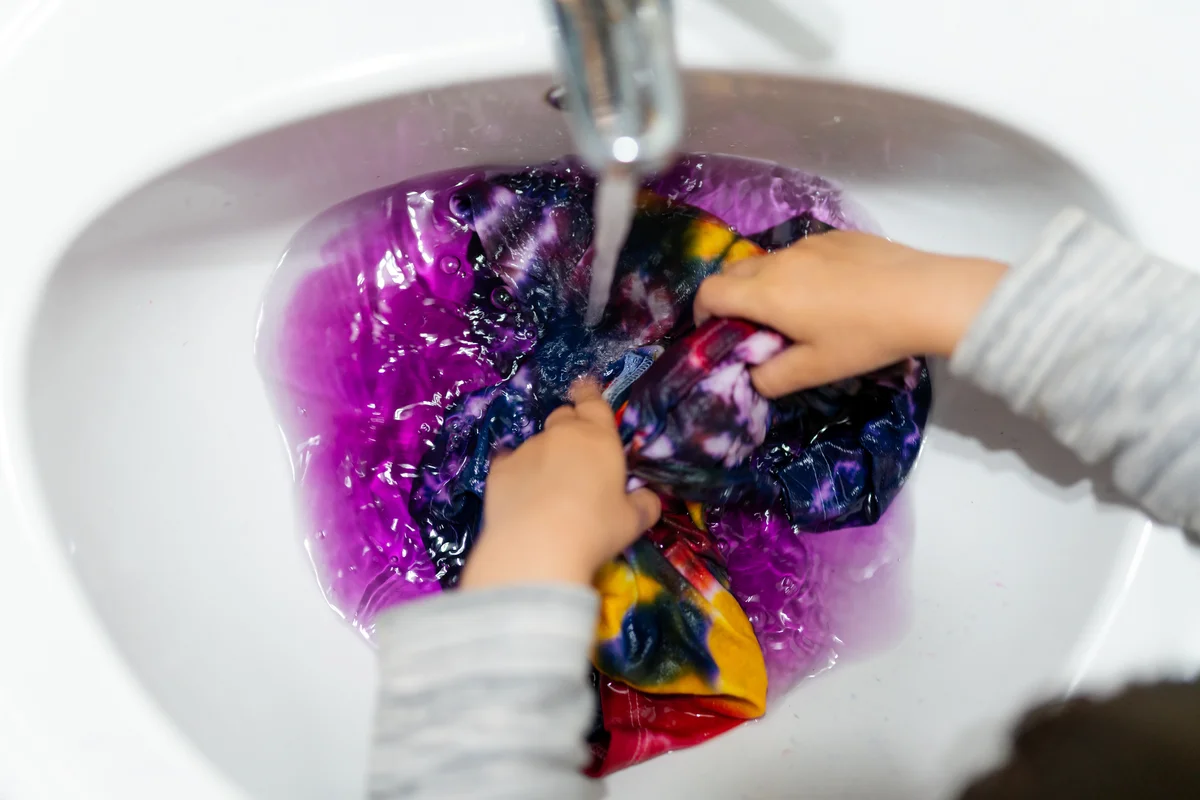
Step 6: Wash Your Dyed Fabric
Once you've rinsed your pieces, remove the wraps and rubber bands to reveal your Shibori prints. Give your fabric one final wash in warm water to make sure you remove all the dye residue. Once you have washed, rinsed, and dried your fabric, you are ready to decorate your home with your DIY shibori.
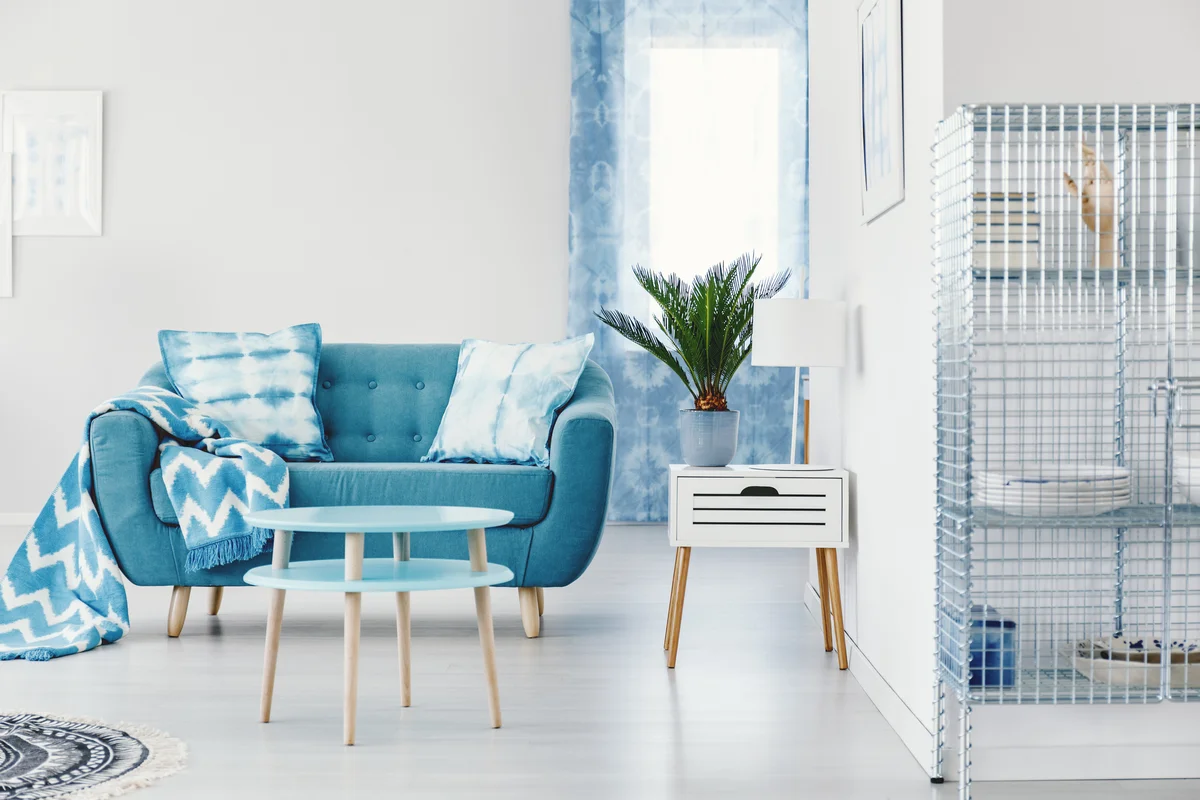
Gorgeous Shibori Textiles to Use in Your Home
Once you've completed your shibori and let it dry, it's ready for use in your home decor. Whether you create tablecloths, wall-hangings, curtains, or something else entirely, you can bring visual interest to your spaces with your tie-dyed shibori pieces.