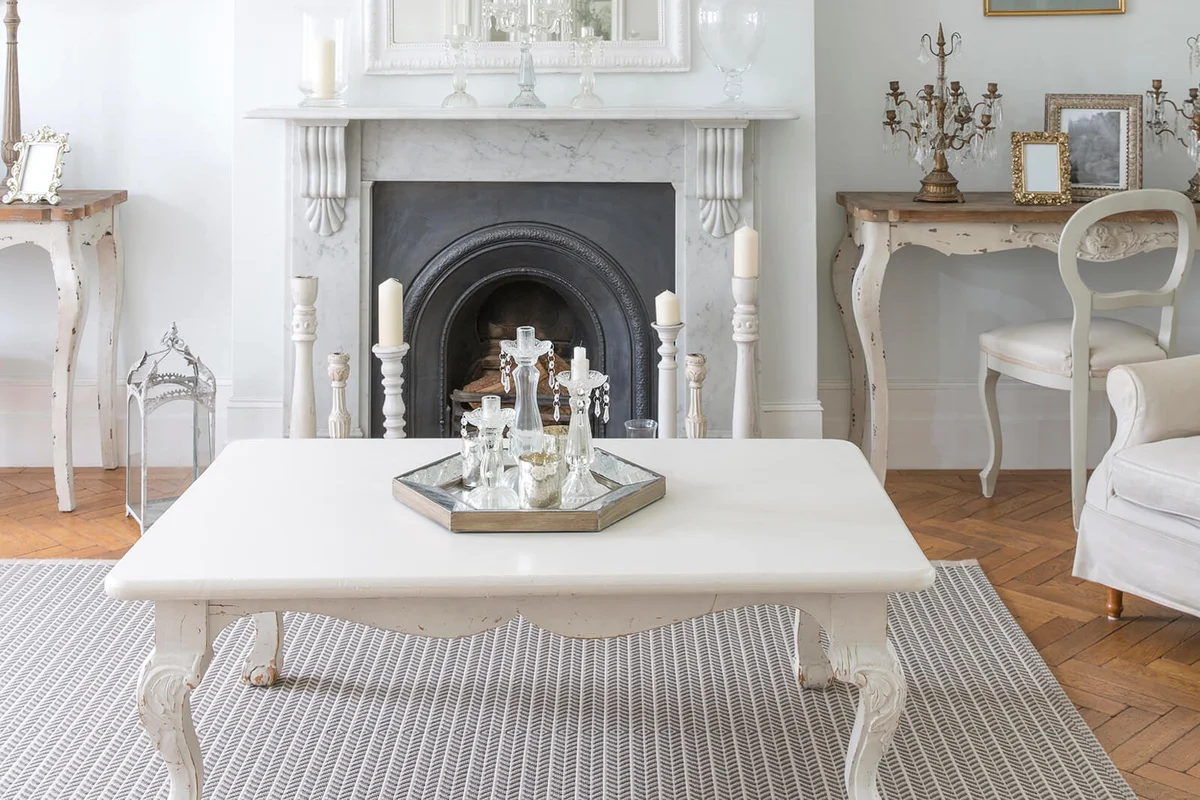
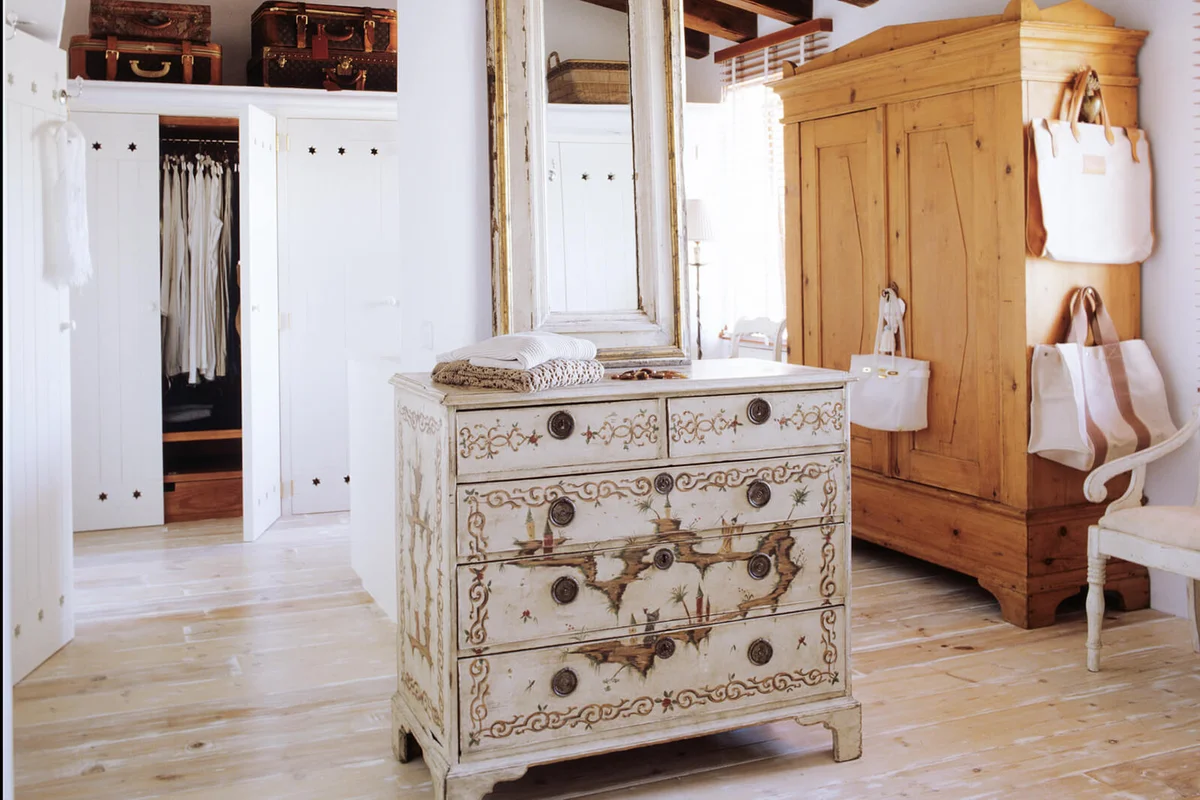
Nothing transforms the look of of your room like a piece of antique furniture, but let's be honest: it's not always in the budget or even the practical choice for your lifestyle. Kids and fine antiques? Not a good match. The key to getting that beautiful grandmillenial or modern farmhouse look is antiquing furniture yourself. It's far cheaper than the real deal and also way more practical. Plus, it's easier than you might expect.
How to Antique Painted Furniture
If you have Sotheby's dreams on an Ikea budget, distressing painted furniture is a great way to get that classic, historic look without a ton of expense. It's also not all that time consuming and is a very doable project for just about anyone. Don't stress if you're not a DIY pro or crafting expert. You've got this.
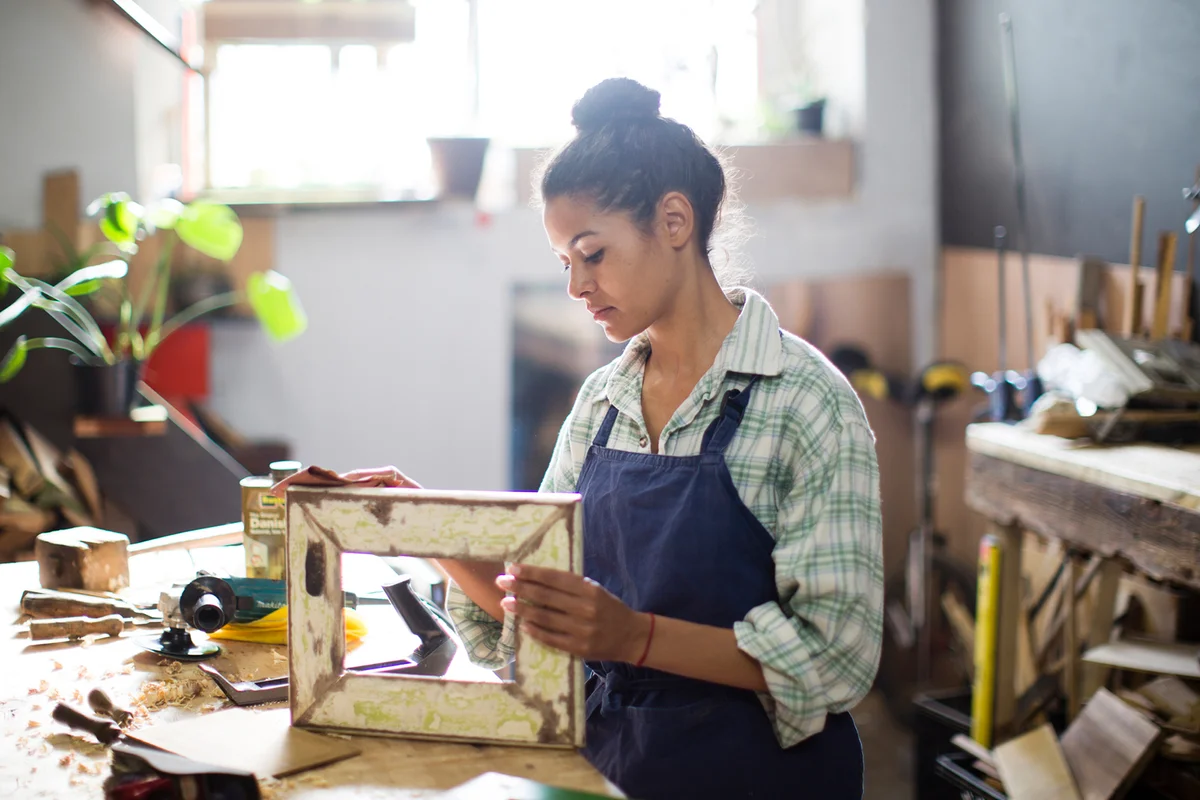
1. Choose the Right Piece of Furniture
While technically you can paint and distress just about anything, there are certain things that will always work out better and give you the look you're after. You can buy vintage furniture at a thrift store or even find something free, so you don't have to invest a lot in this project. For best results, though, choose a piece with these characteristics:
- Solid wood - We know it's cheap and tempting, but avoid the laminate. It doesn't hold paint as well. Look for a piece of furniture that's solid wood or wood veneer.
- Structurally sound - One thing about antiques that's kind of annoying is that they can be a little rickety. Look for something with solid construction or that can be fixed pretty easily to be structurally sound.
- Nice details - Distressing really brings out the details in furniture, so look for something with a little bit of carving or some pretty decorations. These will show up super well when you antique it.
2. Pick Two Paint Colors
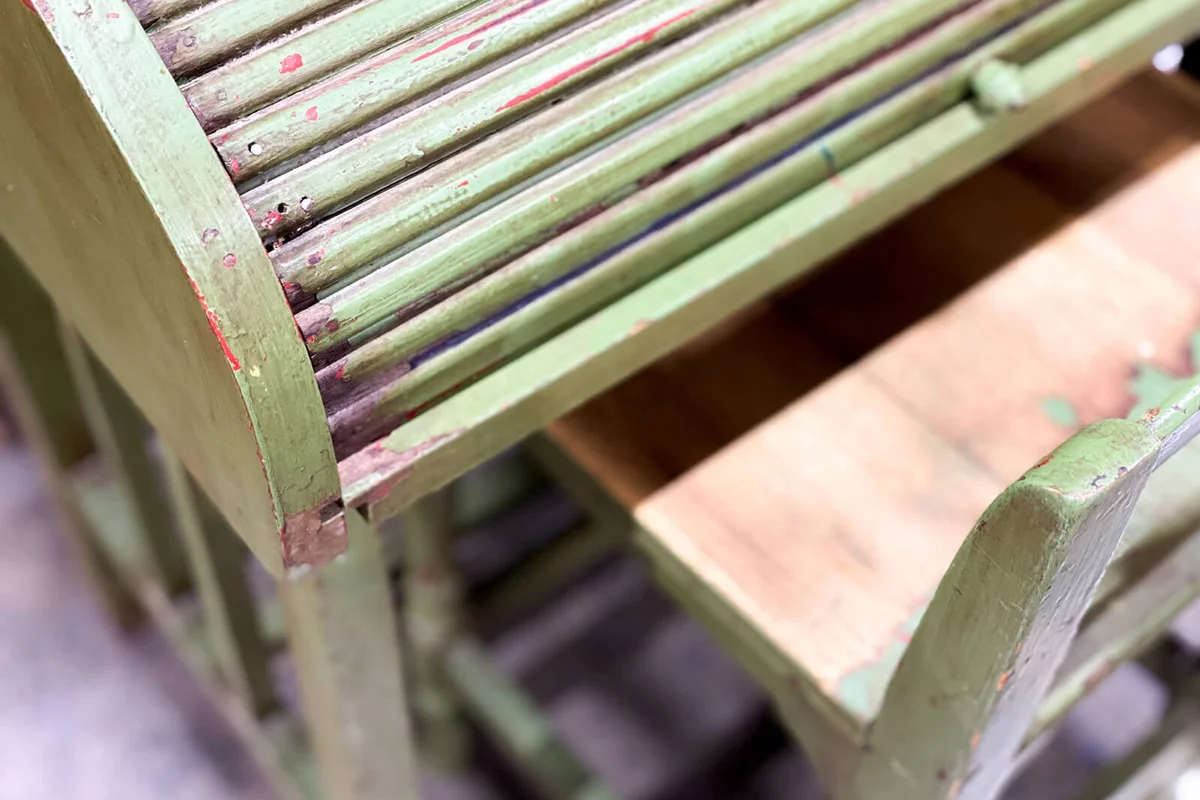
When you distress painted furniture, you rub away the outside paint to reveal the layer underneath. This is particularly great for primitive and farmhouse style items, but it really works for anything. If you think about how people used to use furniture, this makes sense. Someone would use a painted piece for a long time until the surface got really grungy, and then they would repaint it and give it a fresh new look. Over time, that second layer of paint would also wear away, showing the layer beneath it. That's the look you're going for here.
To do that, pick the main color for the piece, such as black. Then choose the color you want to show through in places. This could be red, blue, or really anything that fits with your style and decor.
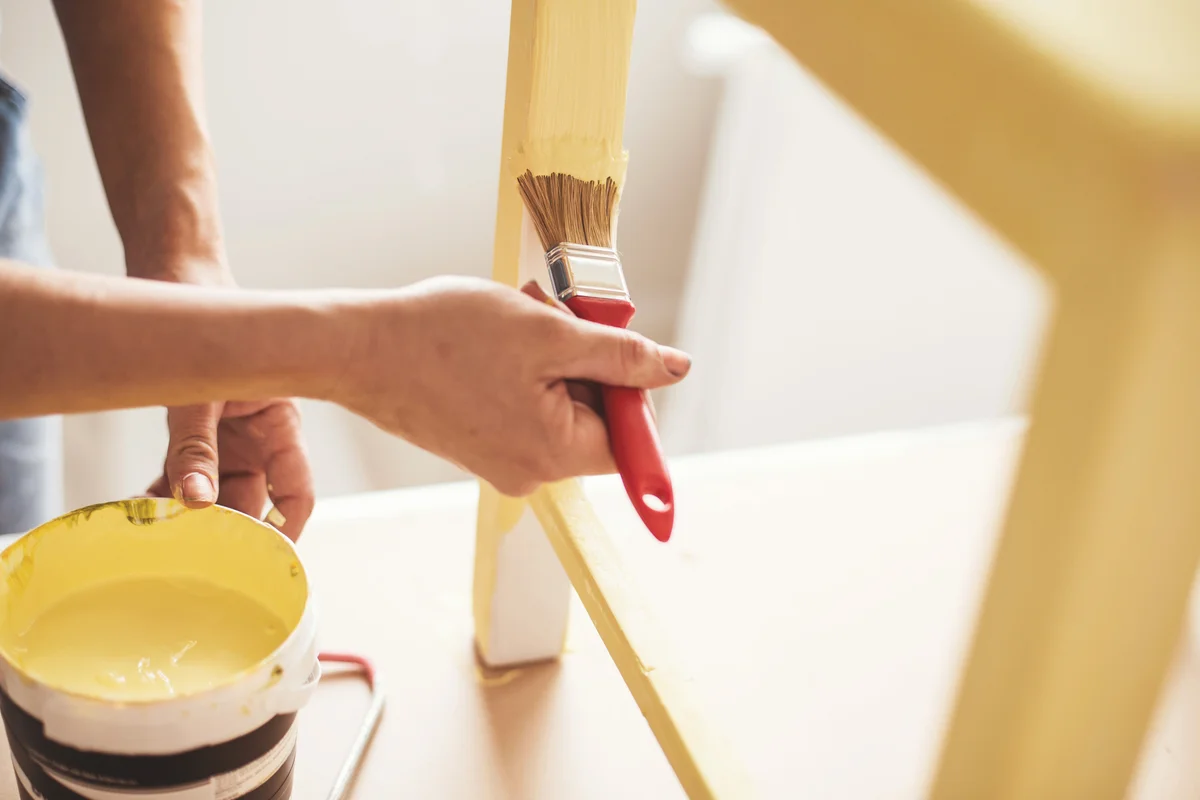
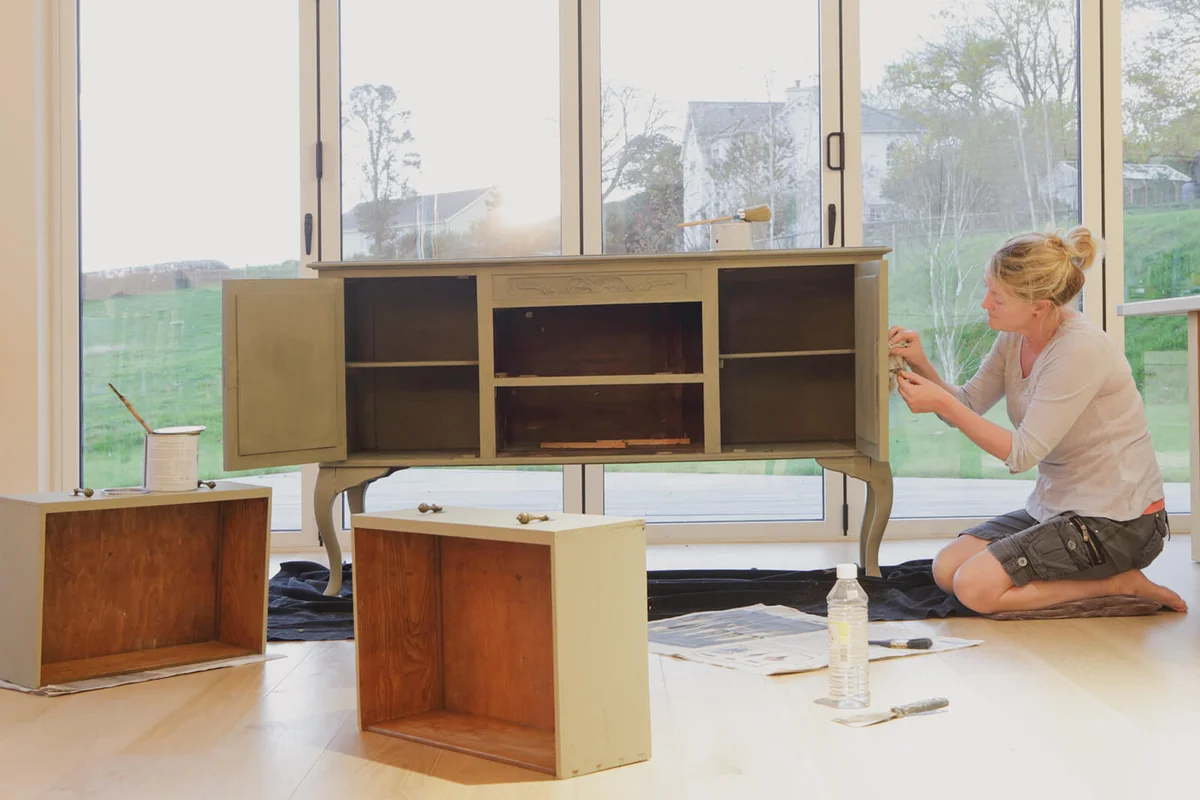
3. Paint the First Layer
When you're ready to get started, take off any hardware on the piece you're painting. Clean it well and sand it lightly with a fine-grit sandpaper to rough up the surface. It's always good to use a primer also, even if your paint has primer in it.
Once everything is prepped, apply two coats of paint according to the paint manufacturer's instructions. Allow the paint to fully cure, usually at least 24 hours, before you move on.
4. Apply Wax Where You Want the First Layer to Show
Grab a candle. Seriously, it's an easy way to get that antique look. What you're going for is patina, which is a fancy antique industry word for the wear and polish something gets over time. The raised areas (decoration, edges, corners, that kind of thing) get more wear than the recessed areas on pretty much anything. That's what you're going to replicate with this step.
Rub the candle over every edge, corner, and raised detail in the piece of furniture. You don't have to go crazy or anything, but just try to deposit a thin layer of wax on these parts of the piece.
5. Paint the Second Layer
Now it's time to add the top layer of paint. Don't prime or sand between the layers. You're actually going to be removing some of this paint later, so you don't want it to stick super well. Just paint right over the first layer (and the wax) and allow the paint to dry. Whether you use one or two coats is up to you and will depend on the look you want and the colors you're combining. Allow this layer to cure completely before you start the fun part.
6. Get Out the Sandpaper
Grab some fine grit sandpaper and start to sand the top layer of paint off of the parts of your furniture where you applied the wax. Sand where people and things would touch or bump the furniture - any high spot or corner, especially. You'll notice the top layer of paint comes off pretty easily because of the wax layer. It will reveal the color underneath and give the furniture a super cool antique look. When it looks as beautiful as you imagined, dust it off well and apply a clear polyurethane topcoat to keep it looking great. Once that's dry, go ahead and replace any hardware you removed.
Other Ways to Give Furniture an Antique Look
A distressed paint job is just one way to antique furniture. If you're going for a different look or don't want to carry out that multi-step process, try one of these other methods.
Use a Glaze
A glaze is a thin coat that goes over the top of painted or stained furniture. It's way thinner than normal paint, but it does add some color. You can have any hardware store mix up a glaze for this purpose, usually in a dark brown color. It mimics the darker colors that get into the cracks and lower surfaces of furniture over time - basically the opposite of rubbing off the paint.
Start with a painted or stained piece of furniture. This works best if you've just painted it with a base coat, but you can use it on any clean surface. Dip a lint-free rag into the glaze and use that to apply the glaze to the furniture. Use another cloth to wipe it off the higher surfaces, leaving the recessed ones darker. When it's dry, finish with a polyurethane topcoat.
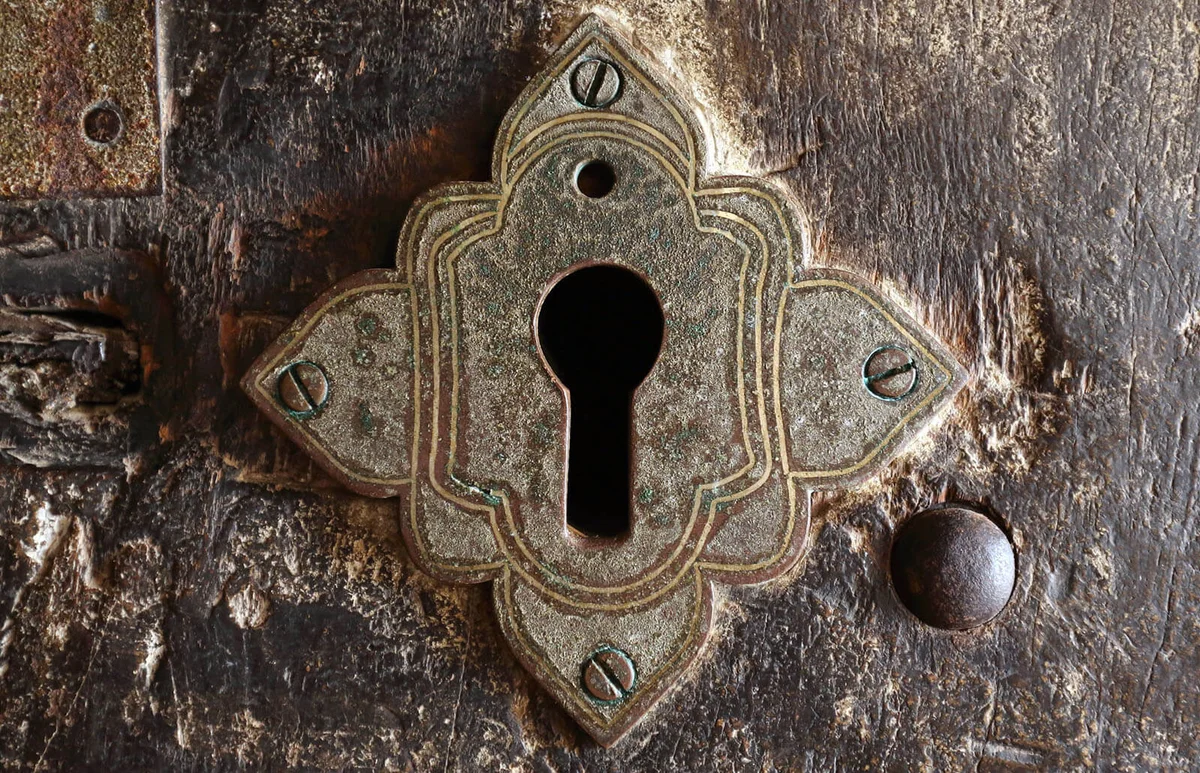
Replace the Hardware
While it sounds super simple (and is), replacing the hardware on a piece of furniture can make it look older. You can choose actual antique furniture hardware or buy replica handles and knobs that just look old. Either way, start by measuring the size of any handles and the distance between screw holes. Make sure your replacement hardware is the same size. Then, just use a screwdriver to switch out the metal for a whole new look.
Let the Wood Show Through the Paint
If you have wood furniture with a stain, you can paint over it with a contrasting color and sand some off. This is a simpler version of the two-color paint job mentioned earlier, and it's pretty easy to do. Skip priming, since you actually don't want the paint to adhere super well. Make sure the wood is clean, but don't worry about sanding.
Apply a coat of paint over the furniture and allow it to cure. Then, use fine-grit sandpaper to sand off the high areas, such as decorations, corners, and edges. Continue sanding until it has that awesome antique look. Dust it really well and apply polyurethane to protect it.
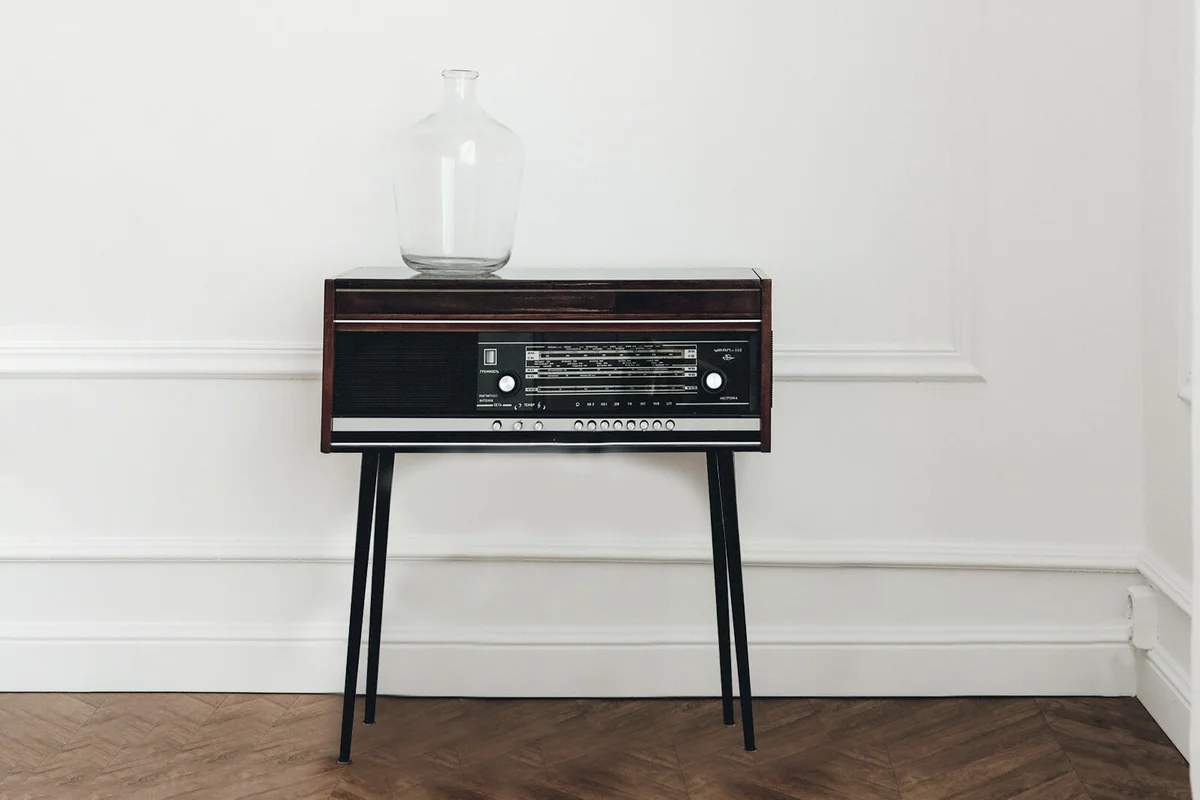
Get to Know the Look of Real Antique Furniture
You can flip vintage furniture and create gorgeous antique looking pieces with minimal work, and the project is actually really fun. No matter which method you use, take some time to look at actual antique furniture ahead of time. This can help you see where to add color, distress the paint, or switch out the hardware. That way, your finished piece will look a lot like the real deal.