Traditional boomerangs are made of wood and can be quite heavy. A homemade paper boomerang is a safer alternative when you're looking for a fun activity to do with your friends.
Fold an Origami Boomerang
This paper boomerang is an intermediate level origami project, requiring knowledge of mountain folds, valley folds, and inside reverse folds. You'll need a single sheet of 8 ½" x 11" paper. If you don't want to make a plain boomerang, print out some patterned paper for a fun design.
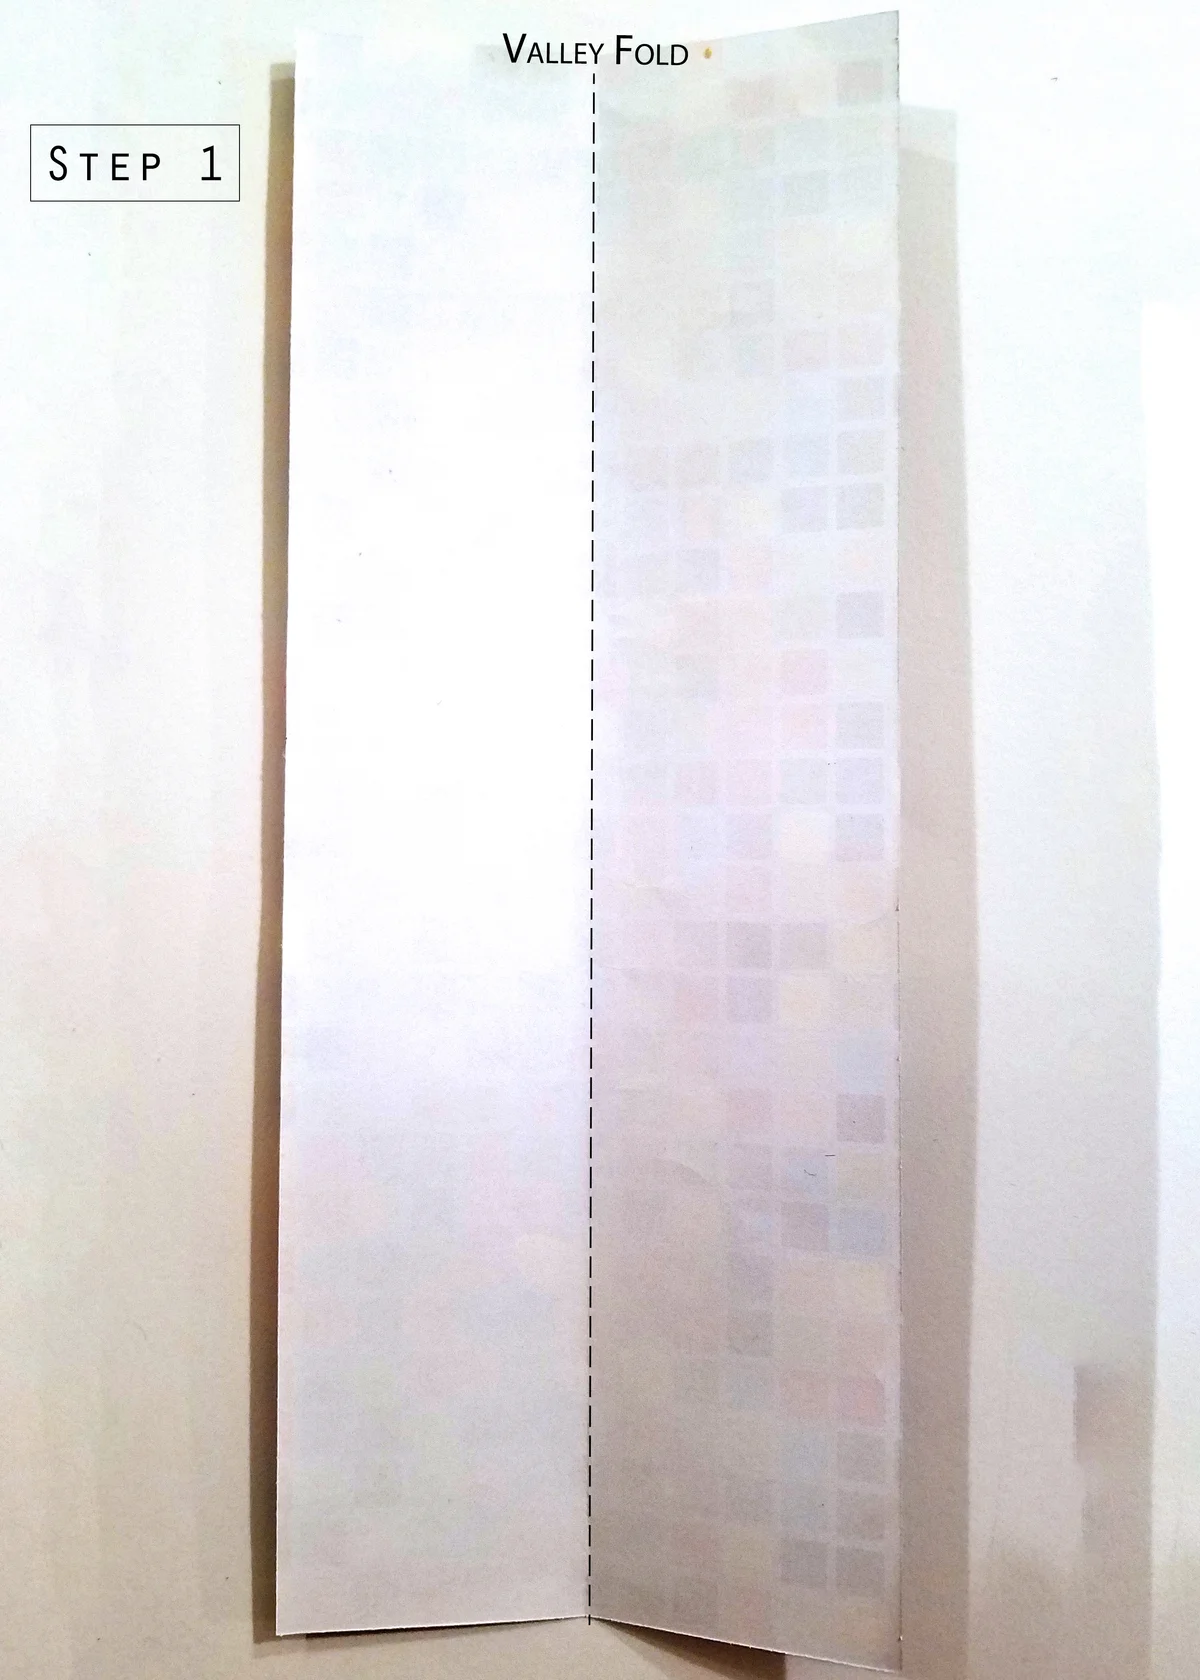
1. Place your paper in front of you vertically with the white side face up. Fold it in half, then unfold. Cut along the middle crease so you have two equal rectangles. Set one rectangle aside for another project. Take the remaining rectangle and fold it in half. Unfold.
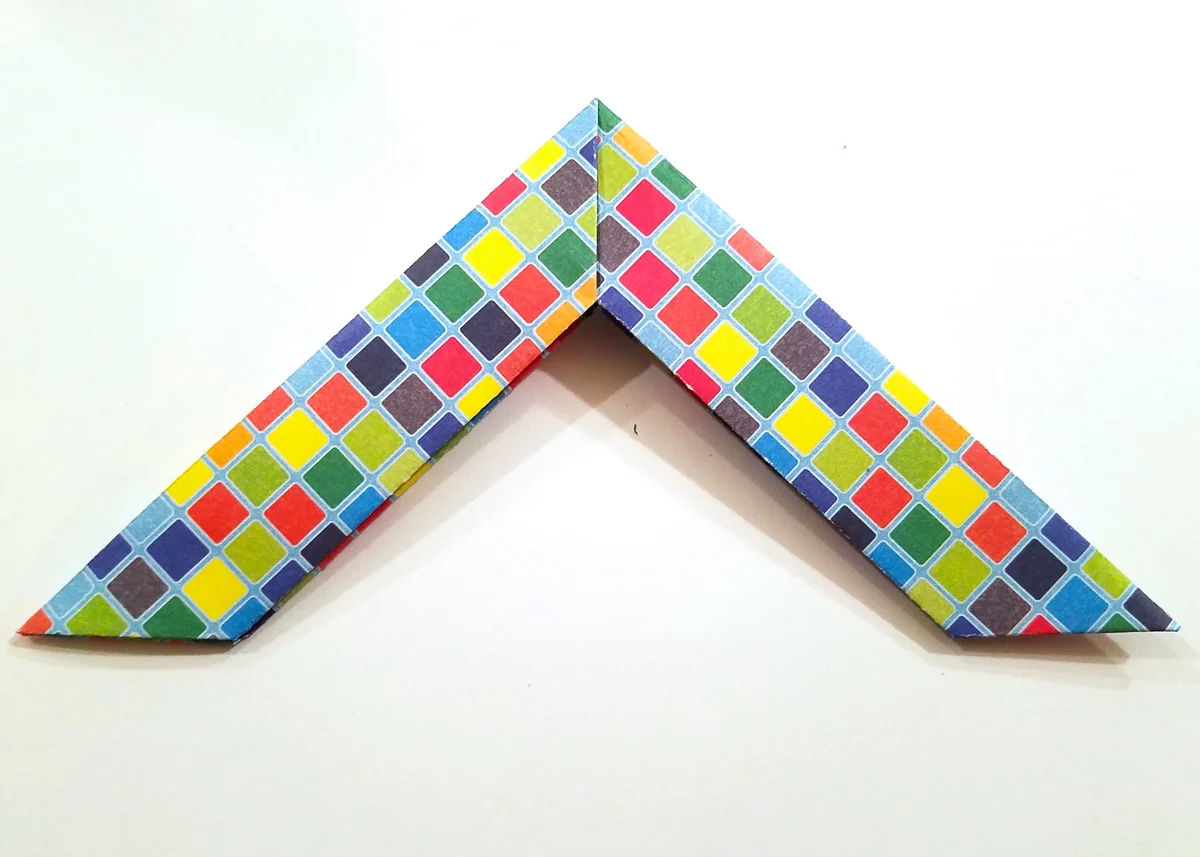
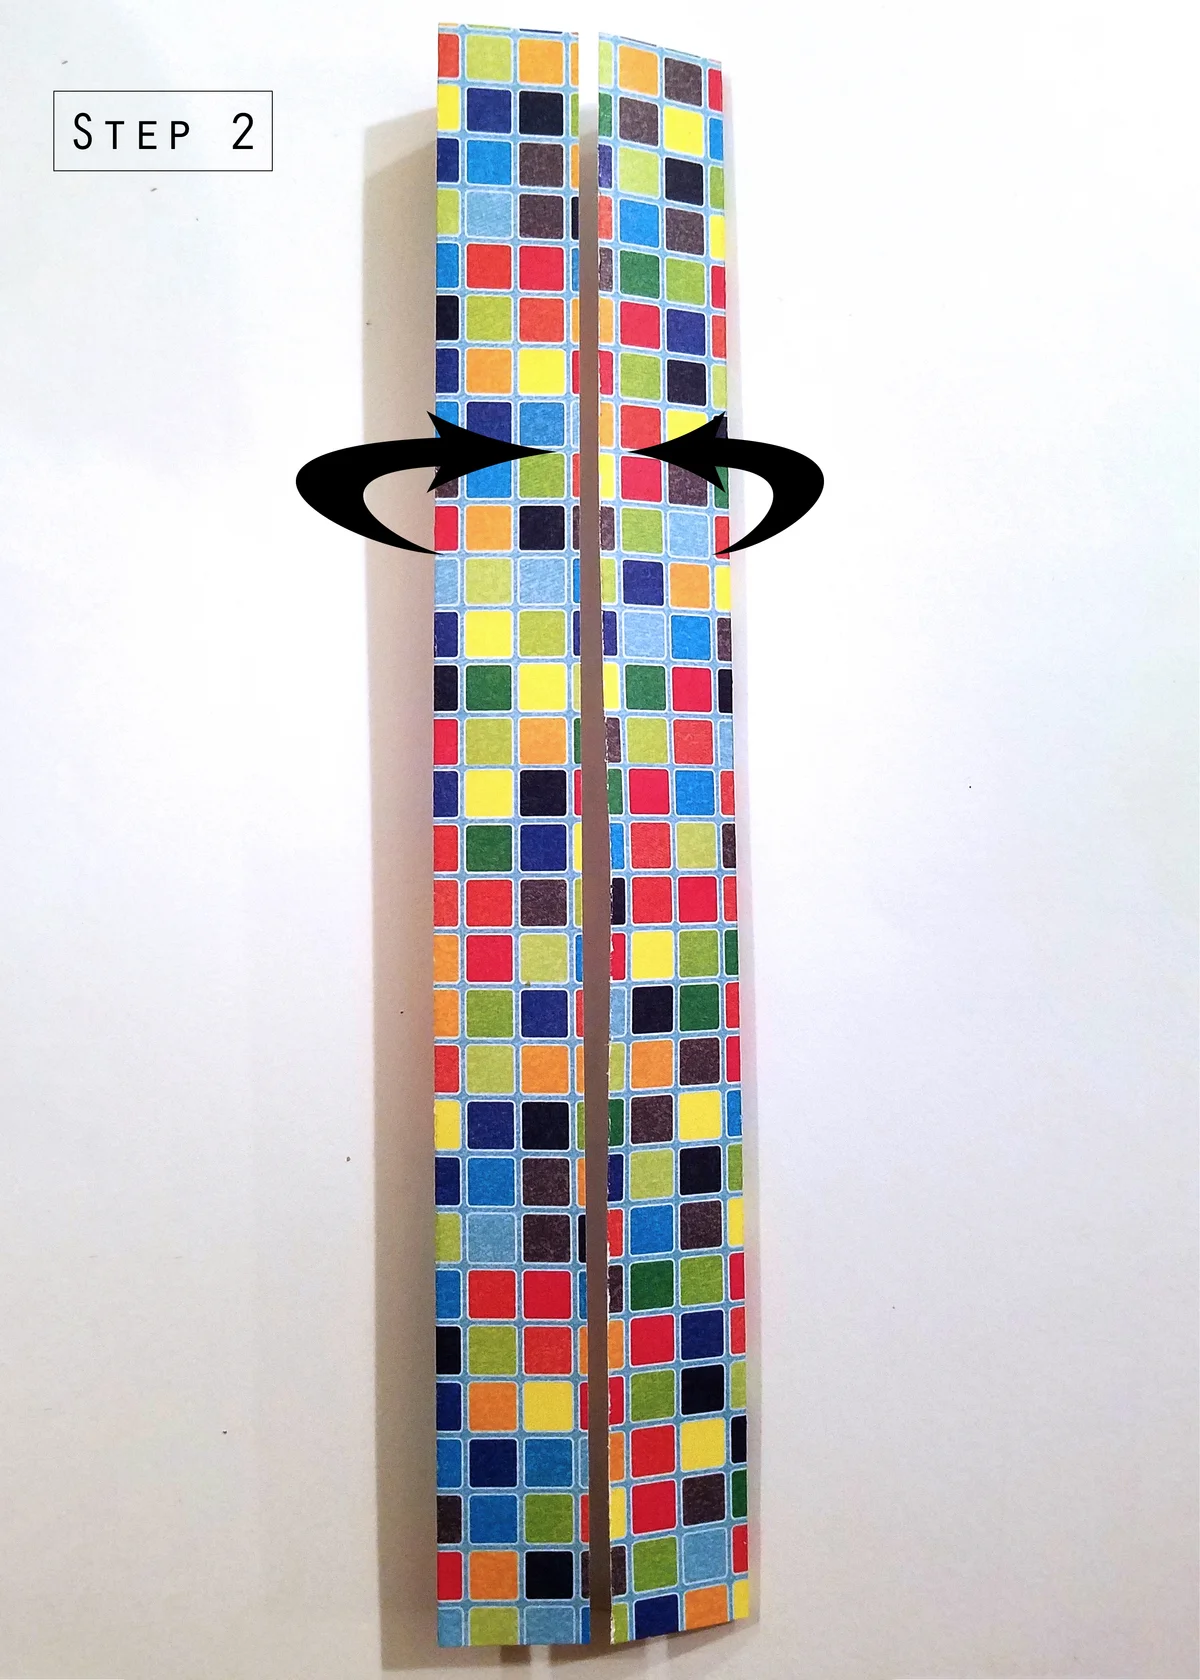
2. Fold the left and right sides in towards the middle crease.
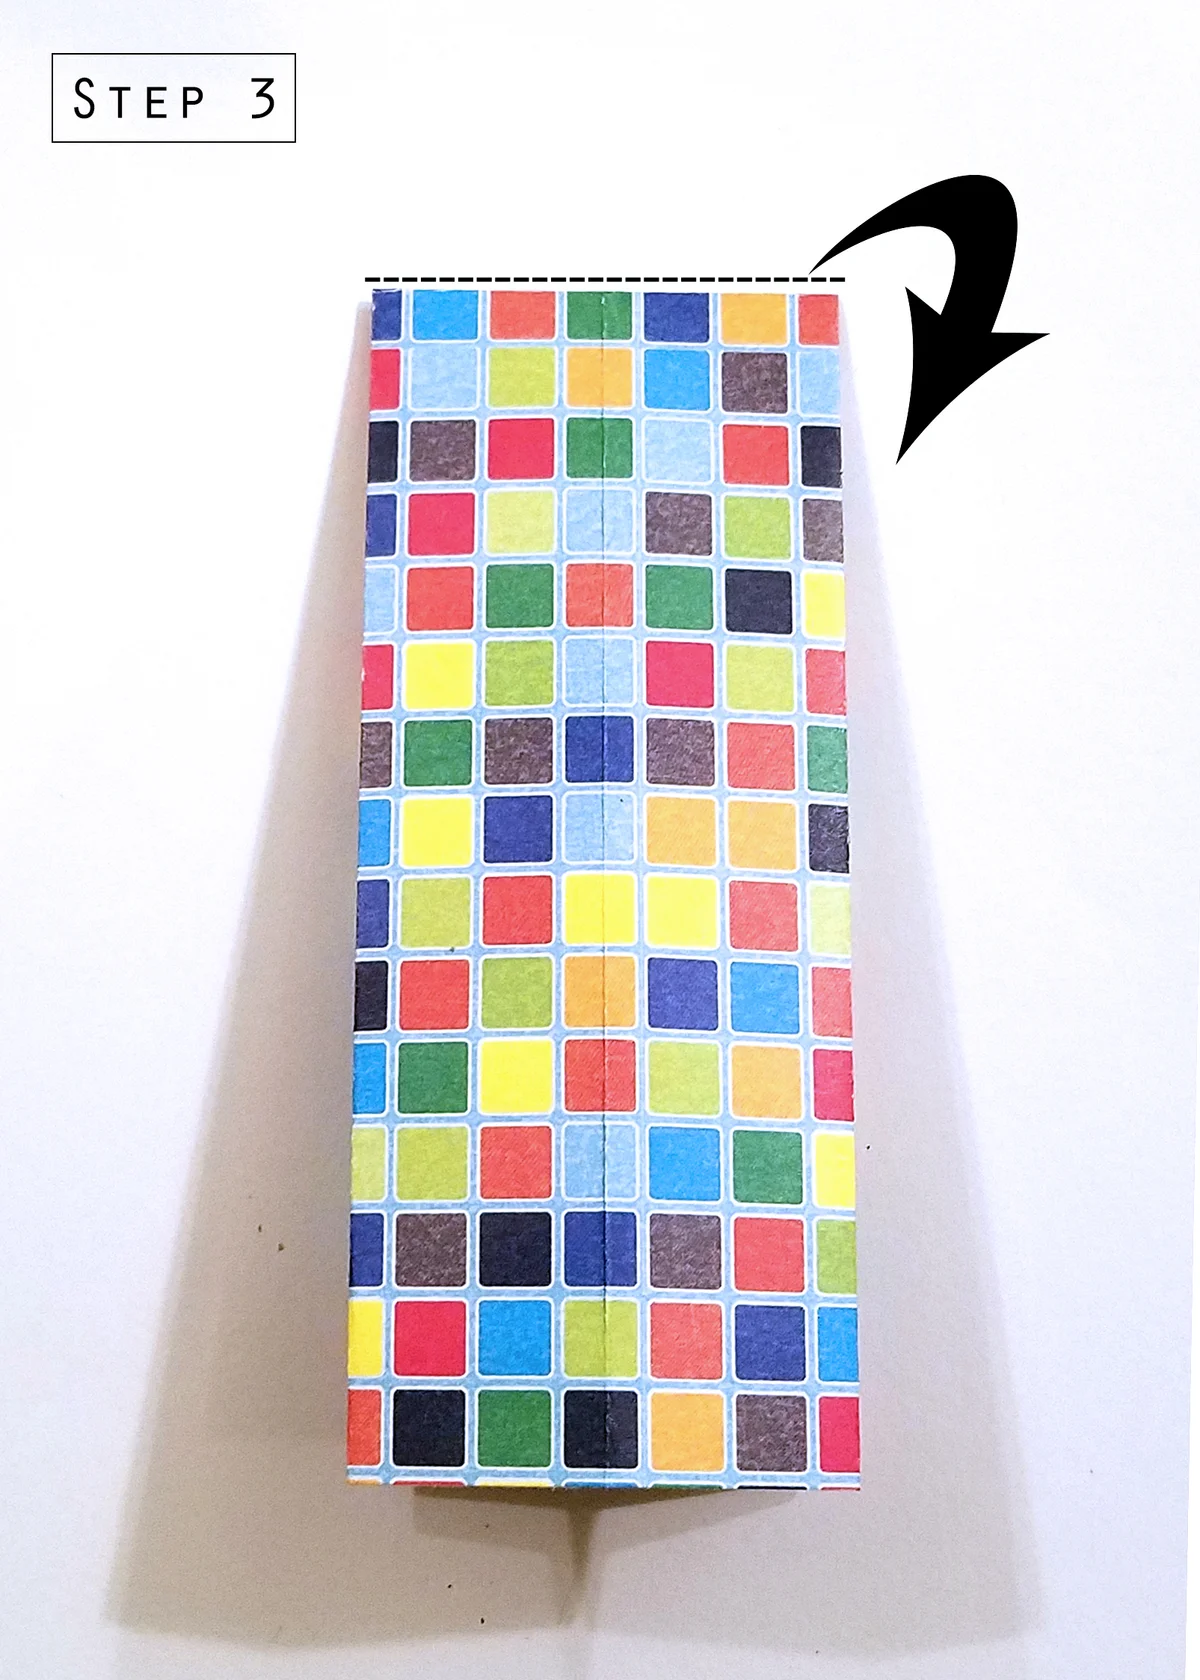
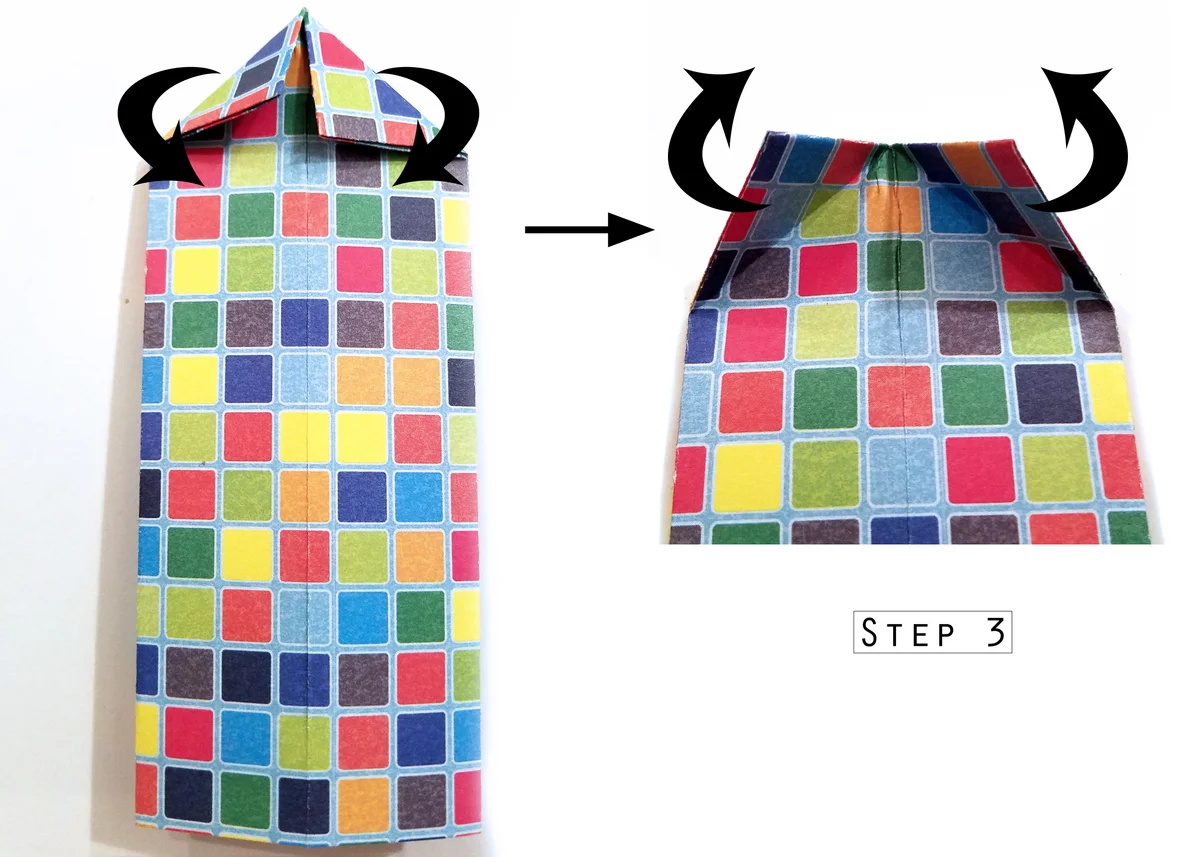
3. Fold the paper in half, bringing the top towards the bottom. Fold the left and right corners in to meet the center vertical crease.
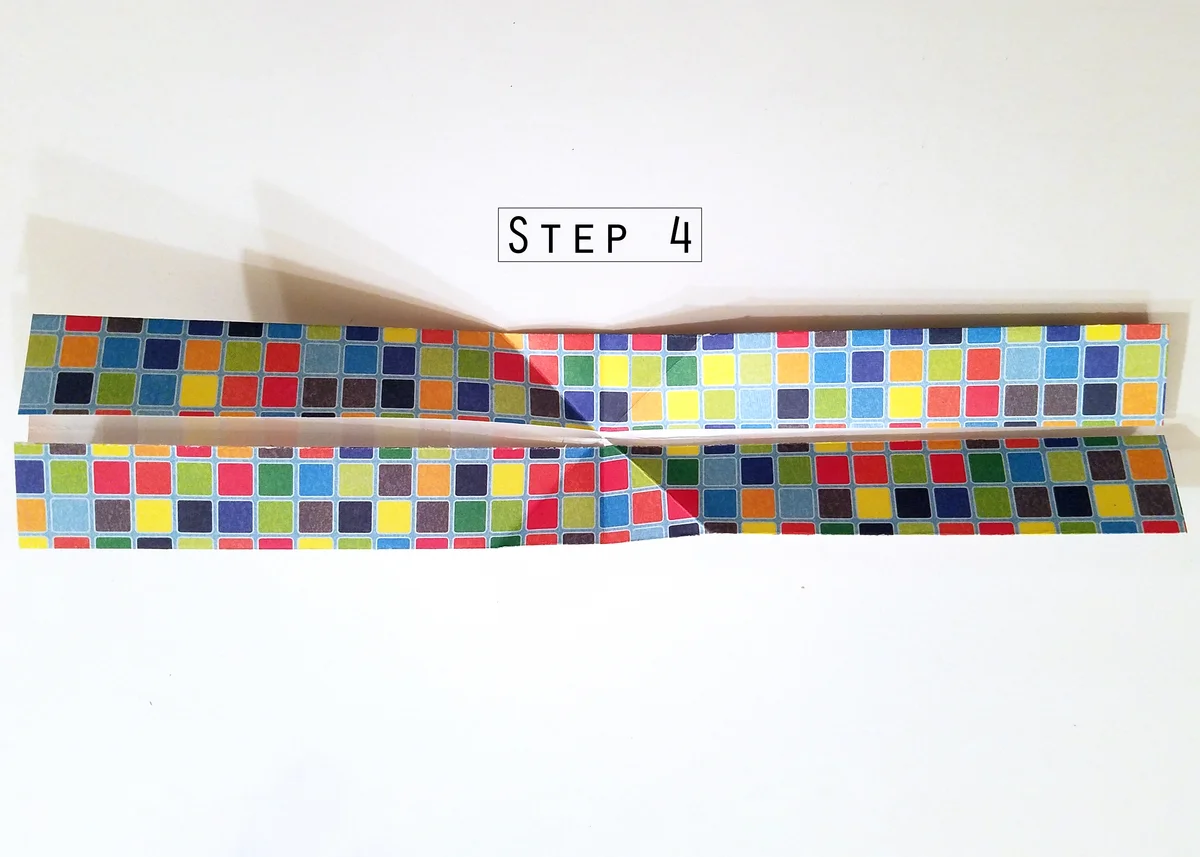
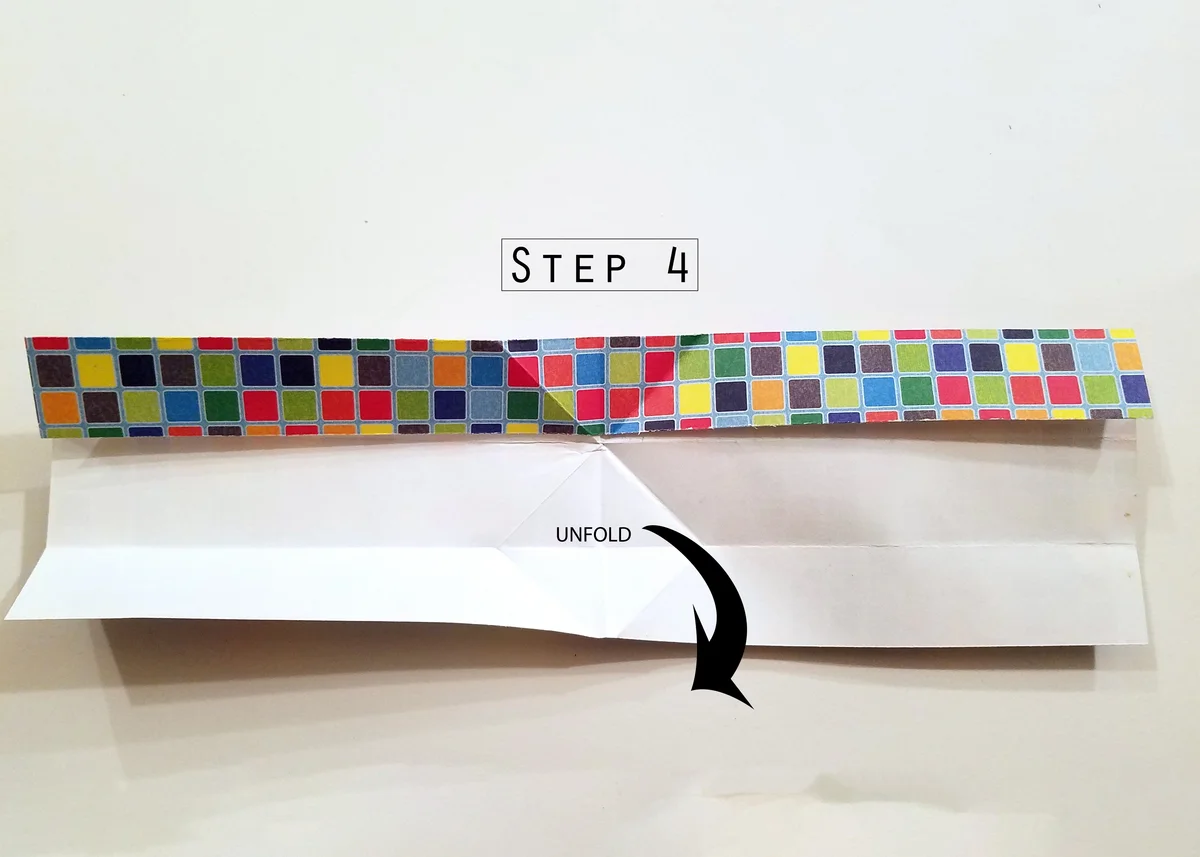
4. Unfold the corner creases you made in the previous step. Unfold the half fold crease and rotate the paper so it is in front of you horizontally. Unfold the bottom half of the horizontal paper.
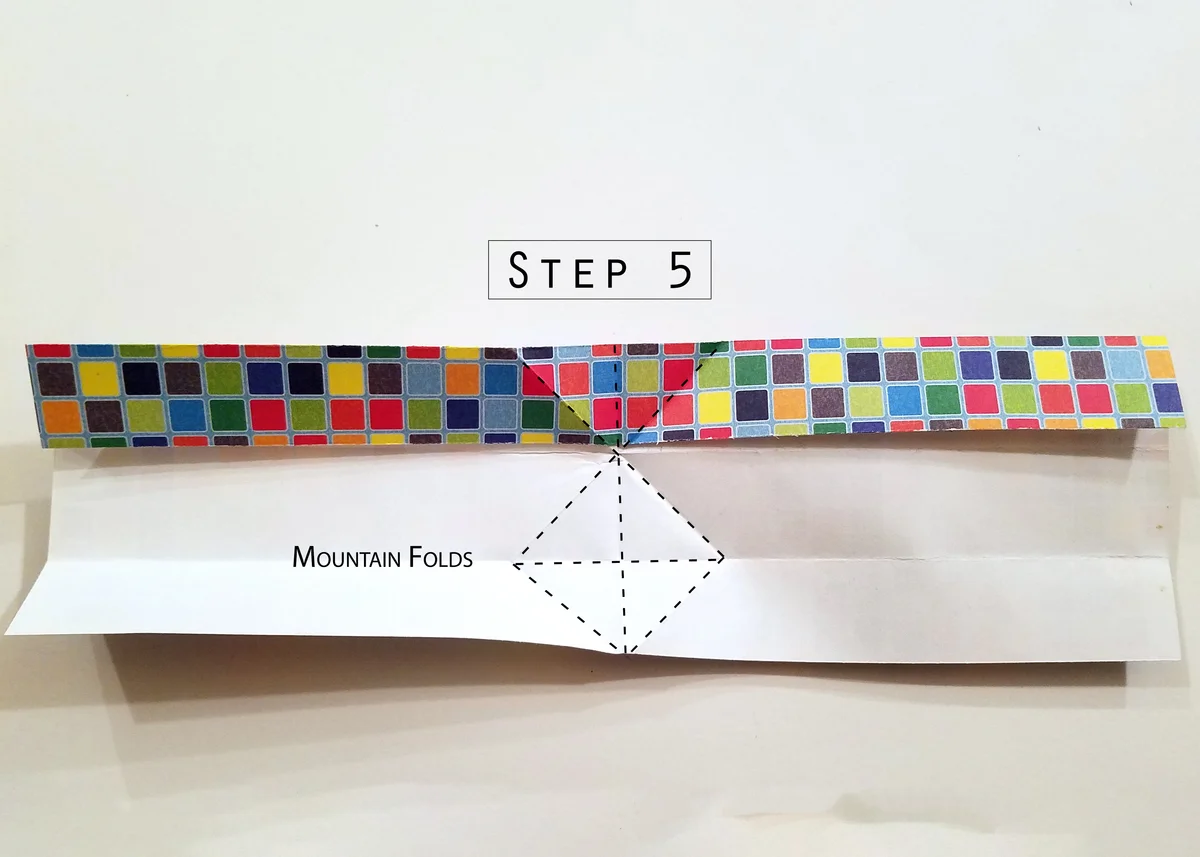
5. Make mountain fold creases along the lines of the guide creases you made in the last step. Go over each crease several times so they are nice and sharp. A bone folder is ideal for this task, but you can also use the edge of a metal ruler if needed.
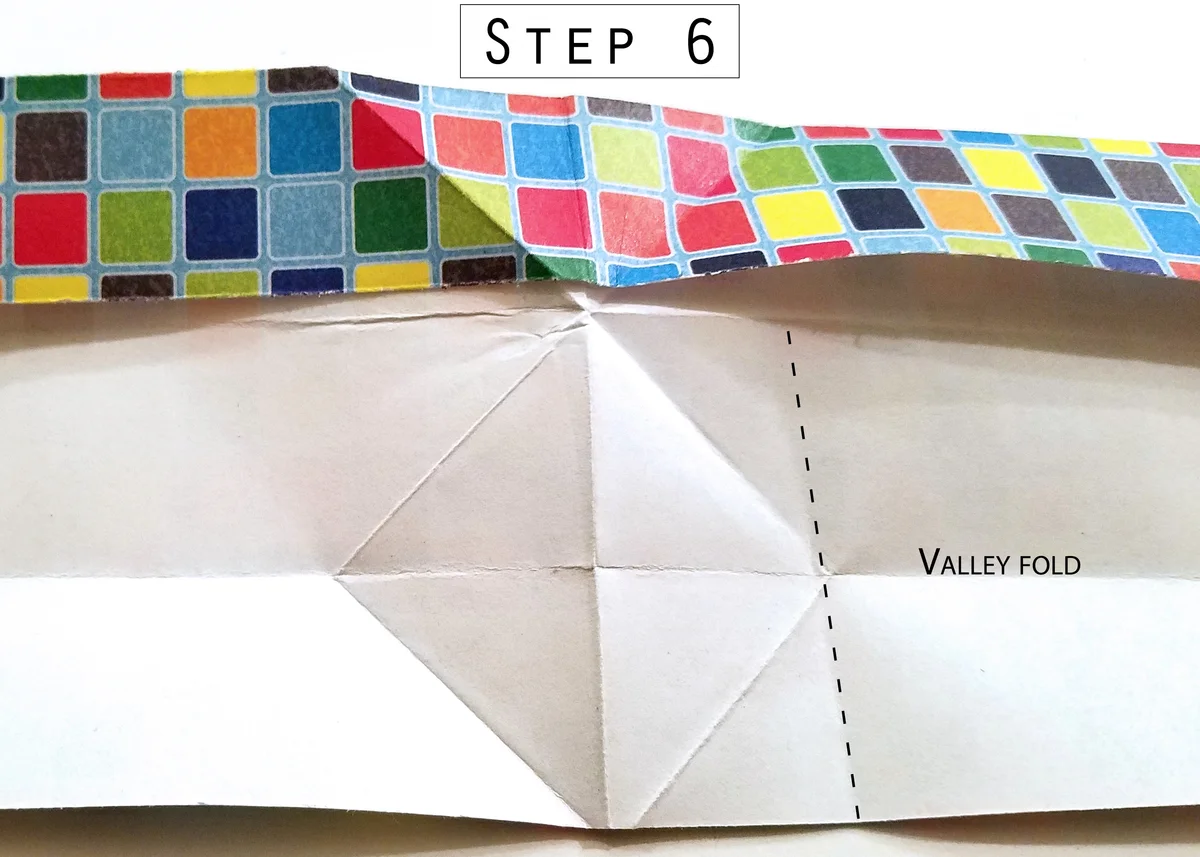
6. Make a valley fold crease along the right side of the double diamond shaped mountain fold crease pattern. Unfold all but the top horizontal fold. Your creases should look like the following image:
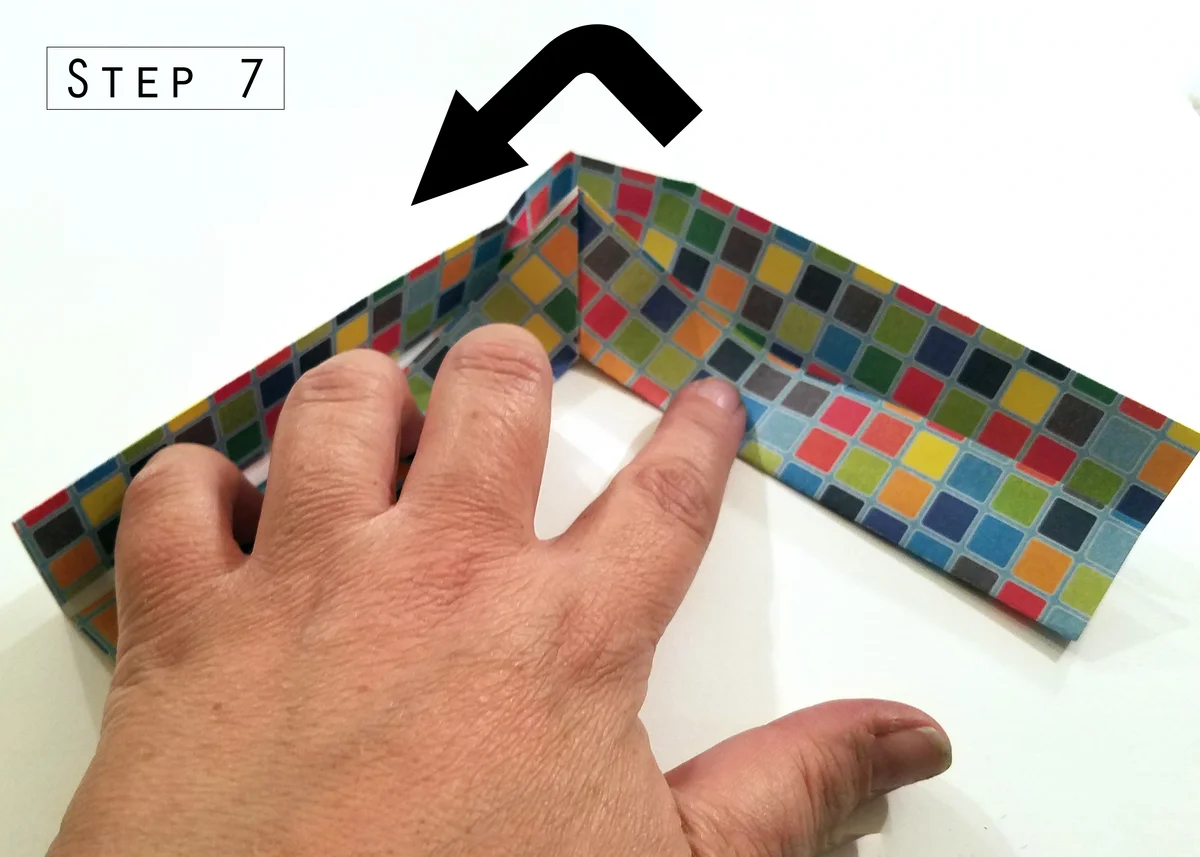
7. Fold up the upper half of the paper so it is perpendicular to the table, hold on to the left side of the paper with your left hand, and use your right hand to move the right side of the paper clockwise into a "number 7" shape. The creases made in the previous step will help the paper ease into this position.
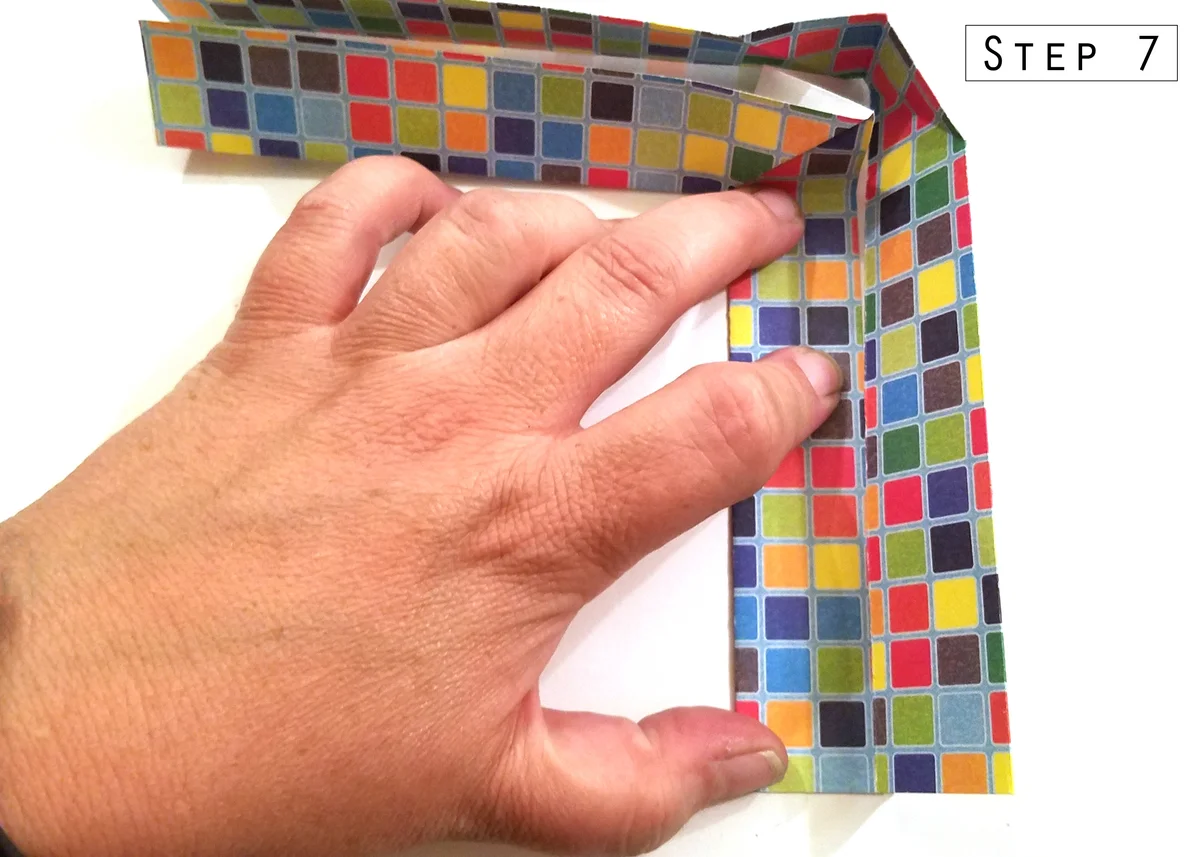
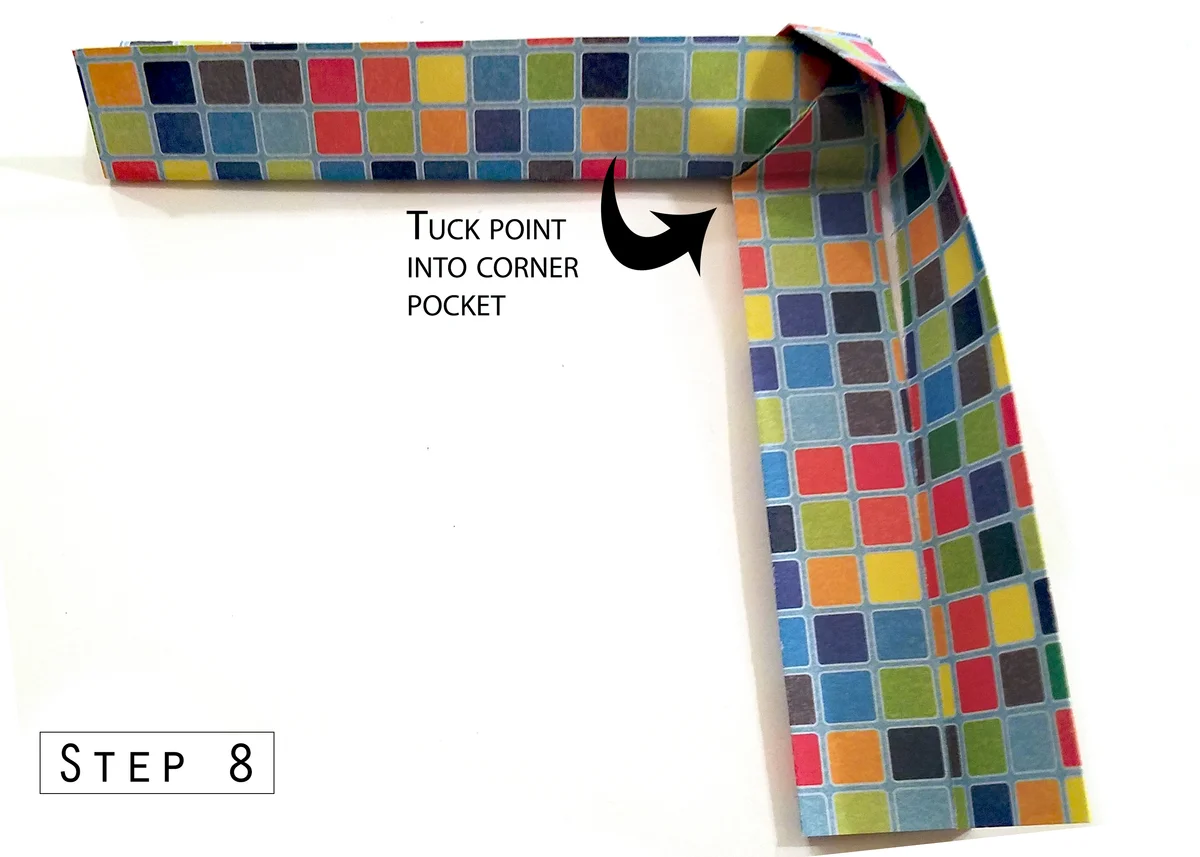
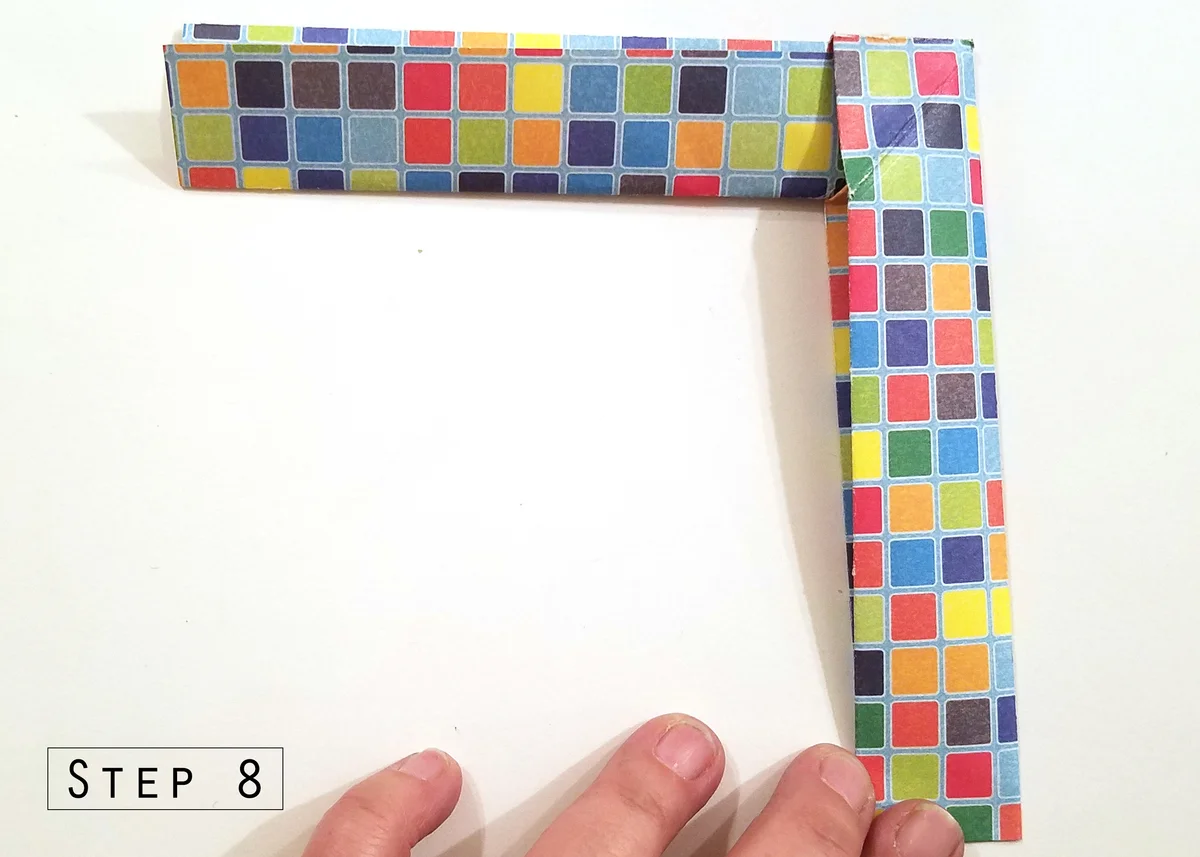
8. Tuck in the point where the bottom of the top fold meets the side, as seen in step 7.
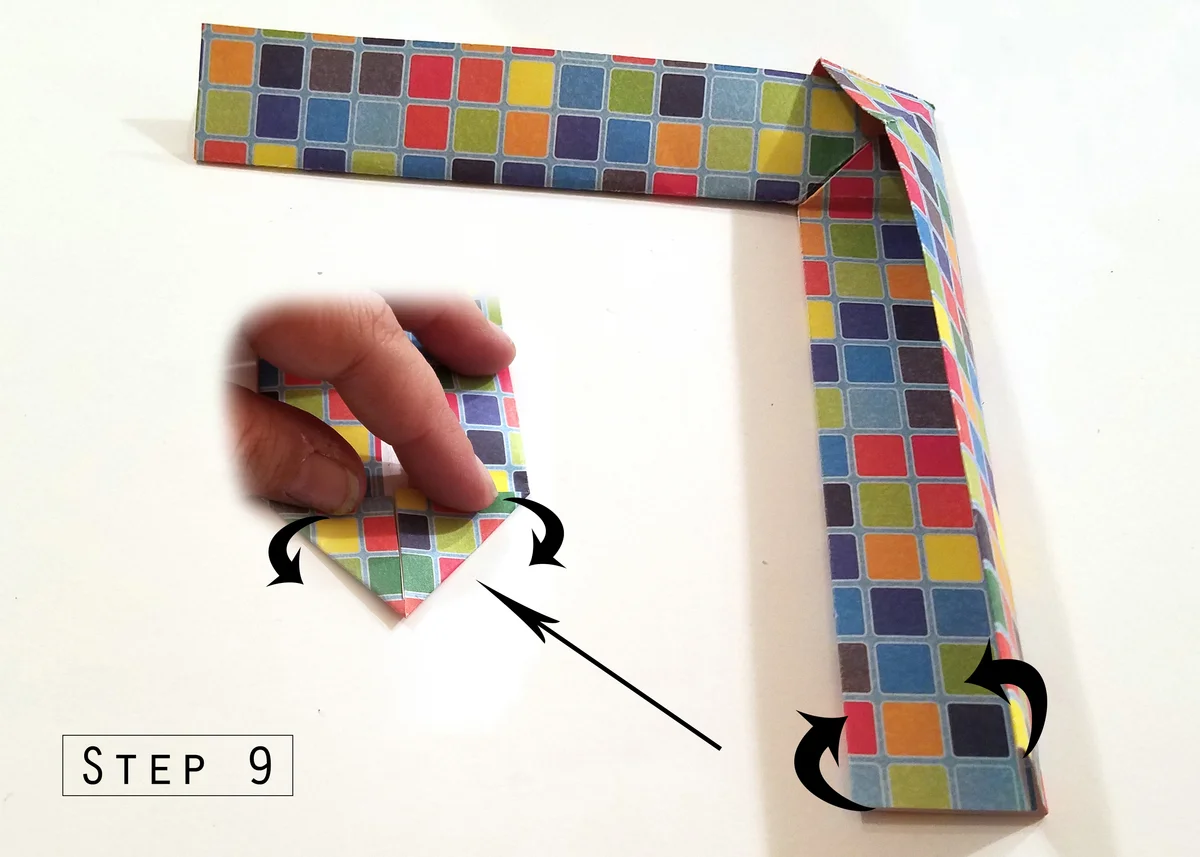
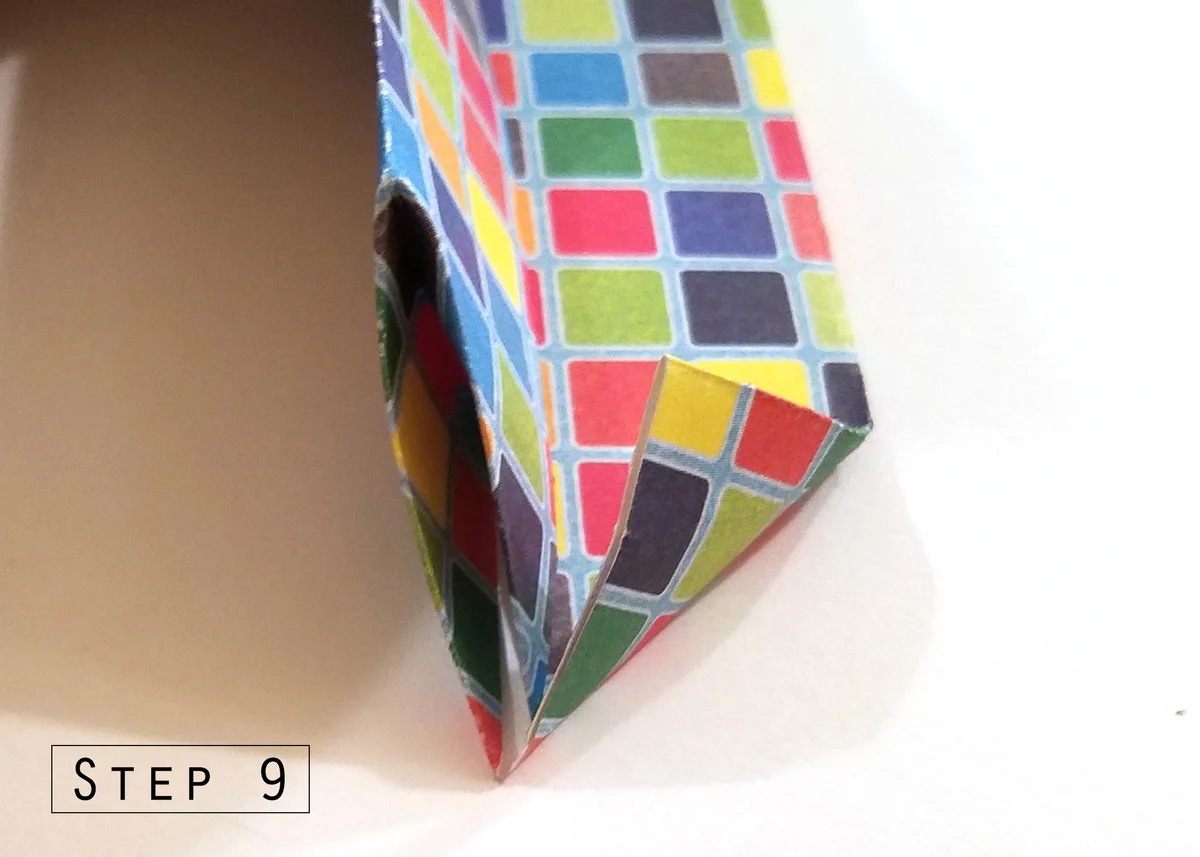
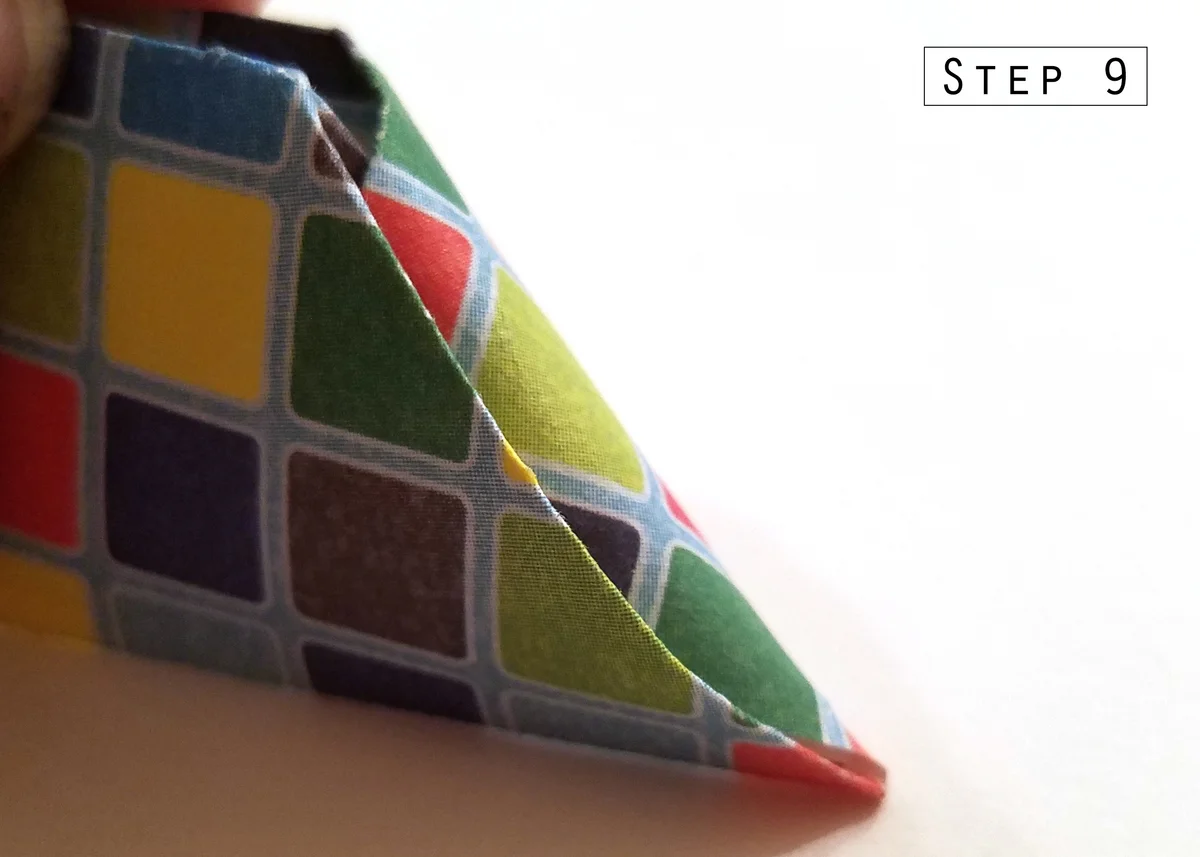
9. Pry open the bottom of the paper slightly. Fold the left and right corners in towards the middle vertical center. Crease well, then unfold. Make an inside reverse fold on the left corner, then tuck the right corner into the pocket created by this fold.

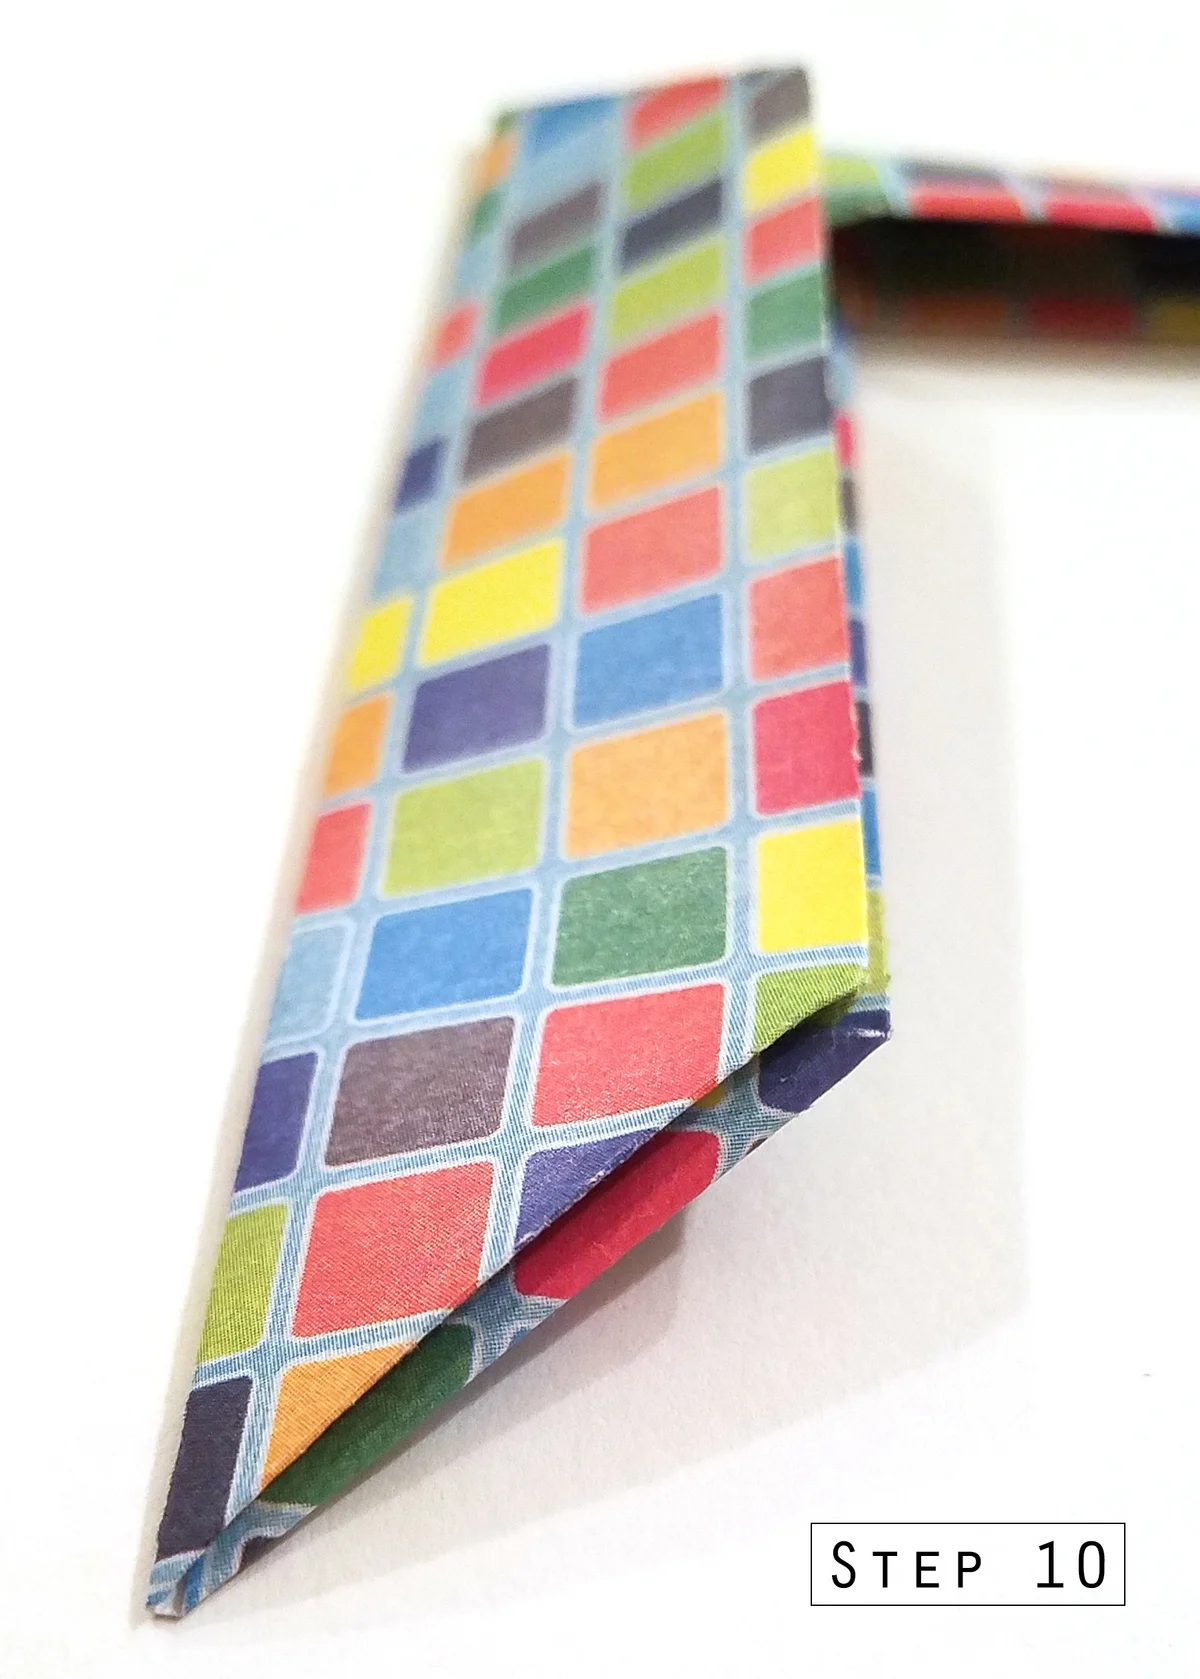
10. Repeat the previous step on the top end of the paper, making your inside reverse fold on the top side and tucking the bottom corner into this pocket.
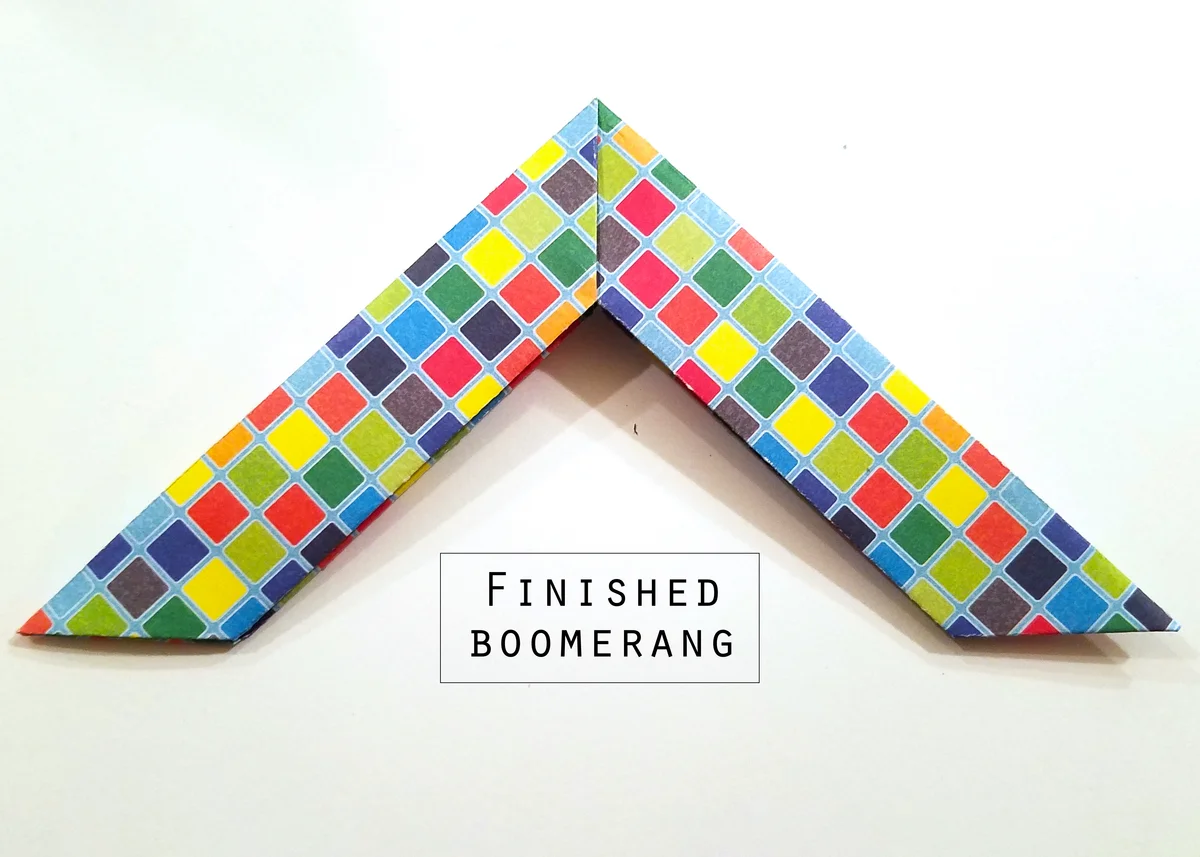
To throw your completed origami boomerang, hold the model at the corner joint with your thumb on top and your index finger on the bottom. Throw up and away from you by twisting your wrist, similar to how you'd throw a Frisbee.
For best results, play with your paper boomerang in a room with a high ceiling and no running fans. If you're in a room with a vaulted ceiling, start at the lower end and throw your boomerang toward the higher end of the room.
Origami Super Boomerang
Are you ready for a real challenge? In this video, Jeremy Shafer of Jeremy Shafer Origami demonstrates how to make a boomerang with four points from a single sheet of paper. After the project is complete, he provides a series of handy flying tips to help you make the most of your new paper toy.
Origami Provides Low Cost Entertainment
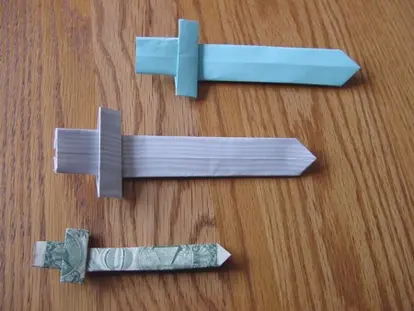
Origami paper toys are a great way to entertain your friends without spending much money. Once you're done playing with your paper boomerang, have a contest to see who can make paper airplanes that will fly the longest or make a pair of paper swords for an old-fashioned duel.