
You know that friend who gets an unrealistic amount of satisfaction after tackling a cleaning project, staring at and admiring their handiwork every five minutes? It's me, hi. And I have to be honest here — deep cleaning my fridge is one of my favorite activities. Does that make me weird? Possibly. Does that make me a master of keeping my fridge spotless at all times? No way. I am human, after all. But I do know a thing or two about how to deep clean your refrigerator, and I'm here to drop that knowledge for you.
Step-By-Step Guide on How to Deep Clean a Refrigerator
When tackling any deep cleaning, the biggest hurdle for me is knowing how much work is in front of me. But I'll let you in on a little secret: if you look at this step-by-step rather than as one giant task in front of you, the process totally sails on by.
Step One: Gather Supplies
To successfully and easily give your fridge a good scrub, you'll want to have these supplies on hand. You don't need these exact supplies, so feel free to work with what you have already.
- Sponges
- Dishcloths or rags
- Microfiber cloths or towels
- Toothbrush
- Warm, soapy water (using dish soap)
- Baking soda
- Vinegar
- Spray bottle
- Vacuum
- Spray cleaner or stainless steel-friendly cleaner
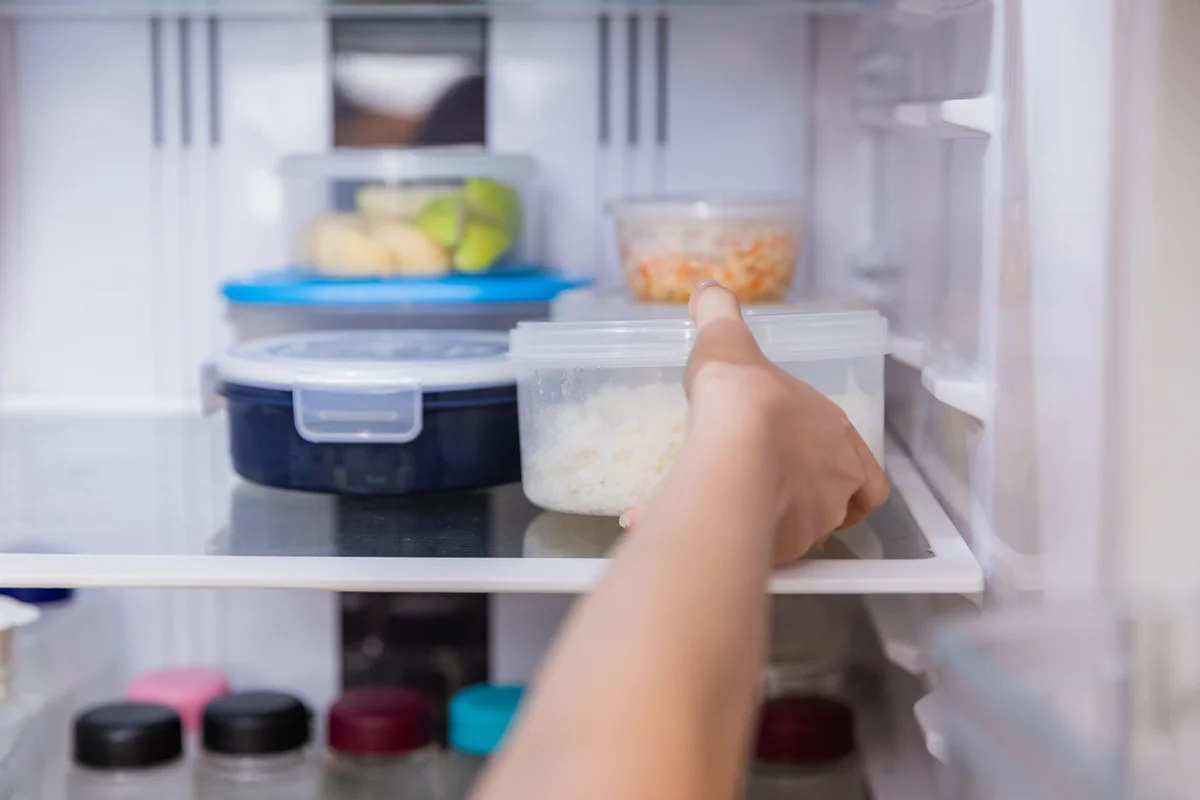
Step Two: Empty the Fridge
First things first — empty out your refrigerator. Yes, every last thing. Don't leave those couple of jars in there because "you'll clean around them." I've been there. I've played that game. Take them out.
While you're taking them out, keep like with like so you aren't hunting down your collection of sauces and dressings while putting everything back. Give each jar, bottle, and container a solid wipe with some water and a rag as you work. For stickier situations, warm soapy water will help you clean those with ease.
We may not have outright suggested trash bags, but you'll want to toss anything that's expired or that might not be up to par. Seriously. Mayonnaise can only last for so long.
Step Three: Take Out Shelves and Drawers
Now that your shelves are totally clear (I see that jar, take it out!), pull out all the shelves, drawers, and anything that can easily and readily come out. You're not disassembling the fridge, but you are making it easier to clean.
You can wash your shelves and drawers with warm soapy water or soak them in that water in the sink. Scrub away until they sparkle. How much they sparkle is up to you, but you'll want to at least banish those mystery spots from an unknown science experiment.
Step Four: Wipe Down All Interior Surfaces
While your shelves and drawers are drying, tackle the fridge itself. Using clean and soapy water, wash, wash, wipe, wipe, and scrub, scrub the walls and any surfaces inside your fridge. You can use a sponge, dishcloth, or brush to chip away at all the gunk, sticky spots, and spills that have moved into your refrigerator. See ya never, bad roommates!
Once the surfaces are sparkling and clean, wipe down with a dry, clean cloth. In your spray bottle, use half a cup of vinegar with one cup of hot water. Cover, swirl, and then spray your heart out. To complete this step, wipe down and dry everything off again.
With your clean fridge in front of you, open a box of baking soda and stick it in the back of the fridge to absorb any malodorous mysteries.
Quick Tip
If there are any pesky spots (I speak from experience), make a paste with some baking soda and water, then scrub away at the spot until it has packed its bags.
Step Five: Give Those Nooks, Crannies, and Seals Attention

Take your toothbrush and warm, soapy water or baking soda paste, and give those little spaces, seals, and hard-to-reach spots a thorough brushing. Wipe away any grime you loosen up as you work with a soapy rag so that you don't spread things around.
Step Six: Take a Long Look at Your Refrigerator
It's empty, it's gleaming — oh, minus those few spots. Don't just load everything back in. Go back in with a little more elbow grease so you can call this job totally complete. You'll thank us and yourself once the project is done. You'll be looking at that wayward spot every time you open the door if you skip it now.
Lastly, make sure everything is totally dry before calling it good.
Step Seven: Roll Out the Refrigerator and Vacuum
If you can move your fridge without hurting yourself, you'll want to shuffle the fridge out and away from the wall to vacuum up any dust on the floor and behind the fridge and tackle those coils, too. If, like me, you're 5'2" on a good day, you might not be able to get behind the fridge. Do your best to vacuum or sweep around and under the fridge.
Step Eight: Replace Shelves, Drawers, and Food
Add your drawers, shelves, and any other removable bits back in. Now is the prime time to rearrange shelf height or tackle any other reorganizing. You don't need to give it a complete shake-up, but an organized fridge will keep you on track and motivated to keep it looking good.
Step Nine: Clean the Outside
It wasn't until this year that I had a stainless steel refrigerator, and I learned that there's a whole do and don't list when it comes to keeping it looking fresh and shiny. If you have a stainless steel fridge, wipe down with a clean, dry microfiber towel and stainless steel cleaner. If not, that warm, soapy water will do the trick. Dry, dry, dry until it shines!

Step Ten: Keep It Clean!
Now that your fridge is totally clean, sparkling, and no longer a home to moldy jars or forgotten cheese sticks (guilty), you'll want to keep it that way.
- Don't wait for sticky or crusty messes to set inside or outside of the fridge. Wipe them up as soon as you see them. You don't even need special supplies — a wet dishcloth or even a baby wipe is all you need to clean it up.
- Refrigerator liners can help keep those shelves clean, especially the ones in the doors. Use 'em!
- Whatever system works best for you when you're organizing is what you should use. Just because some people keep their sauces in the door doesn't mean you need to. If storing your fruits and vegetables in the doors means they won't go to waste or liquefy, do that.
- Rotate your foods as you add them to your fridge. First in, first out is the best way to keep things fresh and avoid mystery smells and puddles.
So Fresh, So Clean
Now that your fridge sparkles from the outside in, you've tossed everything expired or questionable, and you know exactly what you have, the only next thing to do? Cook a glorious meal. You cleaned the fridge, after all, not the stovetop. The stove problem is for another day.