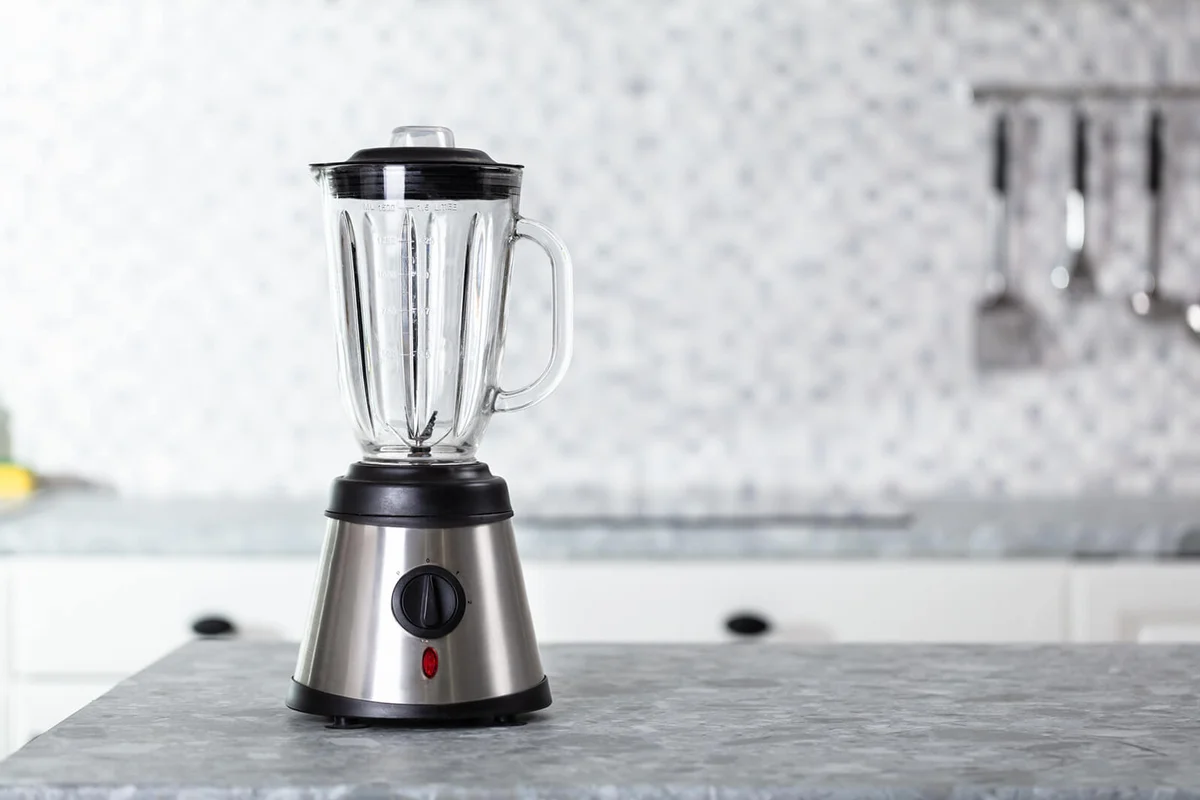
Typically, you remember to rinse out your blender. But today, your toddler took center stage, and you forgot all about that dirty blender. You might have also had too much fun last night mixing margaritas on taco Tuesday. In the clear light of day, you have a sticky mess.
Great news! It's not going to take you hours to clean your blender. If you're short on time, you can do it in about a minute. Throw on your gloves, grab some warm water, and learn a few simple tricks to deep clean your blender.
TikTok Trick for Cleaning a Blender Fast
You can't start your day without your morning smoothie! But you don't have time to take the blender completely apart to clean it either. Try out a simple method to get your blender clean from TikTok. All you need is:
- Dish soap
- Baking soda
- Lemons (optional)
- Paper towel
How to Clean Your Blender in Less than a Minute
If you've got 60 seconds to watch a TikTok, you can clean your blender. You might be skeptical, but it works.
- Fill the blender halfway up with hot water.
- Add a cup of baking soda.
- Blend for 10 seconds.
- Dump.
- Fill it halfway with warm water and a drop of dish soap. You can also add half a lemon to freshen things up.
- Blend for 10-15 seconds.
- Dump.
- Rinse it out with warm water.
- Dry everything off.
In just a minute, your blender is ready for tomorrow's smoothie!
How to Deep Clean a Blender
Sure, a 60-second clean is going to remove most of your spinach and berry smoothie. But, after a few times, it's going to need a deeper clean to get out the bacteria stuck in those nooks and crannies. So, you are going to need to take it apart. Good news, though. This should only take 10 to 15 minutes from start to finish. You need:
- Dish soap
- Baking soda
- Hydrogen peroxide
- Sponge
- Drying towel
- Scrubby with a handle
- Toothbrush
Step 1: Run the Blender With Soap
It can be helpful to give your blender a beginning cleaning to remove any stuck-on food before you start taking everything apart. To do this, follow the quick clean instructions above, but you'll want to run it for a full minute with the soapy water.
Step 2: Disassemble the Blender
Deep cleaning means you need to take everything apart.
- Unplug the blender base.
- Remove the jar and take off the lid, blade, and gasket. (If the blade doesn't detach, just take off all the parts that do.)
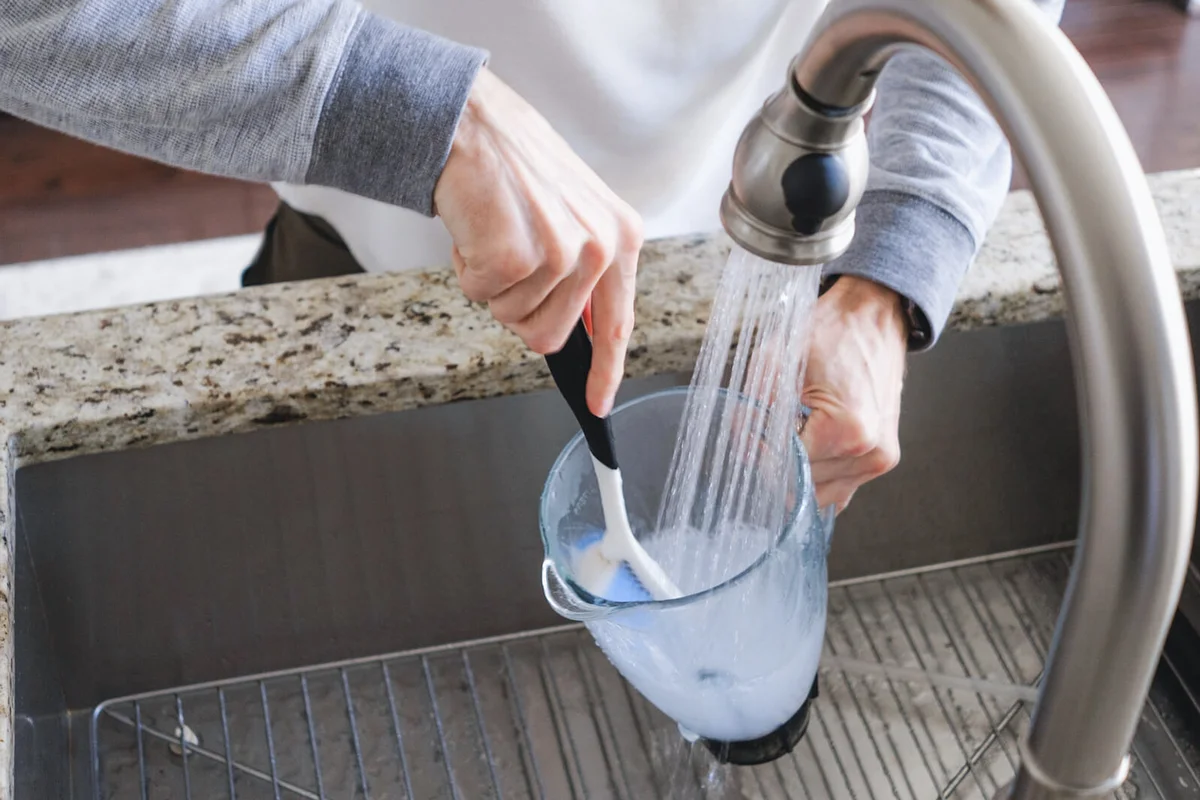
Step 3: Scrub the Jar
Most of the nasty is going to be in the jar. So, give it most of your attention.
- Fill the sink with soapy water.
- Add a few tablespoons of hydrogen peroxide to sanitize.
- Scrub out every inch of the jar.
- If the blades aren't removable, use a scrubby with a handle to get in all the nooks and crannies.
- Add a bit of baking soda to scrub stubborn stains.
If your jar is dishwasher safe, you can also choose to throw it in the dishwasher.
Step 4: Wash the Lid and Blades
Now it's time to clean up all the little pieces.
- Allow everything to soak for up to 30 minutes.
- Wipe everything down with the cloth, starting with the blades. (Be extremely careful because these are sharp.)
- Rinse with warm water.
- Set everything on a towel to dry completely .
Step 5: How to Clean the Blender Base
Your base doesn't typically see much action. Well, unless you don't put the lid on tightly. Then it's an absolute nightmare. Most of the time, you can just give things a good wipe down, but the toothbrush is good for cleaning out all the crevices.
- Wet a cloth and add a drop of dish soap.
- Wipe the entire base down.
- Wet a toothbrush.
- Dip it in baking soda.
- Scrub any stained areas.
- Rinse everything off with a damp cloth.
- Wipe down the cord and check for issues.
- Dry everything.
Step 6: Reassemble
Follow the same steps you used to take the blender apart to put it back together. You can then store it assembled or store the base and jar separately.
How to Remove Stubborn Stains on Blender
You used your blender for those girls' night bloody Marys, and let's just say that cleaning your blender wasn't on the top of your list. So, it's got some stubborn tomato stains and a bit of stink. It's time to grab:
- Baking soda
- White vinegar
With your de-stinking tools at the ready. It's time to get to work.
- Fill the blender with equal parts white vinegar and water.
- Run it for 1 minute on high.
- Dump the liquid out.
- Fill the sink with soapy water.
- Add a cup of baking soda.
- Disassemble the jar and lid.
- Allow everything to soak in the baking soda water overnight.
- Scrub it down in the morning.
- Rinse, dry, and reassemble.
Tips for Rusty Blender Blades
You didn't dry off your blender blades as well as you thought. You pull it out, and they've got speckles of rust. Don't pitch it. Grab the white vinegar instead.
- Soak the rusty blades in white vinegar for at least 24 hours.
- Make a paste of baking soda and water.
- Scrub any remaining rust with the paste and a toothbrush or steel wool.
- Rinse and dry completely.
Tricks for Keeping Your Blender Clean and Fresh
Who doesn't like a clean and rust-free blender? It also smells like fresh lemons rather than smoothies. Now it's time to keep it that way.
- Always make sure your blender is completely dry before putting it away.
- Check your owner's manual before putting your blender pieces in the dishwasher. Some can etch.
- For smelly foods, run your blender with baking soda and water or soak it in baking soda to alleviate odors.
- Always deep-clean your blender after a few uses.
- Rinse your blender out after using it to avoid stuck-on crust and make your cleaning adventure easier.
Make Blender Cleaning Easy
Your blender went from a complete mess to fabulous. It's sitting on your counter in all its glory for your friends to enjoy the next time you have a margarita Monday! And when it comes to tough stains, there's nothing that a little baking soda and vinegar can't handle.