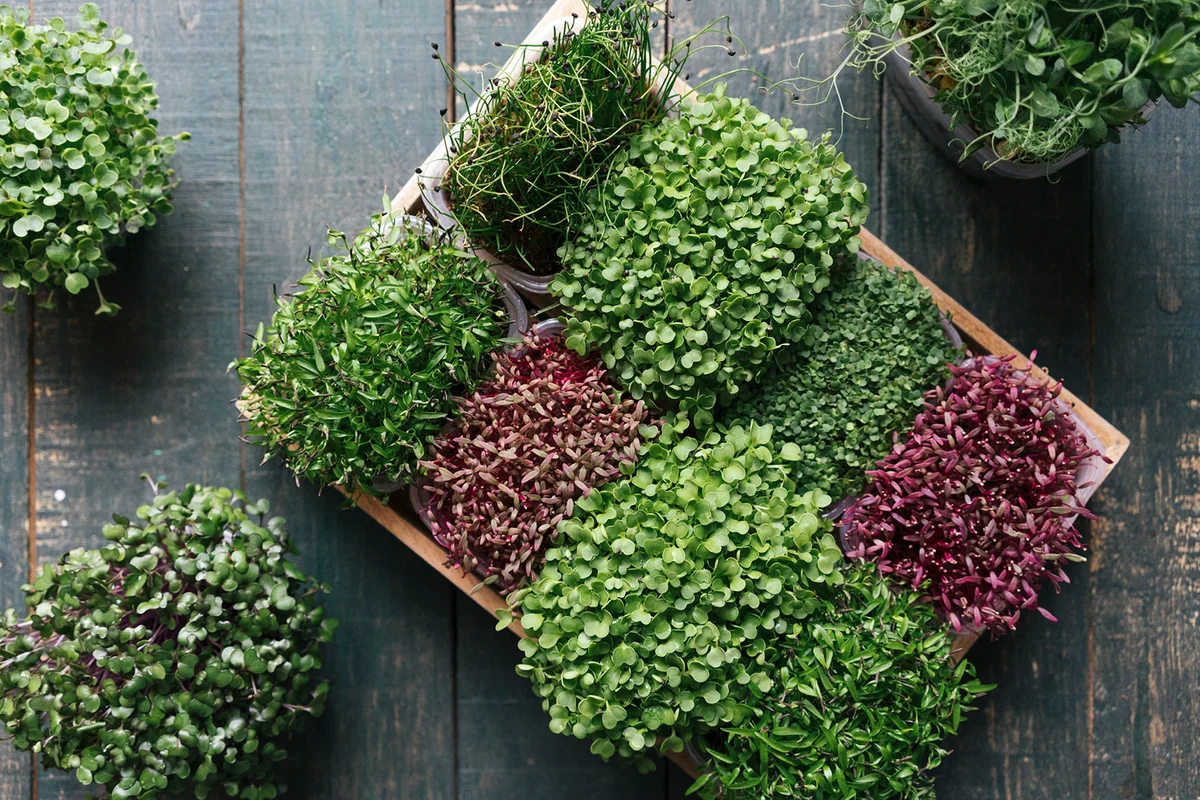
Wouldn't it be awesome to have ongoing access to fresh, tasty, and nutritious microgreens at home? You absolutely can, even if you're new to growing your own food. It's surprisingly easy. Ready to learn how to grow microgreens indoors? With a bit of know-how and minimal effort, you'll be producing all the fresh microgreens you can eat in no time at all. Explore this beginner's guide to growing microgreens, and you'll be enjoying tasty tiny greens in no time at all!
How to Easily Grow Microgreens Indoors
Looking for the easiest path to grow microgreens indoors? When you grow them in trays with potting mix or soil, you'll be able to produce a good quantity of food quickly, without having to buy specialized supplies. Keep in mind that microgreens grow best when the temperature stays between 65 and 75°F (18-24°C). They'll do great if your home stays within in this range and you follow the steps below.
1. Decide What Types of Microgreens to Grow
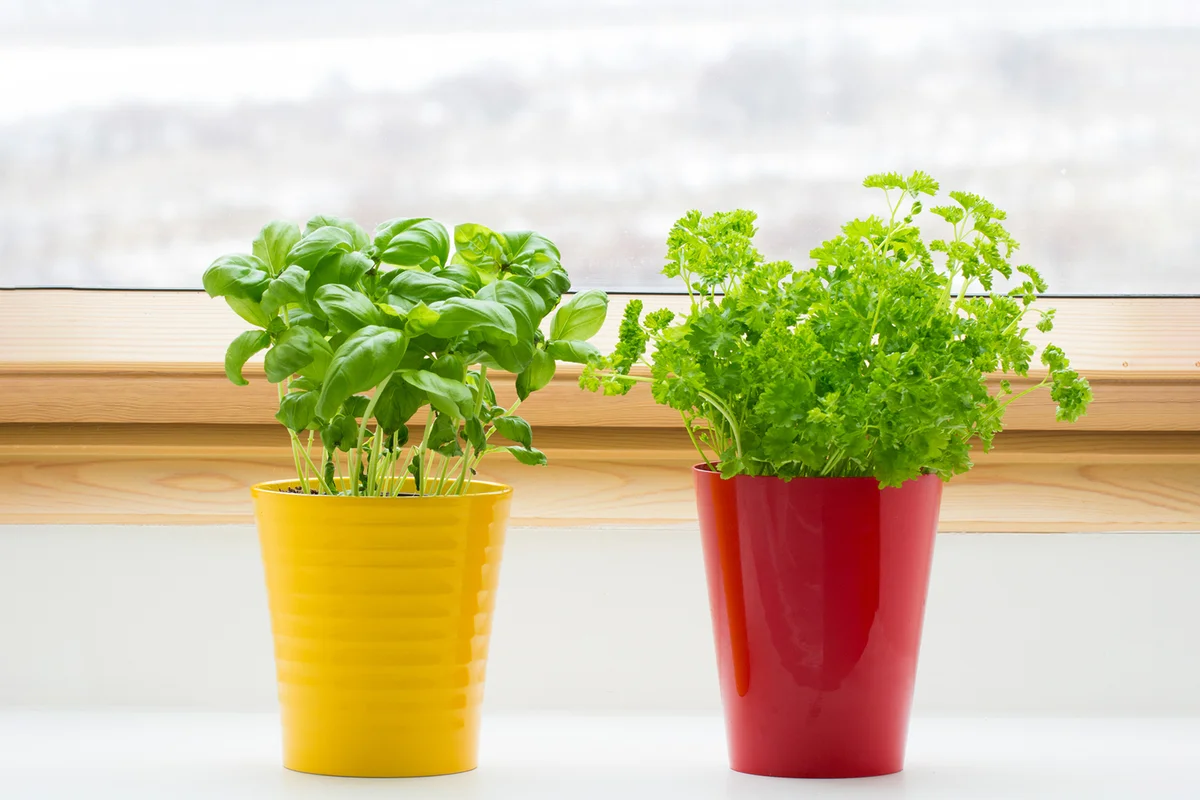
The easiest way to get started growing your own microgreens is to purchase a microgreen seed mix. You can find these at just about any garden center or online seed retailer. However, you do not have to purchase a microgreen mix. You can grow microgreens from ordinary seeds for most types of leafy greens, as well as legumes, many herbs, most types of cereal grains, and more. If you don't want to use a mix, you can purchase seeds separately. Popular microgreens to grow include:
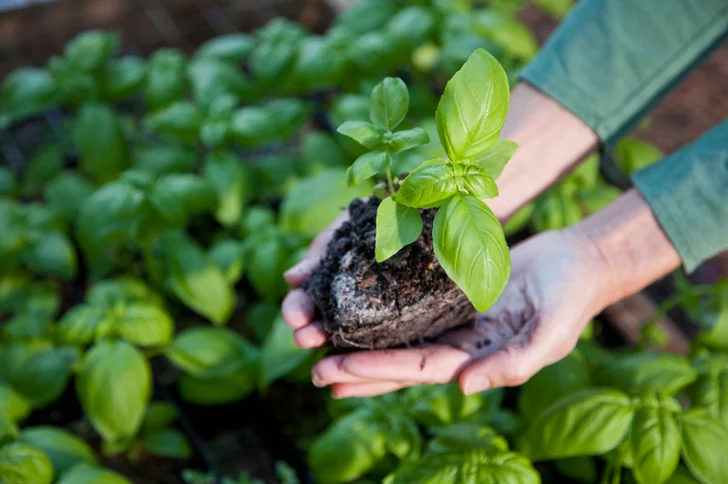
- Basil
- Beets
- Kale
- Lettuce
- Peas
- Radishes
2. Choose Your Growing Container
You can grow microgreens in any kind of well-draining container that is between one and two inches deep. You can purchase microgreen growing trays, which is a good idea if you have space for one (they're typically around 10" X 20") and plan to grow a lot of microgreens. You can also use the plastic trays that some supermarket meat or produce comes in. Just wash them well and poke holes in the bottom of them to allow water to drain.
3. Choose Your Growing Medium
When growing anything indoors, it's better to use a potting mix made for indoor growing rather than bringing in soil from outdoors. Soil from your yard could have creepie crawlies in it that you don't want to bring into your home. Because microgreens grow for only a short period before being harvested, they'll be able to get the nutrition they need from seed starting mix or potting soil.
4. Fill Containers With Soil
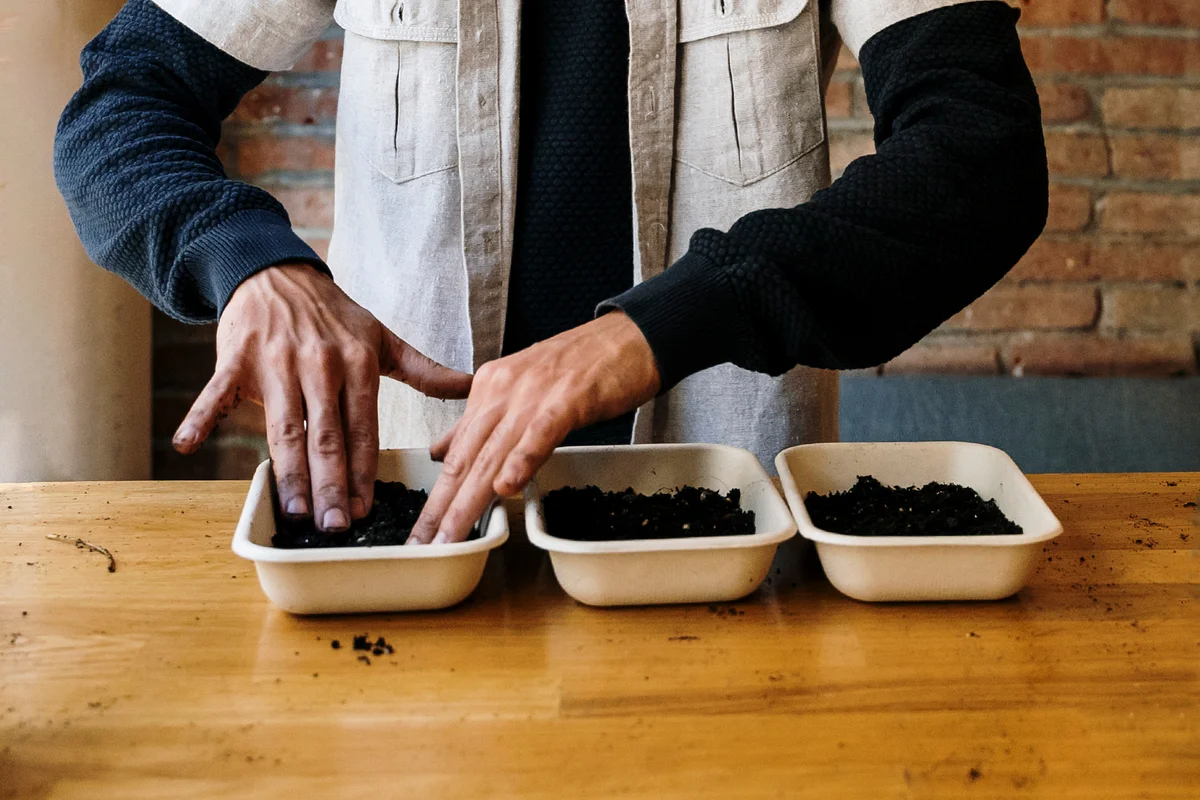
Once you have selected your growing medium and container, you'll then need to fill each container with the potting mix of your choice. Fill the container with soil so there is just a small amount of space between the top of the soil and the open edge of the container. Place the growing container in or on a tray that will capture any water that drips through the bottom. Water the soil thoroughly, ideally using a spray bottle or watering can.
5. Broadcast the Seeds
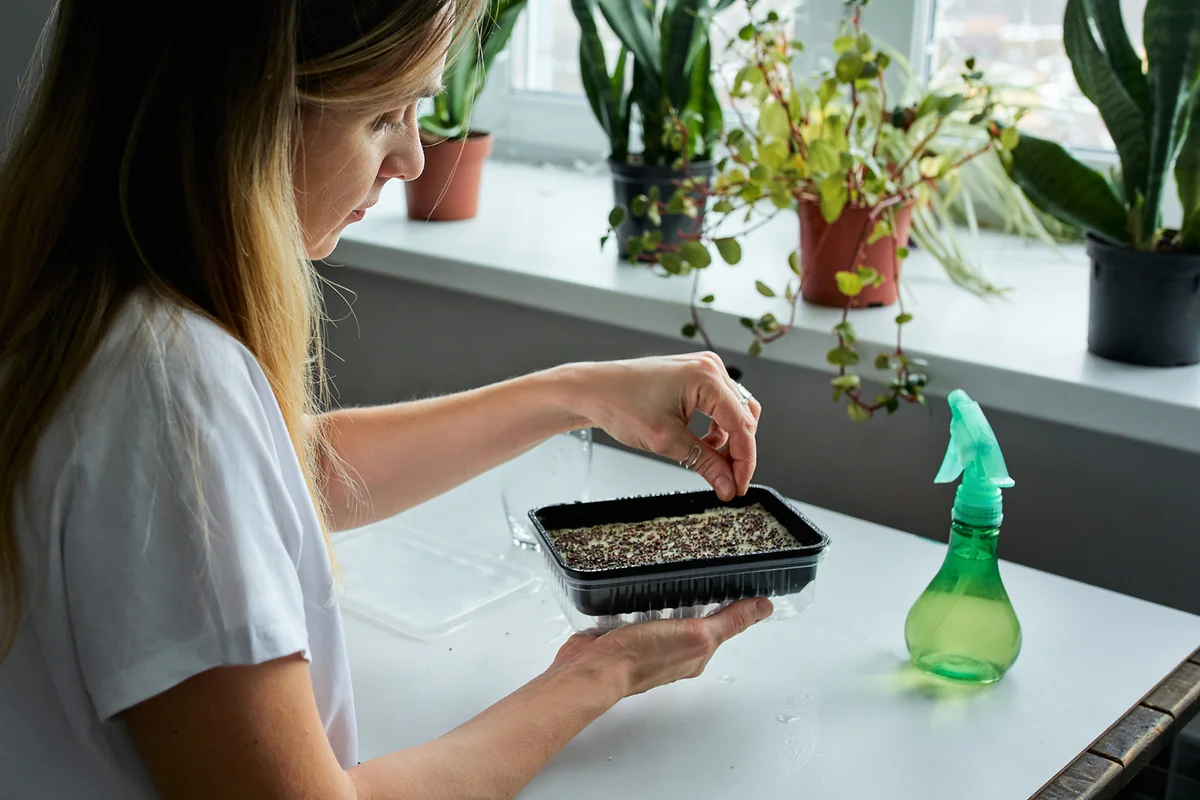
Once the soil is damp, densely broadcast your microgreens seeds across the soil. If you are using ordinary seeds, do not worry about the spacing requirements on the back of the seed packet. Those only apply when growing full-size plants. Since microgreens will be harvested when they are very small, they can be very close together.
- For small seeds (like leafy greens), you generally want around 10-12 seeds per square inch.
- For larger seeds (like peas), it's ideal to stick with around six to eight in the same space.
- I never actually measure; I just drizzle seeds over the soil in a fairly even single layer. They grow just fine.
6. Finalize Seeds for Growing
You'll need to consider the type of microgreen you are growing when deciding whether you should simply press the seeds gently into the soil with the palm of your hand or cover them with a layer of potting mix. Once the seeds are patted down or covered with soil, use a spray bottle to water them. Be sure to mist the entire surface area of the seeded container.
- If a seed should not be covered when growing a full-size plant - such as lettuce - then do not cover it when growing it as a microgreen.
- If seeds would ordinarily need to be covered, then you should cover them with a thin layer of soil when growing as a microgreen. Lightly tamp the soil after putting it in place.
7. Cover the Tray to Block Light
Your microgreen trays should be covered to keep the seeds dark for a few days. This may seem counterintuitive, but it actually helps the seeds germinate. Be sure to use a cover deep enough to allow seedlings to emerge without coming in direct contact with it. I usually use an empty seed tray the same size as the one I'm growing in as a cover. You could also use a small baking dish or domed greenhouse-type lid. If your cover is clear, then put a dark towel over it to block out light.
8. Keep the Seeds Moist
You'll need to make sure the seeds stay moist while waiting for them to sprout. This is the most labor-intensive part of rowing microgreens. It's not hard, but does require attention twice a day, every day for a little while. You'll just need to briefly remove the cover just long enough to spritz the surface with water using your spray bottle. Do this twice daily until you notice that a majority of the seeds have sprouted their first two leaves (which are referred to as seed leaves).
9. Remove Cover and Place in Light
Once most of the seedlings have two leaves, your microgreens no longer need to be kept in the dark. It is now time to remove the cover and place the tray in a location where the seedlings can get the light they need to grow. They need six to eight hours of filtered (through the window) sunlight per day. Rotate the trays daily so each part gets equal light. If you don't have a location that's sunny enough, use fluorescent grow lights to supplement. These lights should be about a foot above the trays.
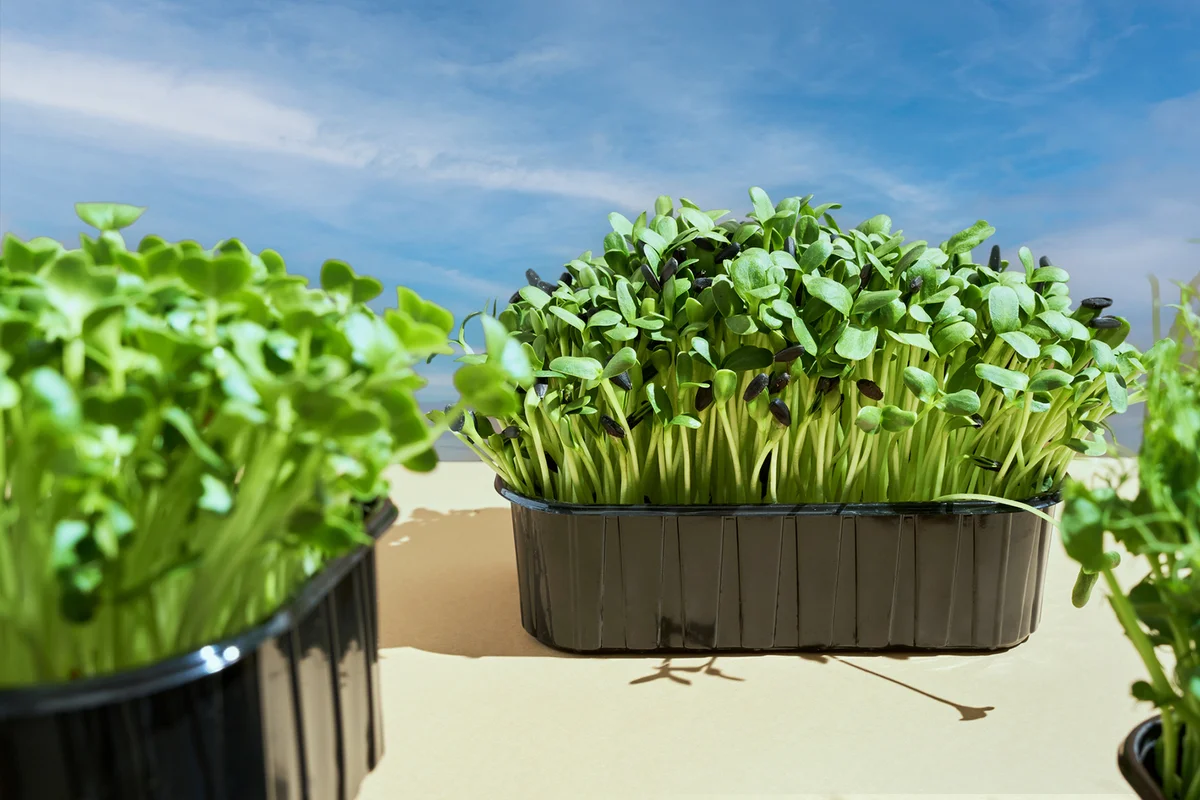
10. Wait for Your Microgreens to Grow
Now it's time to wait for your microgreens to grow. The good news is that you don't have to wait very long, as they don't need to grow very much. Microgreens are usually ready to harvest in less than three weeks. You won't need to keep watering them twice per day at this point, but you should mist them whenever the soil starts to seem dry. Depending on how humid it is in your house, you may need to mist them every two to three days or so.
11. Harvest Your Microgreens
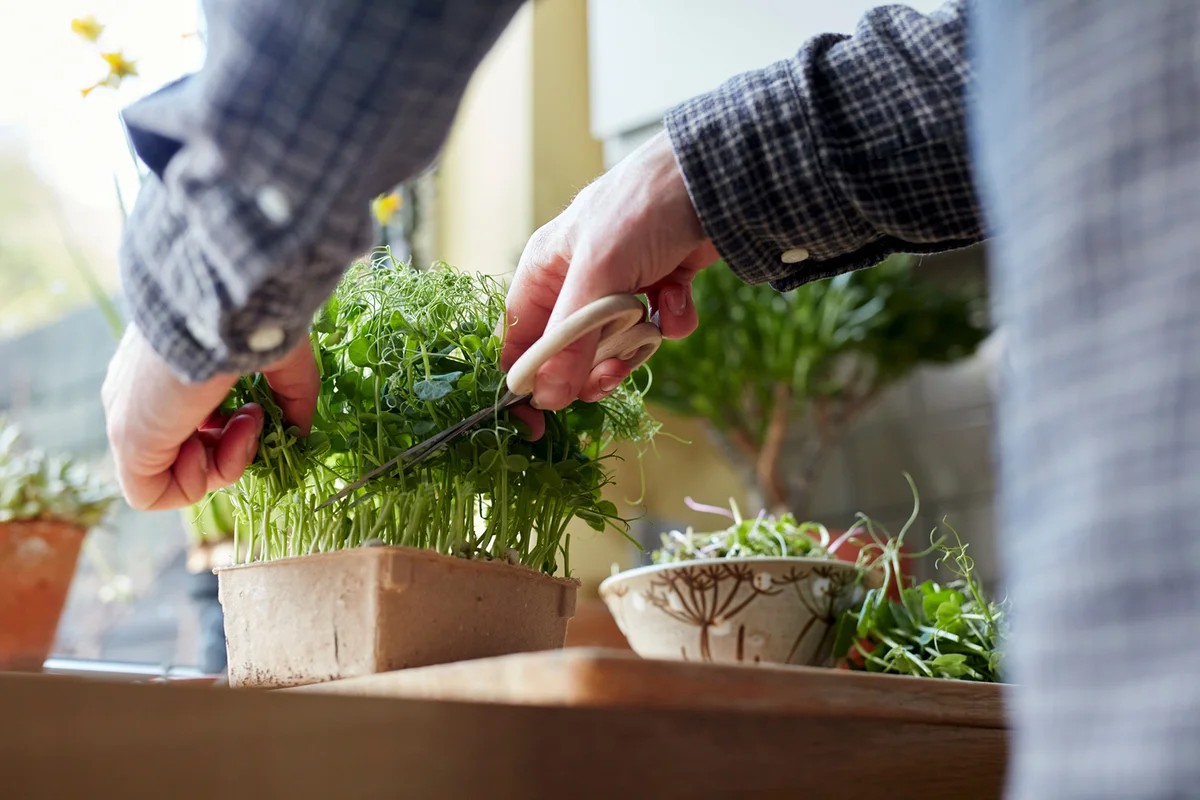
It's generally best to harvest microgreens when they are between two and four inches tall. Use a sharp knife or scissors for harvesting. Cut off the microgreens about 1/4" to 1/2" above the soil line, to make sure you are harvesting only tasty greens. If you cut too close to the soil line, you'll likely also pick up some of the potting mix along with the plant matter.
12. Enjoy the Leaves of Your Labor
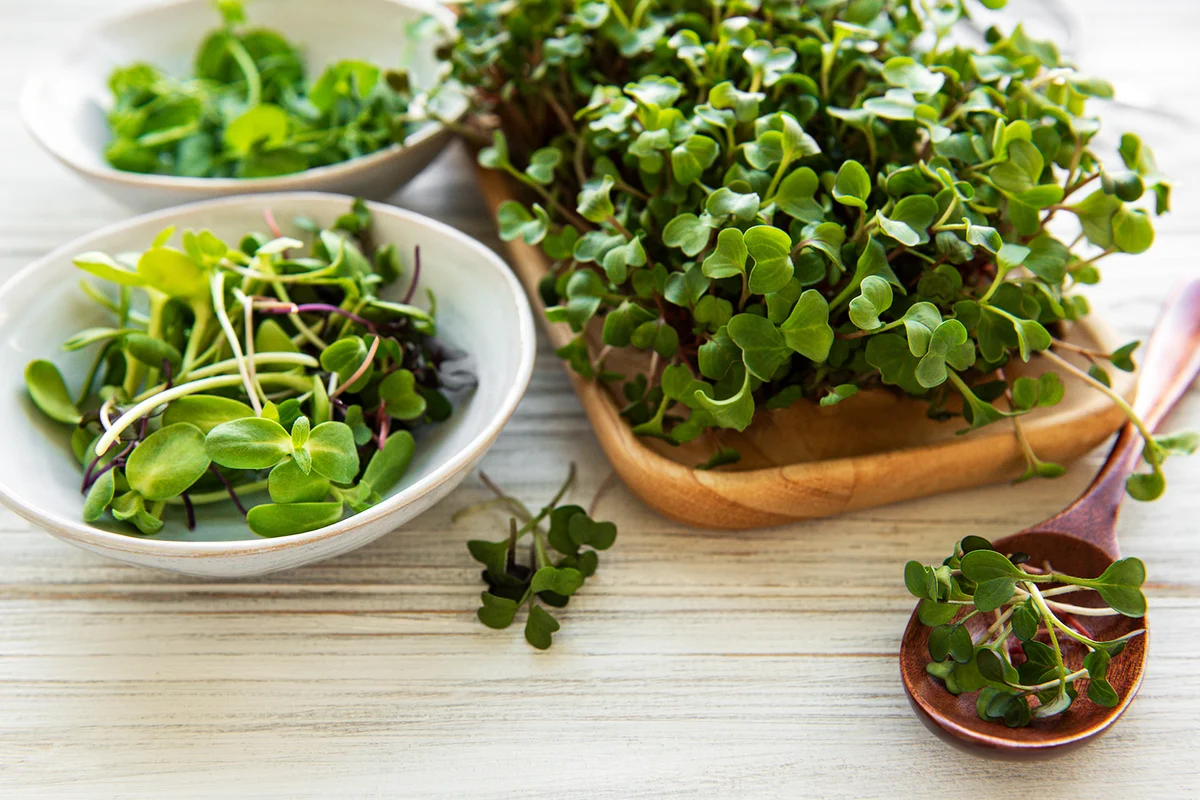
You can eat your microgreens right away. If there is any chance you picked up some soil when harvesting, rinse them in a colander and pat dry before eating. Otherwise, just mix up a microgreen salad and enjoy! Put any that you won't eat right away in an airtight container and store them in the refrigerator, where you can expect them to stay fresh for up to a week.
Microgreen Growing FAQs
The steps above outline the basics of growing microgreens indoors. If you want a little more information before you get started, you may find the frequently asked questions and answers below to be helpful.
Do Microgreens Need Fertilizer?
No. Microgreens do not need to be fertilized. They grow for only a very short time before being harvested, and so get all of the nutrients they need during this time from the potting soil. If you were starting seedlings in order to plant in a garden bed for full-size plants, the same would be true for them. They'd only need fertilizer after being transplanted.
Do Microgreens Regrow After Cutting?
Not really. Most microgreens do not regrow at all after harvest. A few types may regrow a bit, but even if they do, there will only be a very small harvest. When people say their microgreens regrow, it's really more likely that they're seeing growth from a few seeds that didn't germinate right away. There won't be many of these in a batch. It's a better use of your soil and time to start over with fresh seeds once you harvest microgreens.
What Can I Use Instead of Potting Mix?
Potting mix is generally considered the cheapest and easiest option for growing microgreens, but there are a few other options. You could make your own potting mix by combining three parts of peat moss with one part of perlite and one part of compost. You could substitute coco-coir for the peat moss if you prefer. Alternatively, you could purchase a hydroponic mat to use for growing microgreens.
Is It Hard to Grow Microgreens?
The answer to this question depends on how you define "hard." It's not as simple as tossing seeds onto soil and waiting for them to grow. But, if you follow the steps above, you'll likely have success. You will, of course, have to take the time to plant the seeds properly in trays and make sure they get the initial dark conditions they need, followed by the proper amount of light, as well as meeting their changing needs for water every step of the way.
Enjoy Growing Your Own Microgreens Indoors
Now that you know how to grow your own microgreens indoors, you'll be able to enjoy fresh, tasty home-grown salads any time of year. Whether you eat bowls of microgreens on their own or add them to full-size lettuce (much of which will grow back) or other greens (such as kale, arugula, Swiss chard, collards, etc.), you'll be able to round out as many meals as you want with fabulous, fresh veg that you grew yourself. What a fabulous way to enjoy the full flavor of success!