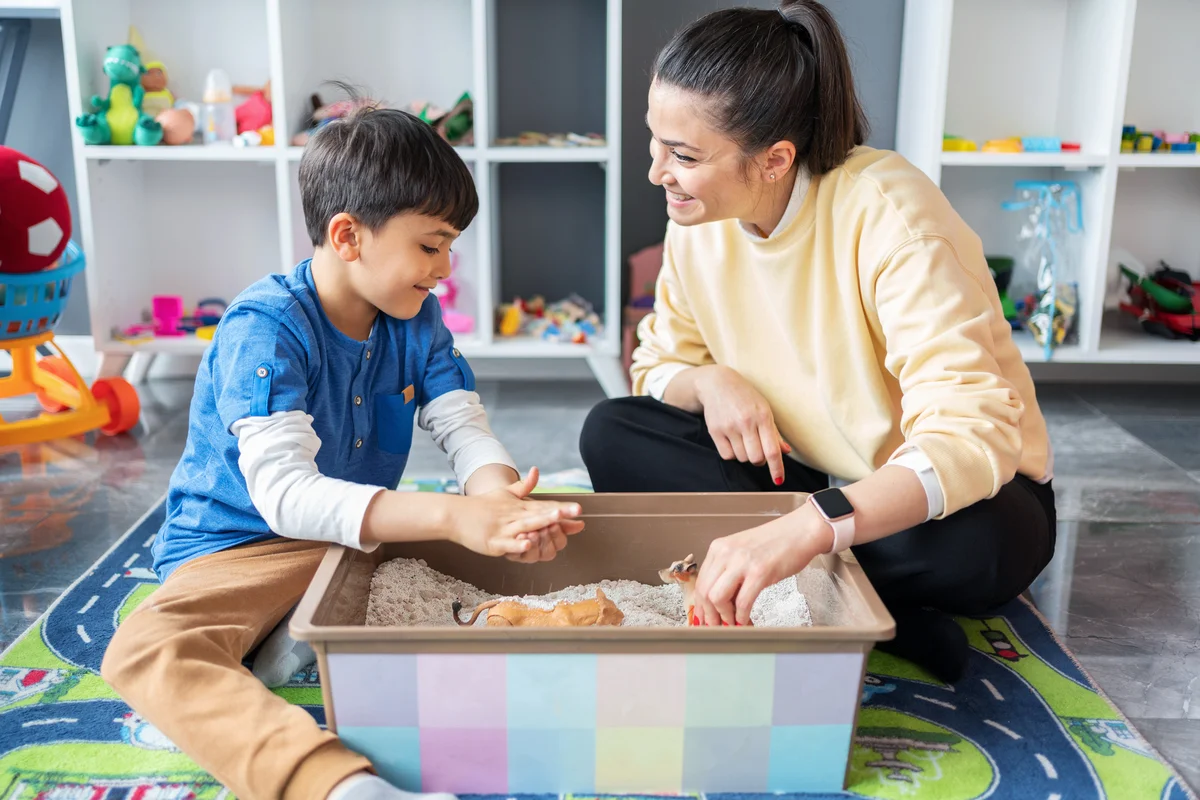

Sensory bottles can be a great tool for kids' learning and development. Essentially a bottled up game of I Spy, these vessels contain all kinds of shapes, colors, and materials for kids to search through. This can provide lots of entertainment and they can have a calming effect, too. Try these simple DIY sensory bottles idea to help your kids discover a whole new world of fun.
How to Make DIY Sensory Bottles
There are two types of sensory bottles - ones with liquid filler and ones with solid filler. Liquid fillers are a simple mixture of water, food coloring, and either mineral oil or clear Elmer's Glue. If you are choosing to use a liquid filler, avoid metal objects in the bottle as they can rust.
Conversely, solid fillers feature sand, colored rice, birdseed, corn kernels, and small beans. Virtually any small object can be used with these materials. We recommend small plastic toys and objects, fine glitter, fake vegetation, shells, and water beads for your kids to discover.
The only other essential items you will need for these projects are large, open mouth plastic bottles and some glue to seal the lids. The best bottles to use are old spice containers with screw on tops and plastic VOSS bottles. However, you can also buy clear sensory bottles online. Once you have all your materials, making your sensory bottles is easy! Here's how to create these exciting discovery jars.
Dry Sensory Bottles
First, gather all of your materials. Second, fill a small portion of the base of your jar with your filler. Next, layer in some discovery items and then add another layer of filler. Repeat these steps until there is approximately one inch of space left at the top. Apply a layer of glue to the sides of the lid, seal, and give it time to dry!
Wet Sensory Bottles
Again, gather all of your materials. Next, fill your jar a third of the way with warm water and add food coloring and glitter. Next, fill it another third of the way up with mineral oil. Finally, add in your discovery items! Just like with the dry sensory bottles, add a layer of glue to the lid and allow it to dry.
Alternatively, if you want a slow-moving sensory bottle, follow the same instructions, but use clear Elmer's Glue instead of mineral oil. Put your glue in the jar prior to the addition of the warm water. Both of these options can have a calming effect.
Creative Sensory Bottles Ideas for Kids
Sensory bottles are excellent options for toddlers, but even kids that are a bit older can enjoy these unique interactive toys. One of the best ways to ensure that your child gets the most out of their search is to create a checklist of all the items that they need to find in their discovery jar. This can help to keep them interested in the activity and encourage critical thinking skills.
Exploring Under the Sea
Ocean themes are a great option for a wet sensory bottle that uses mineral oil. This will create bubbles like you would see under the water. Add in ocean creatures, shells, small aquarium plants, and even small rocks for the bottom of the bottle. Don't forget a sunken ship and a bit of gold! This is sure to keep your little treasure hunter amused.
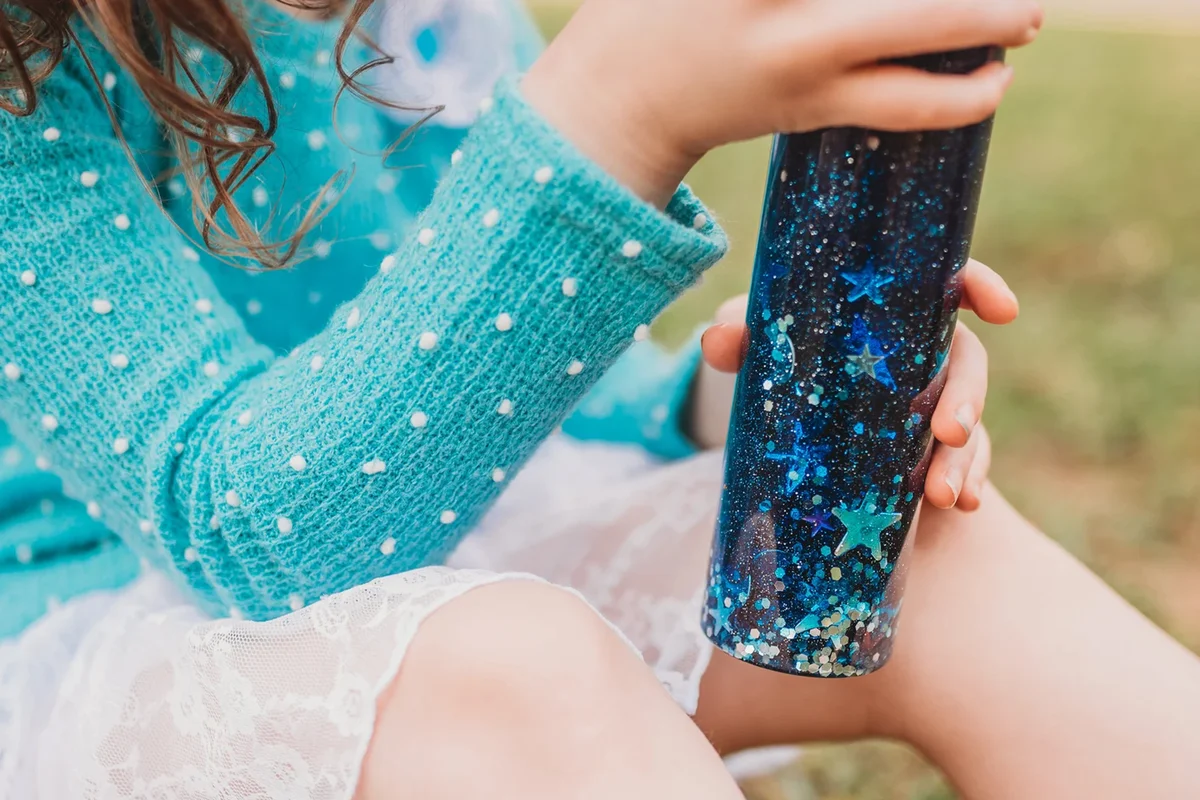
Searching the Solar System
Glow-in-the dark stars and planets, as well as small astronauts and spaceships, are great items to put in this galaxy-themed sensory bottle! You can also sneak in some bright green aliens for a bit of a surprise. For a wet sensory bottle, choose a dark blue or purple-colored water that features a dark-colored glitter.
In contrast, for a dry sensory bottle, a mixture of black sand and silver or gold glitter can be a bold choice. Don't forget white rocks for your asteroids as well!
Lighting Up the Sky
Weather-themed sensory bottles are always a fun choice. For this jar, cut out some lightning strikes using yellow foam, use cotton balls for the clouds, grab some dark blue glitter to make your rain, and add enough blue food coloring to your water to darken the sky. Both mineral oil and Elmer's Glue can work for this project. Add in some plastic umbrella charms or plastic umbrella confetti and your stormy scene will be set!
Sliding Down the Rainbow
This project requires six jars - one for every color of the rainbow. For each dry jar, you'll collect an array of single colored items that will sit nestled in rice dyed to the correspond with color of the jar. For instance, red rice would be used in the jar with red objects like scarlet buttons, toy apples and strawberries, hearts, and lady bug charms. This is a great option for a busy bag that can provide hours of entertainment.
Need to Know
To dye your rice, you just mix one teaspoon of white vinegar with every cup of white rice that you require. So, if you need two cups of rice, you will need two teaspoons of vinegar. Place these two ingredients in a ziplock bag and add in 10 to 12 drops of food coloring per cup of rice. Seal and mix it around until the color sets in. Then, lay it evenly on a cookie sheet to dry.
Singing Your ABC's
An ABC bottle is an easy way to help toddlers learn their letters. Simply grab some rice or sand and layer in colorful plastic alphabet letters. Make it competitive by encouraging them to find all 26 before they can move onto the next activity.
Mining With Magnets
Head to your local hardware store and pick up some nickel, steel, cobalt, and iron nuts, bolts, and washers. You can also grab some nickels and paperclips from your desk drawer. Then, purchase a stronger horseshoe magnet to keep outside of the jar.
Layer these items in rice or sand, but leave a little extra open room at the top to ensure that the magnetic items can move. Then let your child draw the various items to the surface using their magnet!
Construction Site Idea
This sensory bottle can feature mini construction vehicles, traffic cones, roadblock signs, hard hats, and LEGO pieces all encased in sand. When you ask your little Bob the Builder if he can find all the items, he will be yelling "Yes I Can!"
Excavating Dinosaur Bones
Black aquarium sand, mini dinosaur bones, and speckled kidney beans (for your dinosaur eggs) are all you need for this sensory bottle! Make sure to include a magnifying glass for your little paleontologist to examine his dig site as well as a list of the dinosaurs that he may find.
Working on the Farm
This is a fun theme to use corn or oats for your filler! Grab some mini barnyard animals, fruit and vegetable charms, and some John Deere gear and you are set for some fun on the farm!
Quick Tip
While any bottle is great for keeping your kids entertained at the grocery store or the doctor, if you're planning to bring these items with you on a trip, remember to avoid bottles that use liquids or metal objects as airport security is likely to confiscate these items.
Try Sensory Bottles to Keep Kids Busy
A great way to enhance this activity is to pair the sensory bottle with an I Spy book. This continues the theme of searching and discovery and it will keep the entertainment going. Also, get creative and find other themes that you think your child will enjoy. This can make the activity even more engaging. No matter what theme you choose, kids are sure to have fun with homemade sensory bottles.