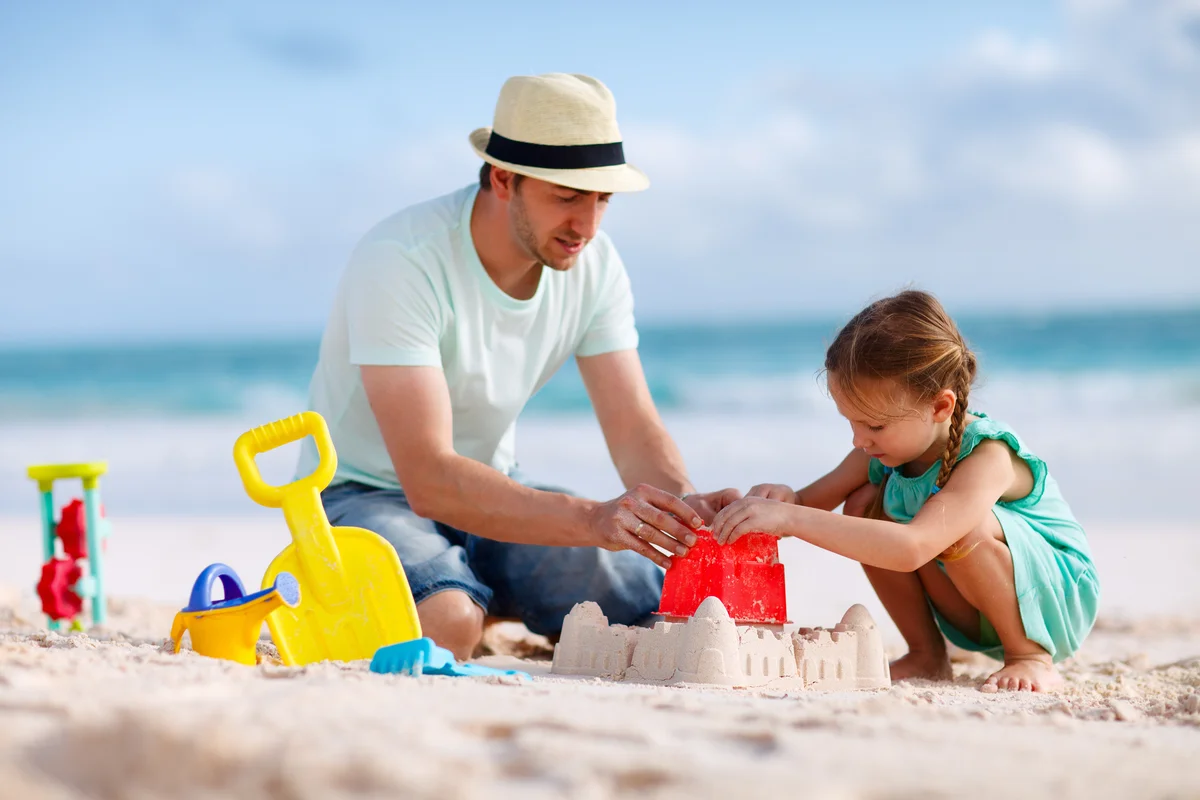

Kite flying is a classic pastime with a storied history. Flying a kite with your kids is a wonderful way to spend an afternoon outdoors together. It's high time to introduce the art of kites to your children, and show them how to fly a kite in the windy skies. Learn everything you need to know about kites and flying kites below.
Easy Steps for How to Fly a Kite
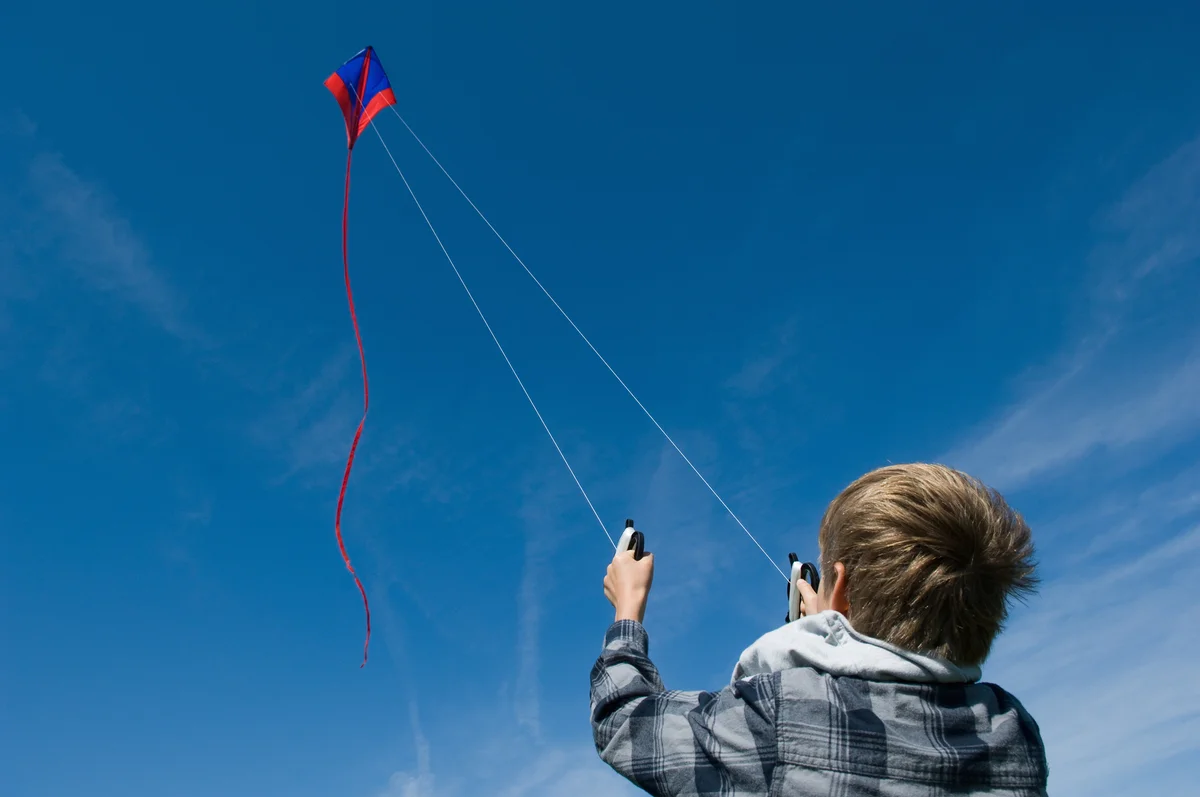
There are plenty of approaches to flying a kite, but the general steps are as follows:
1. If possible, have two people available for a successful kite launch. One person will be the "launcher," another will be the "flier." The launcher is responsible for moving roughly twenty feet from the flier's space with their back to the wind. They release the kite into the air.
2. As the launcher releases the kite, the flier pulls the kite string to create friction.
3. If you are flying your kite solo, you will want to prop your kite up on a fence or something sturdy, or with certain kite designs, stand the kite up on its own. Then walk back 20-50 feet, give a forceful tug, and get the kite off the ground and into the wind. Once you have the kite in the air, continue moving backwards while tightening and loosening the string accordingly. You will loosen the string to allow the kite to gain more height, but tighten the string to keep the line from falling slack.
4. Once the kite is in the air, the flier lets small amounts of string out so that the kite weaves and winds higher and higher into the air. Be sure to always keep your string tight and note the wind direction. Slack kite strings will force your kite back down to the ground. Just as you let the string out to give your kite the freedom to roam the friendly skies, you'll wind the string back up as you bring the kite safely back to the ground.
5. While your kite is in the air, keep on the lookout for any objects that might interfere with your kite's ability to soar.
The Best Conditions and Places to Fly a Kite
Conditions and location are both key to successful kite flying. You need wind to make your kite soar, but how much wind you need largely depends on the type of kite that you are sending into the sky.
Wind
- If you are flying a diamond or delta kite, six to fifteen mph winds will suffice.
- Once you are an avid and experienced kite handler, and you're interested in sailing larger, more structurally sturdy kites, like a box or parafoil kite, then stronger winds ranging from 15 to 25 miles per hour would be ideal.
Always fly a kite in safe weather conditions. Avoid rain and storms at all costs. Rainy days are better spent playing inside games and activities, not flying kites.
Location
Location is also an essential factor to consider before flying your kite. You will want to seek out a space that is void of any objects or crowds that could pose a blockade to your kite's performance. Check out beaches that are not busy, open fields, and parks that aren't packed with trees. Trees can mangle kites and render them useless fairly fast! Bonus: find a park on a hilltop, where you can catch even more unobstructed wind to soar your kite.
Build Your Own Kite
With the right materials and instructions, the kids can build their own beautiful kite to fly! What an awesome idea for crafty kids who love outdoor activities!
- Consider the kind of kite you want to make. Arguably, diamond, delta, and sled kites are the easiest to construct.
- Have all materials readily available before you begin building your kite. To construct a diamond-shaped newspaper kite, you will need the following materials:
- A two-page spread of newspaper, scissors, tape, knife, kite string, long sticks, a marker
- Using a marker, draw a diamond shape on the newspaper. Cute the diamond shape out.
- Lie two sticks in a cross shape onto your diamond. Chops sticks or lightweight, thin sticks made from other materials are excellent options.
- Tape the center of the cross to the newspaper.
- Lie four sticks around the edges of the diamond. Be sure the sticks are sized to fit the sides of the diamond. Tape these sticks to the newspaper as well.
- Fold excess newspaper material over the outside perimeter sticks.
- Tie the end of a string to the center of the sticks that created the cross.
- Tie fashionable tails to the lower part of the diamond kite.
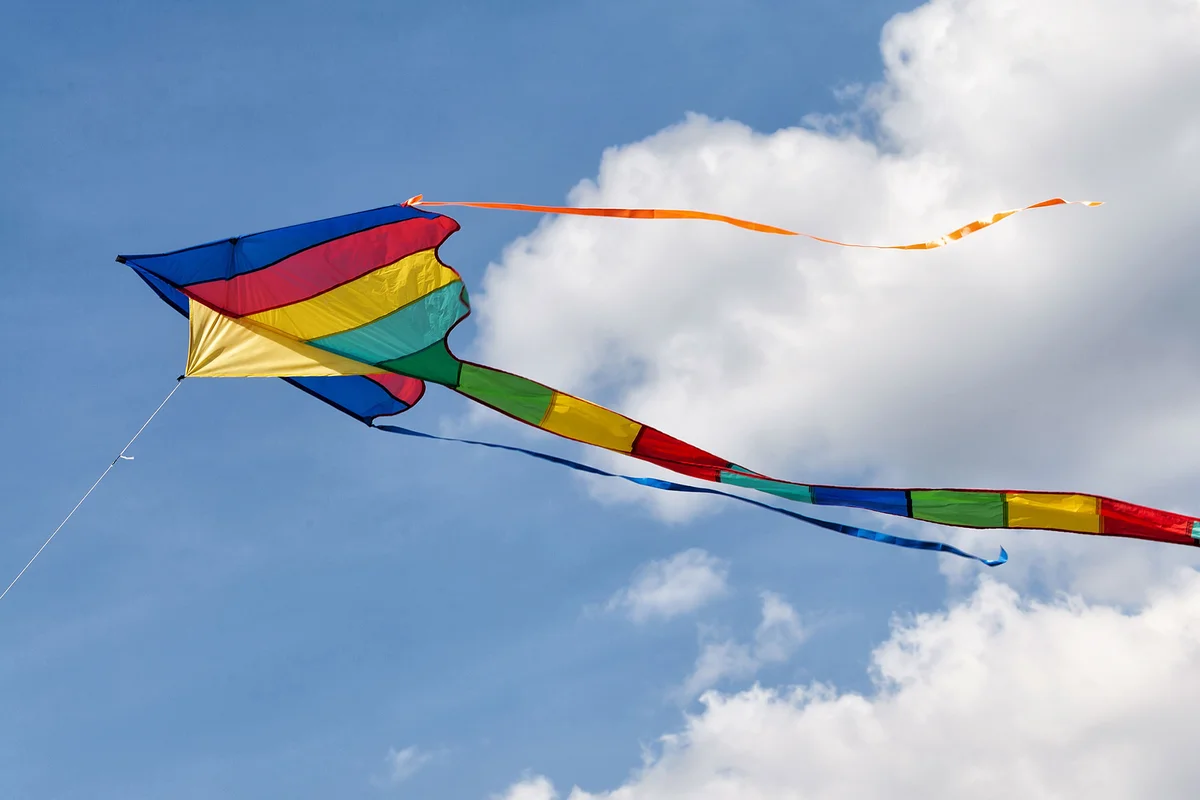
Choose From Eight Types of Kite Designs
There are eight types of kites, with the delta and the diamond kites being the most popular and widely recognized kite designs.
Delta Kite
Delta kites are triangular and contain a keel holding the kite's spine straight as the wings fan out into the notable triangle shape. Delta kites can have a single or dual line and may come with a tail or not. These types of kites are generally easy for beginners to fly, as they are simple to launch into the air and can be flown with ease using only a slight breeze. Delta kites are typically comprised of rip stop fabric or spinnaker fabric.
Diamond Kites
Diamond kites are diamond-shaped (hence the name) and commonly identified for their easily recognizable shape. These kites are one of the easiest types of kites to assemble on your own and are generally easy to fly. Dimond kites were first made of paper, but are now made from rip stop nylon, making them durable options for kite lovers.
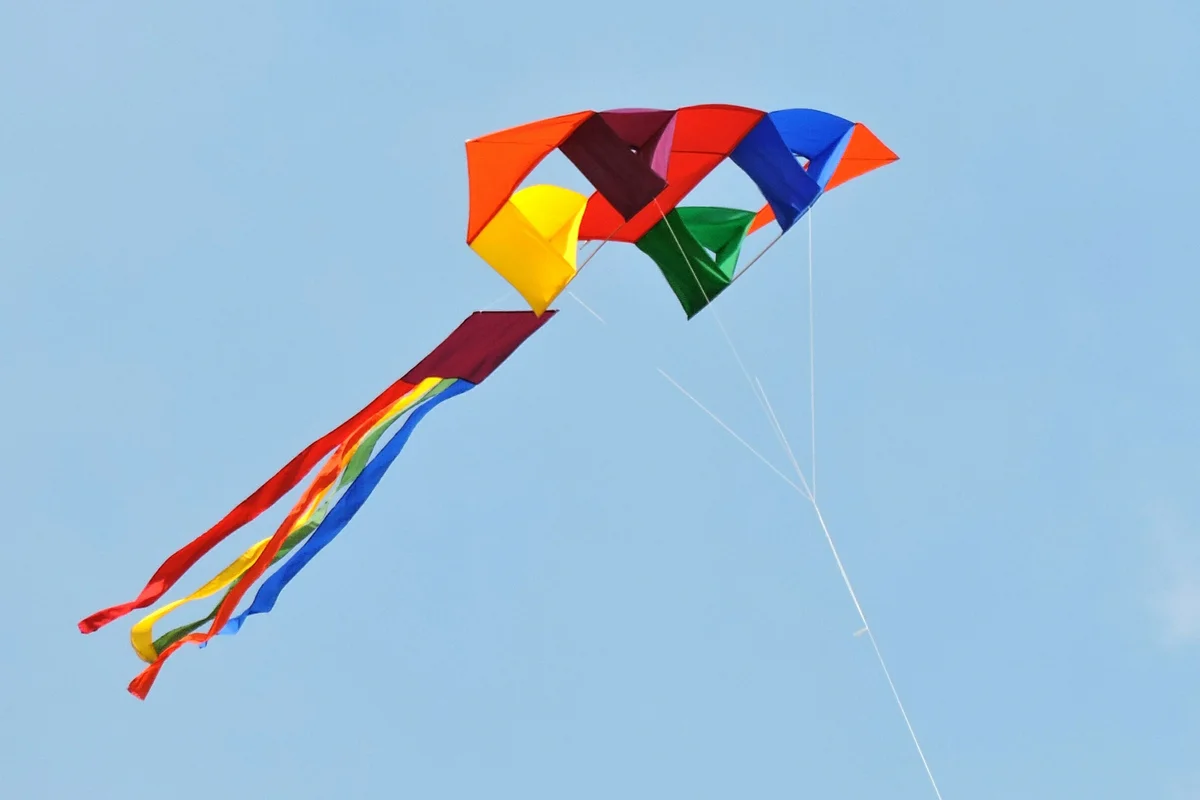
Parafoil Kites
Parafoil kites are defined by their characteristic of not containing a frame. The frameless design makes it challenging to break them, which is great for kite flying beginners who are guaranteed a crash or two as they learn the art of kite flying.
Parafoil kites have an upper and lower surface, both of which are divided into small cells that fill with pockets of air to give the kite shape. This type of kite was the inspiration behind parachutes and paragliders.
Cellular Kites
Cellular kites are three-dimensional kites that come in several shapes and sizes. Box kites, Hargrave, and Cody kites are all examples of cellular kites. Box kites require stronger winds to sail through the air, as they tend to have more framing than other kite models.
Sled Kites
Sled kites are single surface kites that contain vertical spars on the sides of the kite structure, helping to give the kite durability in case of a crash. These kites are easy to fold up, pack up and take with you on hikes and treks out into open spaces. Sled kites are generally moderate in size, and made of plastic material, making them excellent options for young kite enthusiasts.
Rokkaku Kites
Rokkaku kites are six-sided fighter kites that originated in Japan. These vertically stretched hexagons are top-performing kites and one of the most stable and solid kites available. Traditional rokkaku kites were hand-painted with images of famous Samurai or cows (which signified wealth and prosperity.) Traditional rokkaku kites were created from Washi paper and bamboo spars, but today they are often made from rip stop nylon and carbon spars.
Stunt Kites
Stunt kites are also known as sport kites, and they are revered for the wow-factor tricks they can do while in flight. These kites come in various shapes, with the delta being the most common. Dual line stunt kites are popular, as they are easier to maneuver and manipulate. Rip stop nylon and polyester materials are used to make this type of kite, as these fibers withstand the crashes that stunt kites are most prone to.
Traction Kites
Traction kites, or power kites, are large and designed to give significant pull. They are commonly seen being used in tandem with skis, snowboards, kiteboards, and all-terrain roller skates. They are used for rather unusual extreme sports like kitesurfing, kite skating, kiteboarding, kite buggying, and kite skiing.
A Quick History of Kite Flying
While the true origin of where kite flying first occurred is widely debated, it is largely believed that the Chinese are to thank for the windy day activity. The earliest written account of kite flying occurred in 200 BC where Chinese General Han Hsin of the Han Dynasty flew a kite over the city walls he was attacking in order to measure the distance his troops would have to tunnel through to pass the city walls and come out behind the city's defenders.
By the 13th century, kite flying had spread to other parts of the world, including parts of Asia, India, and the Middle East. Through the centuries, varying parts of the world used kites for different reasons.
- During the 18th century, kites in Europe were used for scientific and meteorological purposes.
- The 19th century saw kites being utilized to help lift objects (such as cameras, thermometers and people), and give traction to others. For example, kites used to pull carriages along.
- Kites were used in the advancement and understanding of early aerodromes and aircraft.
- Kites were utilized for military purposes. The British, French, Italian, and Russian armies all had kite units to better keep an eye on enemy troops and their plans.
- Kites have also been used for space exploration to help gain aerial perspective. Additionally, check out this recent proposed plan to send kite-flying robots to Mars.
Kite Flying: An Activity Enjoyed by People of All Ages
Kite flying is an enjoyable activity for people of all ages and abilities. As long as the conditions are right, you can get outdoors and fly a kite! Take up this classic activity with your children, and introduce them to the wonderful world of sailing a kite through the blue skies.