
Nothing tugs on the heartstrings quite like the holidays, and there is no better time to glam up your dorm room with cheerful Christmas décor. Show off your artistic creativity by making some of the décor yourself or with the help of your dorm mate. Use these quick and easy dorm ideas to have a festive holiday.
White Christmas Dorm

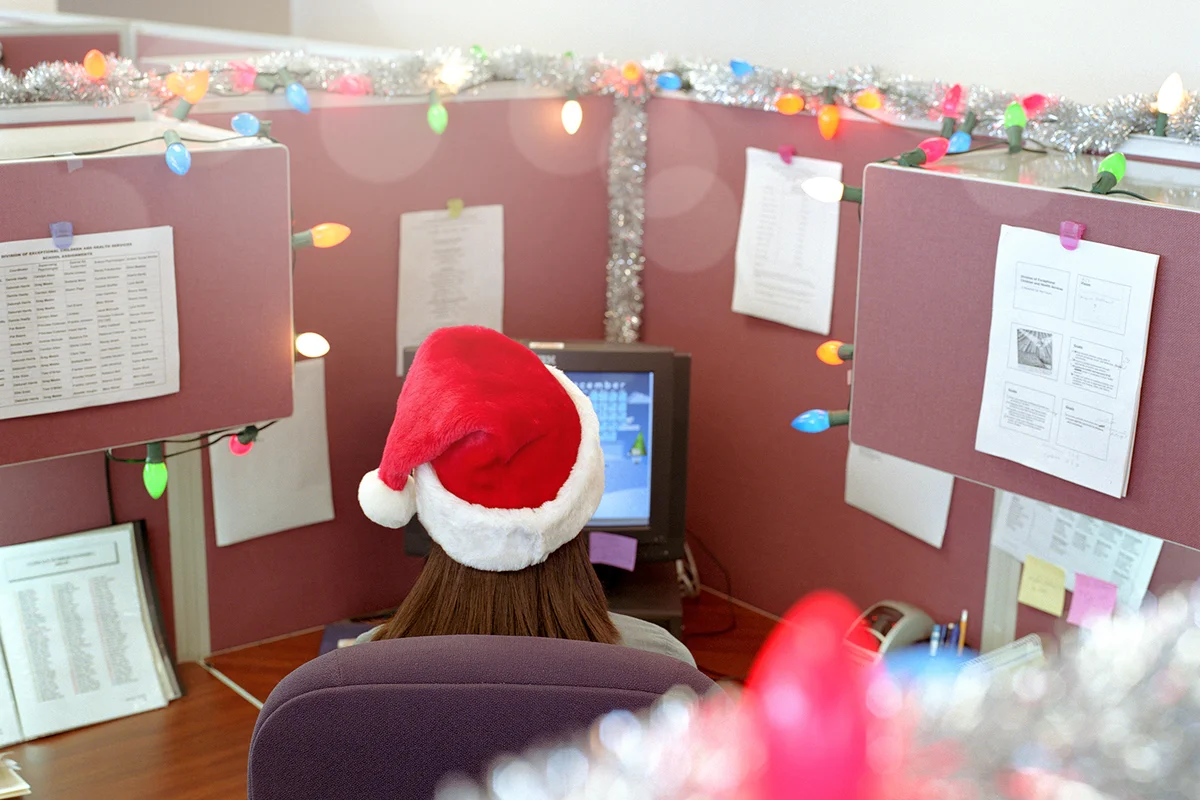
One of the easiest and quickest ways to inspire a Yuletide atmosphere in your dorm room is to hang string lights. Go for a white Christmas theme using all clear lights and white paper snowflakes. With a simple winter theme, your dorm room will look festive for Christmas, and you can keep the decorations up until spring. Don't feel like you have to remove the string lights once they are up -- string lights are standard dorm room décor.
Things You'll Need
To get your White Christmas theme going, you need to grab a few essentials.
- Tape measure
- Several long strands of clear string lights
- Command decorating clips
- Extension cord (to reach the outlet)
- White paper (printer or copy paper works fine)
- Scissors
- Clear monofilament
- Paper snowflake patterns
Step 1: Measure Ceiling
Measure the width of your ceiling from one wall to the other to get an idea of how many feet of string lights are needed to cover it. The idea is to go back and forth in a zigzag pattern to cover the ceiling in light, spacing the strands several feet apart.
Step 2: Install Clips
Follow the package directions for installing the adhesive strips to the back of each decorating clip. Remove the black paper liner from one clip and press it firmly to the wall near one corner, just under the ceiling. Hold for 30 seconds and then repeat with a second clip. Have a friend hold the end of the light strand near the first clips you installed. Pull the light string toward the opposite wall to determine where to install another set of clips on the ceiling. Allow the light strand to droop slightly between securing points on the ceiling and at the top of the walls. You may need to only attach the lights on each wall and in the middle of the ceiling, using two or three clips at each point and going the length of the room. You can always go back later and add more clips if necessary. (Allow clips to set for an hour before hanging lights.)
Step 3: Hang the Lights
Hang the lights on the clips an hour after installing the last one. Add more clips if needed to get your draping perfect.
Step 4: Create Snowflakes
To make a paper snowflake from 8.5 by 11-inch copy paper, fold the paper diagonally, which leaves a rectangular strip at the bottom. Fold the strip over to create a crease and then cut it off, leaving you with a perfect square. Use the paper snowflake patterns to cut the snowflakes. Carefully unfold the paper to reveal your snowflake design.
Step 5: Hang Snowflakes
Make as many snowflakes as you want and use the clear monofilament to hang them from the ceiling or use double-sided tape to stick them on the walls.
- Tip: For extra sparkle, use spray adhesive to apply white glitter to your snowflakes. Hang lights around or under a loft bed frame, and for an extra wintry feel, try icicle lights.
Snowman Door for Dorm Room
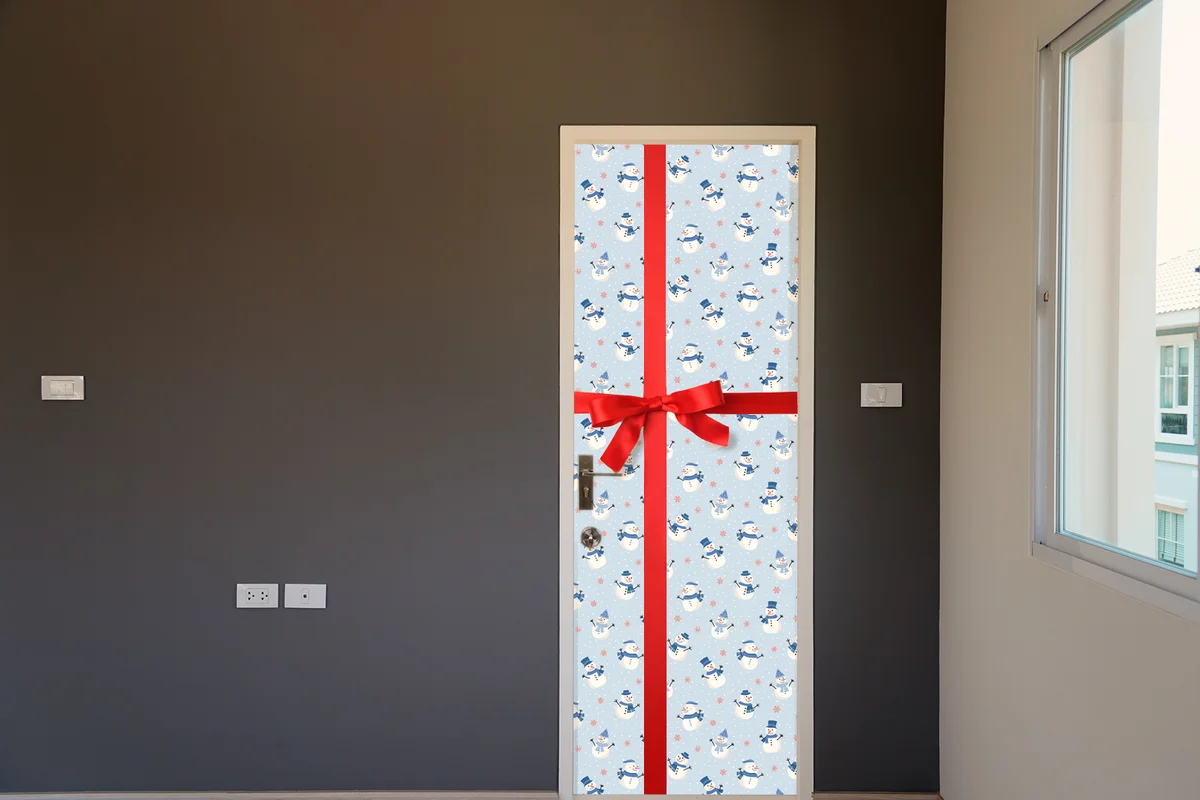
With just a few basic supplies, you can give your dorm room door a festive facelift. Decorative dorm room doors are practically a campus holiday tradition.
Materials You'll Need
Before you dive into your Christmas door creation, you'll want to make sure to grab a few must-have supplies, so you aren't running back and forth.
- Tape measure
- Double-sided tape
- Snowman wrapping paper
- Scissors
- Clear packing tape
- Utility knife
- Red ribbon
- White poster board
- Snowman template
- Craft felt or construction paper in assorted colors
- School glue
- Stocking or Santa hat (optional)
Step 1: Measure Door
Measure the height and width of your door. Add an extra 2 inches to the height measurement so you can wrap the top and bottom edge of the paper around the top and bottom of the door.
Step 2: Cut Paper
Cut a piece of wrapping paper to fit the door according to your measurements. Line the perimeter of the front side of the door with 2-inch strips of double-sided tape.
Step 3: Wrap the Door
Line up the wrapping paper with the door, ensuring it is straight and ensuring there is 1 inch of overhang at the top. You may need to stand on a stool or chair to reach the top of the door. Press the paper to the door, start at the top, and work your way down each side, smoothing it out as you go. Stop when you reach the doorknob.
Step 4: Cut Out the Doorknob
Use the scissors to poke a hole in the paper over the doorknob and carefully cut a hole large enough for the doorknob to fit through. Then continue to press the paper flat against the door until you reach the bottom.
Step 5: Secure the Top and Bottom
Go back to the top of the door and fold the overhanging piece flat against the top of the door, creating a sharp crease. Use clear packing tape to secure the paper to the top of the door. Repeat this at the bottom of the door. Use a utility knife to trim the wrapping paper around the base of the doorknob.
Step 6: Add the Ribbon
Use the door dimensions to cut two pieces of ribbon, adding 1 inch to the height and 1 inch to the width. Secure a piece of ribbon running vertically, a few inches away from the doorknob, to the top of the door, folding ½ inch over the top. Repeat at the bottom of the door, ensuring the ribbon is straight before you tape it in place.
Step 7: Add Bow
Add the second ribbon running horizontally, just above the doorknob. Fold ½ inch around each edge of the door and tape in place. Use a third piece of ribbon to fashion a pretty bow and tape it where the two ribbon strips intersect.
Step 8: Use the Template to Create Snowman
Tape a basic snowman template to a sheet of white poster board to cut it out. If you need to enlarge a template sized for a standard 8.5 by 11-inch page, Adobe PDF files have a tiling option to print the image on multiple sheets of paper, and this pattern resizing tutorial offers a simple math equation for resizing patterns.
Step 9: Cut Out and Assemble Snowman
Cut large circles out of the black felt or construction paper for the snowman's eyes and buttons and smaller circles for his mouth. Cut a carrot-shaped piece for his nose out of orange felt or paper. Use red felt for a scarf. Glue the pieces in place and allow them to dry.
Step 10: Attach Snowman
Use several pieces of double-sided tape to attach the snowman to the wrapping paper on the door. Attach two brown twig arms (cut from felt or paper) overlapping his body slightly and extending out onto the wrapping paper. Give your snowman a touch of personality by adding a cute stocking cap or Santa hat.
- Tip: For some school spirit, top your snowman with a college beanie or knit hat or make a similar one out of felt. Double over some strong packing tape to hold a knit hat in place.
Ceiling Ornaments and Garland
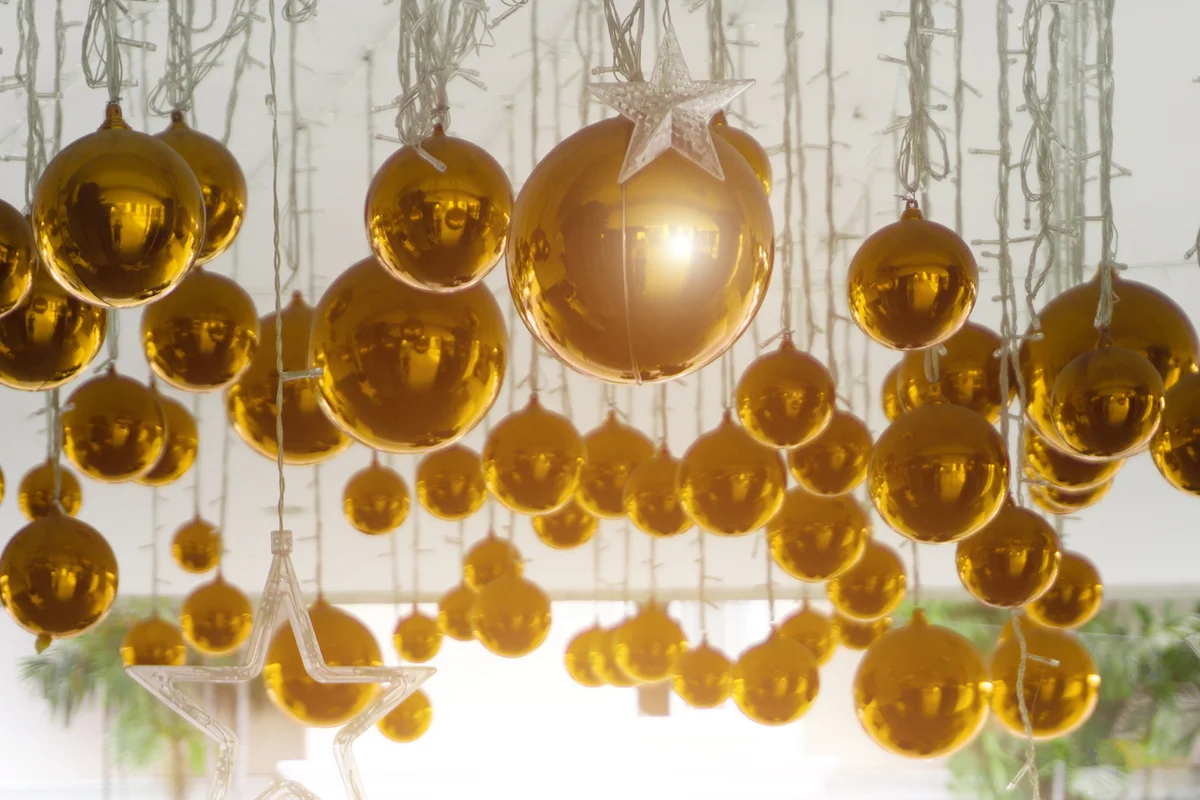
Brightly colored ball ornaments look beautiful on Christmas trees, but you can also hang them from the ceiling for a festive atmosphere in your dorm room. Dress up a mirror or window by draping garland over the frame. The color scheme is totally up to you. Go with traditional Christmas colors such as red, green, white, silver, and gold, or you might want to incorporate your school's colors.
Things You'll Need
Creating dorm room Christmas decorations isn't hard with the right materials for the job.
- Ribbon in varying widths
- Lightweight ball ornaments in varying sizes
- Garland
- Clear pushpins
- Clear Command hooks
- Miniature Christmas tree
Step 1: Cut and Attach Ceiling Ornaments
Cut long strips of ribbon in varying lengths and tie the ball ornaments to one end. Vary the look by attaching different widths of ribbon to different-sized ornaments. Insert a pushpin through the other end of the ribbon and push the pin into the ceiling.
Step 2: Cut Ribbon for Garland
Cut shorter pieces of thin ribbon to tie onto the garland. Vary the length using two or three different measurements. Tie an ornament on one end of the ribbon.
Step 3: Attach Ornaments to Garland
Tie the other end of the ribbon around the garland, spacing each ornament equally apart. Follow a longer ribbon with a shorter ribbon, alternating between long and short along the length of the garland.
Step 4: Drape Garland on Windows
Drape the garland over a window or mirror frame, holding it in place with clear Command hooks. Use another hook to hang a wreath or wall ornament nearby and embellish your desk with a miniature Christmas tree.
- Tip: Decorate your desktop tree in colors that match or coordinate with your ceiling decorations, or try something quirky like topping it with a Santa hat.
Christmas Message Board

If you prefer a retro look with a more subdued color scheme, combine a few pennant style banners with gold snowflakes, a reindeer head silhouette, and a vintage message board - a.k.a: a chalkboard. A tabletop Christmas tree dressed with bright red ribbons and snowy pinecones bring in a dash of color.
Things You'll Need
Get your retro look started by making sure you have the right materials.
- 24" x 36" canvas panel
- Chalkboard paint
- Foam paint roller
- Plastic paint tray
- Large Command picture hanging strips
- Chalk
- Gold pennant banners
- Gold snowflakes
- Gold deer head silhouette
- Clear or double-sided tape
- Miniature Christmas tree with pinecones
- Small red bows
Step 1: Create the Chalkboard
Roll two coats of chalkboard paint onto the canvas board using the foam paint roller. Allow the first coat to dry before applying the second coat. Allow the paint to dry thoroughly according to the manufacturer's instructions.
Step 2: Apply Command Strips
Apply Command picture hanging strips to the back of the canvas panel, following the package directions. Remove the paper liner from the back of each strip and press the canvas board firmly against the wall, applying pressure to the fasteners for 30 seconds. Remove the board by gently lifting it from the bottom.
Step 3: Apply Deer Decal
Set the canvas board aside for an hour while the hanging strips bond to the wall. Apply the gold deer head wall decal following the package instructions and centering it high on the wall. Hang the pennant banners underneath and apply the gold snowflakes around the head using double-sided tape.
Step 4: Write Christmas Message
Write your Christmas message in chalk in the center of the canvas board. Draw a decorative border around the edge of the board. Push the board back onto the wall fasteners until you hear them click into place.
Step 5: Place Christmas Tree
Hang the bow ornaments on the miniature Christmas tree and place them on your desk.
- Tip: Instead of drawing a decorative border, consider framing your chalkboard with artificial pine roping.
Christmas Décor Adds a Homey Feel
Holiday décor is a great way to personalize your dorm room and make it feel a little cozier during the Christmas season. With any luck, some of your decorations may become cherished keepsakes or mementos of your college days.