
Preparing your walls before you apply paint is a critical part of achieving a long-lasting, beautiful finish. While you might think it is not necessary, walls that seem clean at first glance can still be covered with dirt, dust, and grime you're not aware of that will interfere with the integrity of the paint. There are several ways to clean walls before painting that can be easily done with common household cleaners.
How to Clean Walls Before Painting
Before you begin cleaning the walls, gather necessary supplies and decide on which type of cleaner you want to use. Check your paint can instructions for their recommendation on how walls should be washed, which can vary from manufacturer to manufacturer. In general, you will want to follow these steps to having properly cleaned and prepared walls for your interior paint job.
Gather Your Supplies
It's easiest to have all your supplies ready to go before you start. You will need:
- Putty knife
- Sand paper
- Spackle (if applicable)
- Masking tape made for painting (if applicable)
- A bucket
- A dusting microfiber cloth or a vacuum with hose and brush attachments
- A soft-sided non-abrasive sponge
- A mop with sponge attachment (if applicable)
- A bucket
- Warm water
- Cleaner of your choice
- Dry cotton towels
Use Mild Cleaners for the Wall
You have several options for your cleaning agent. It's best to use a mild soap for cleaning as you don't want to damage the walls with harsh chemicals prior to adding paint to them. You can mix either a few drops of mild dishwashing liquid soap or white distilled vinegar in your bucket along with warm water.
Clear the Walls
Before you do any cleaning, remove anything on the walls like framed pictures, artwork, or hanging decorations. You should also remove anything covering windows, such as curtains or blinds, which can be washed separately.
Protect Your Outlets
When washing walls water can easily leak into outlets, which can cause an electrical outage. Protect outlets by covering them with masking tape made for painting projects. Do the same for any light switches or in-wall wiring outlets such as for cable television, DSL, or telephones.
Loose Paint and Holes
Check your walls for any areas of loose paint or plaster. Use a piece of sandpaper or an electric sander to remove the paint. If the wall is uneven, or if you find holes, take the putty knife and some wall spackle and fill in the holes or uneven areas. Allow the spackle to dry and sand the area to achieve a smooth, even surface.
Remove Dust
You have the option of removing dust from the walls by using a dusting cloth, or use a vacuum cleaner with a brush and hose attachment. Clear the walls of not only dust, but also any cobwebs that form, especially in corners. Concentrate on any areas where you have done sanding to remove any dust left behind after removing loose paint and fixing holes in the drywall.
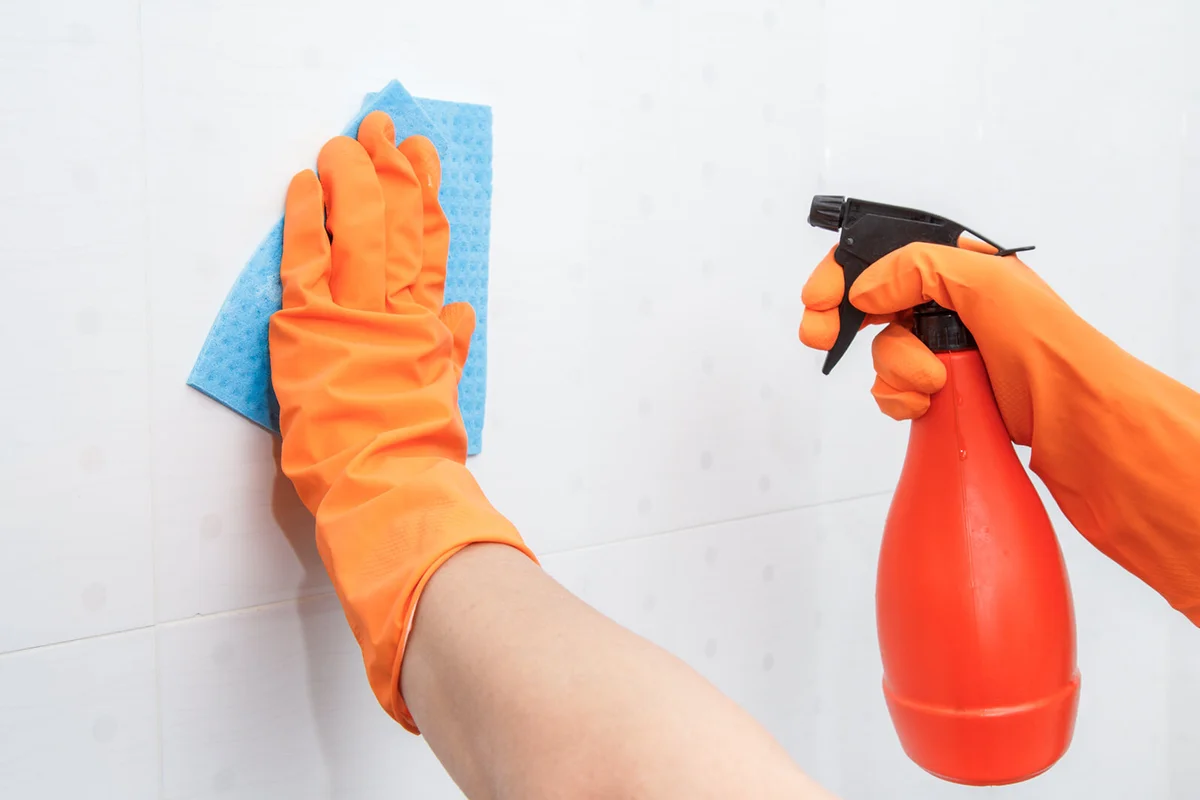
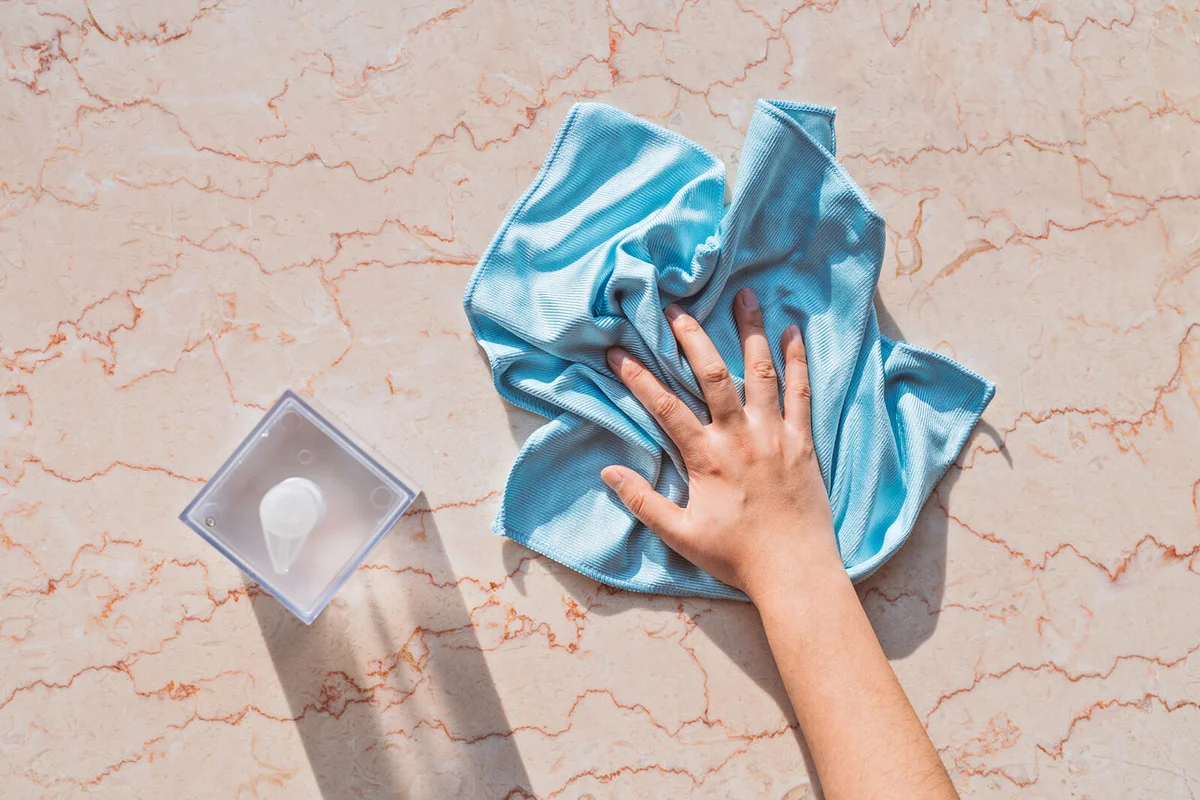
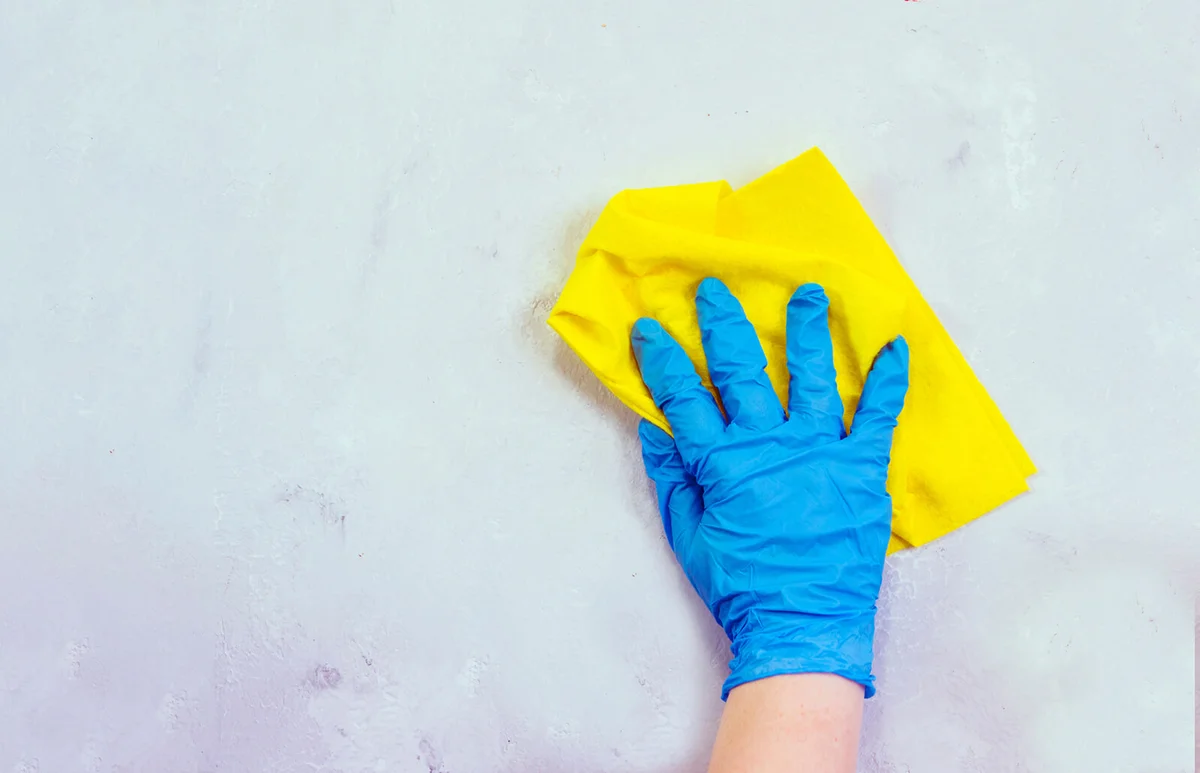
Wash the Walls
The final step is to wash the walls using a soft sponge with water and a cleaning solution. Do not use a sponge with an abrasive edge as you can damage the wall. The best way to clean the walls is to take the sponge, dip it in your water and cleaner solution, wring out the excess moisture, and then move the sponge gently along the walls starting at the bottom and moving in straight lines up to the ceiling. Then, take one of the dry towels and wipe the walls gently until they are dry. Allow the walls to dry completely before painting.
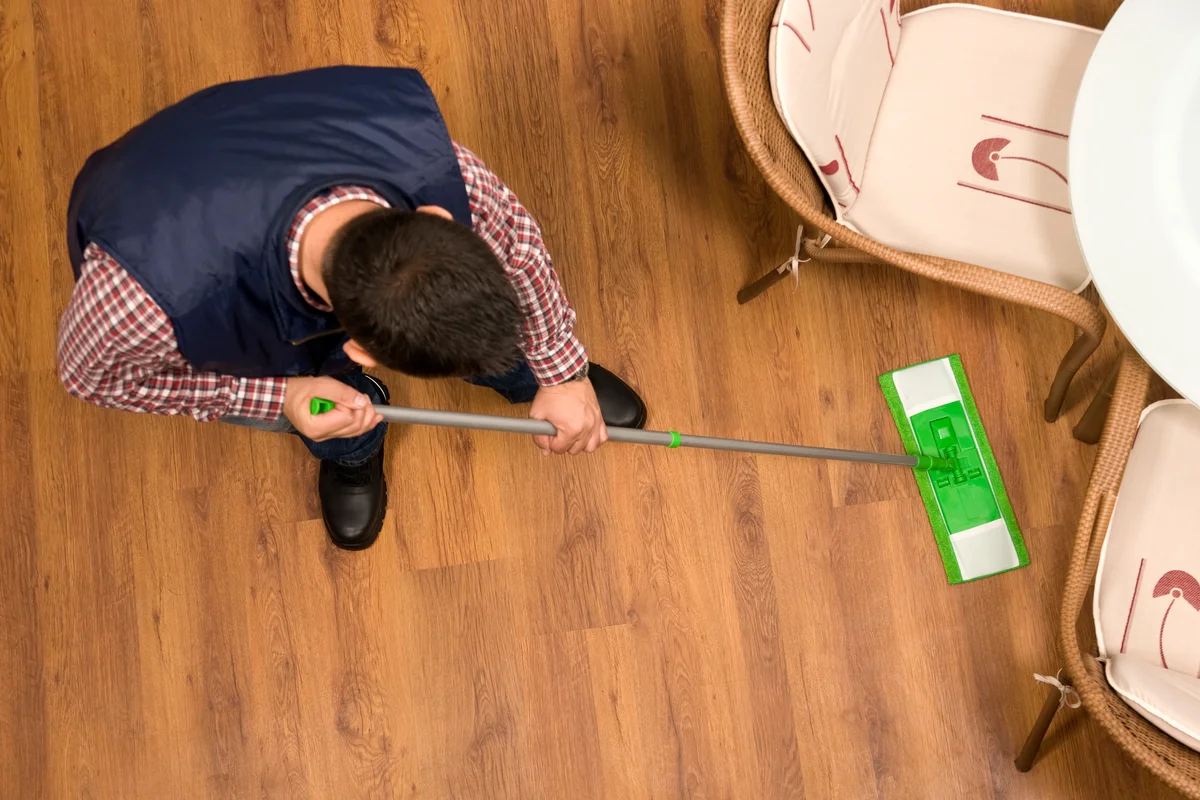
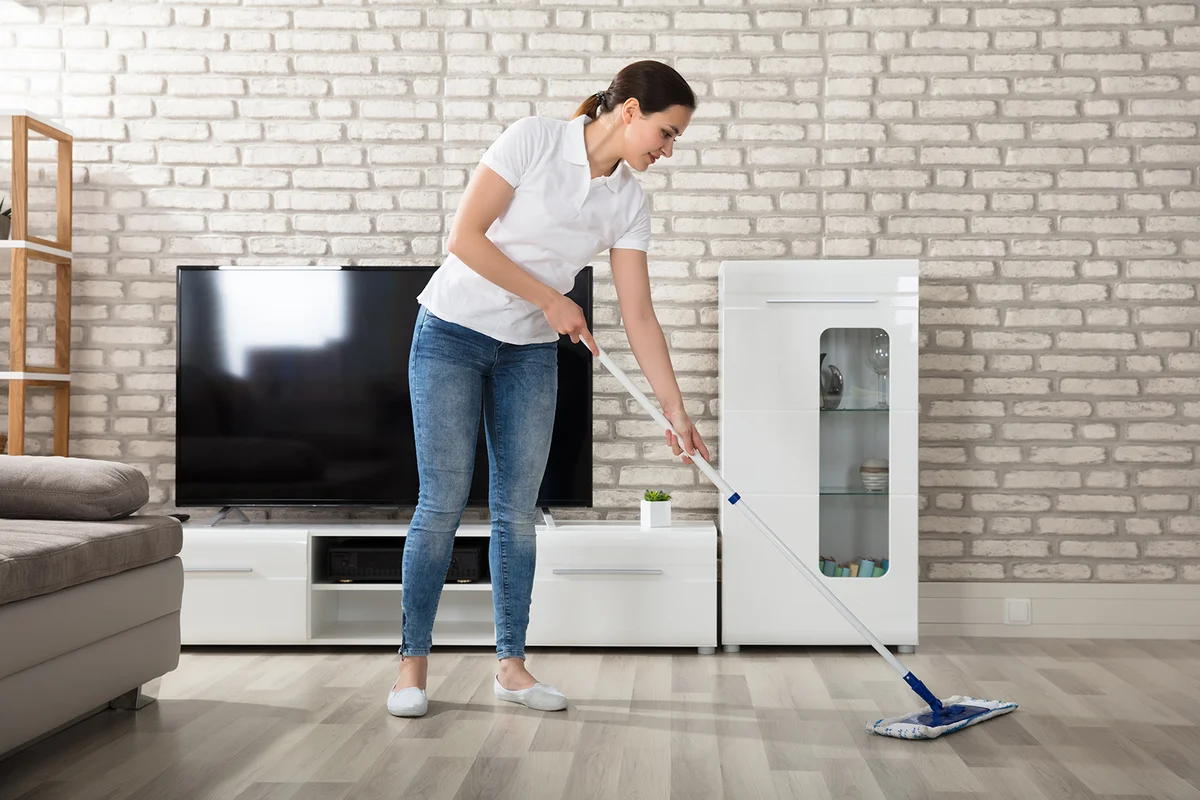
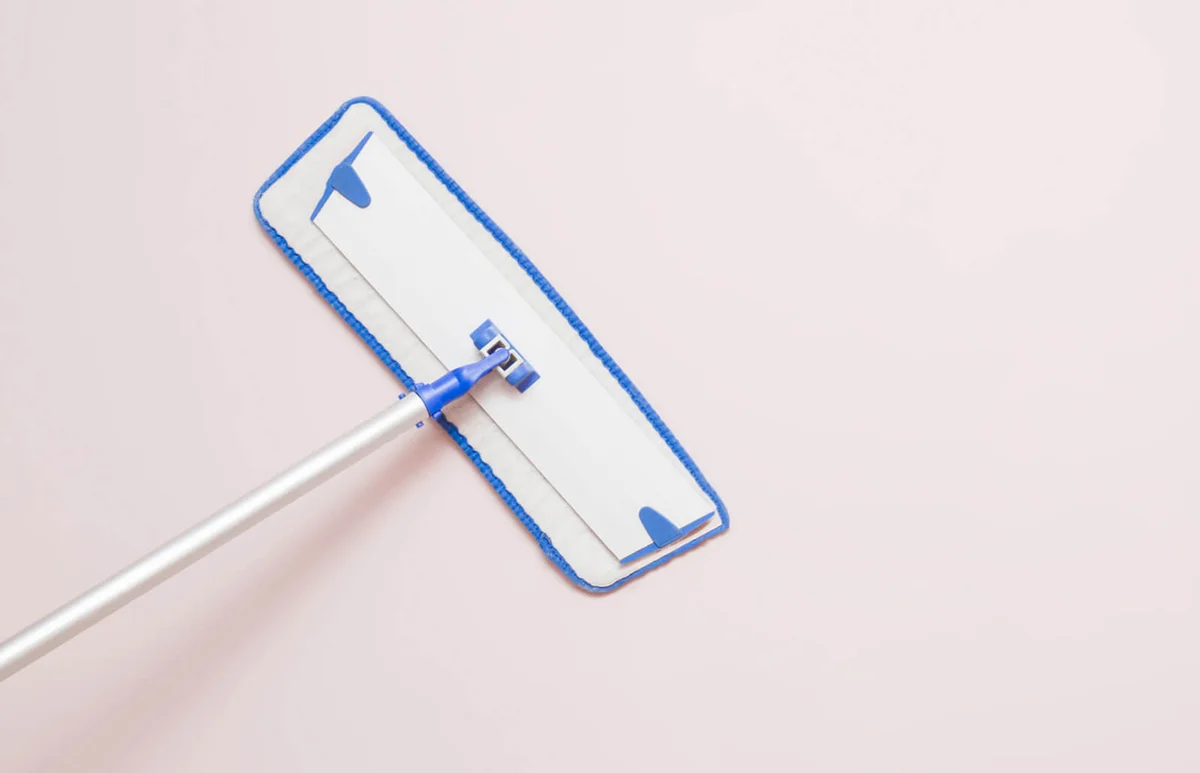
Using a Mop
In some cases, you may find it easier to use a mop to clean the wall. Use a mop with a sponge attachment that is not abrasive and has the option to wring out excess water. These types of mops work well if you're short and cannot reach the top of the wall where it meets the ceiling. It's also helpful if bending down to the bottom of the wall is more difficult for your back. To dry the walls, wring the excess water from the mop sponge and then place a dry towel on top of it and run the towel gently over the wall using the mop as an extension. Another easy option is to use a Swiffer-type mop with dry cloths you can use to dry the walls and replace with fresh ones as they get too wet.
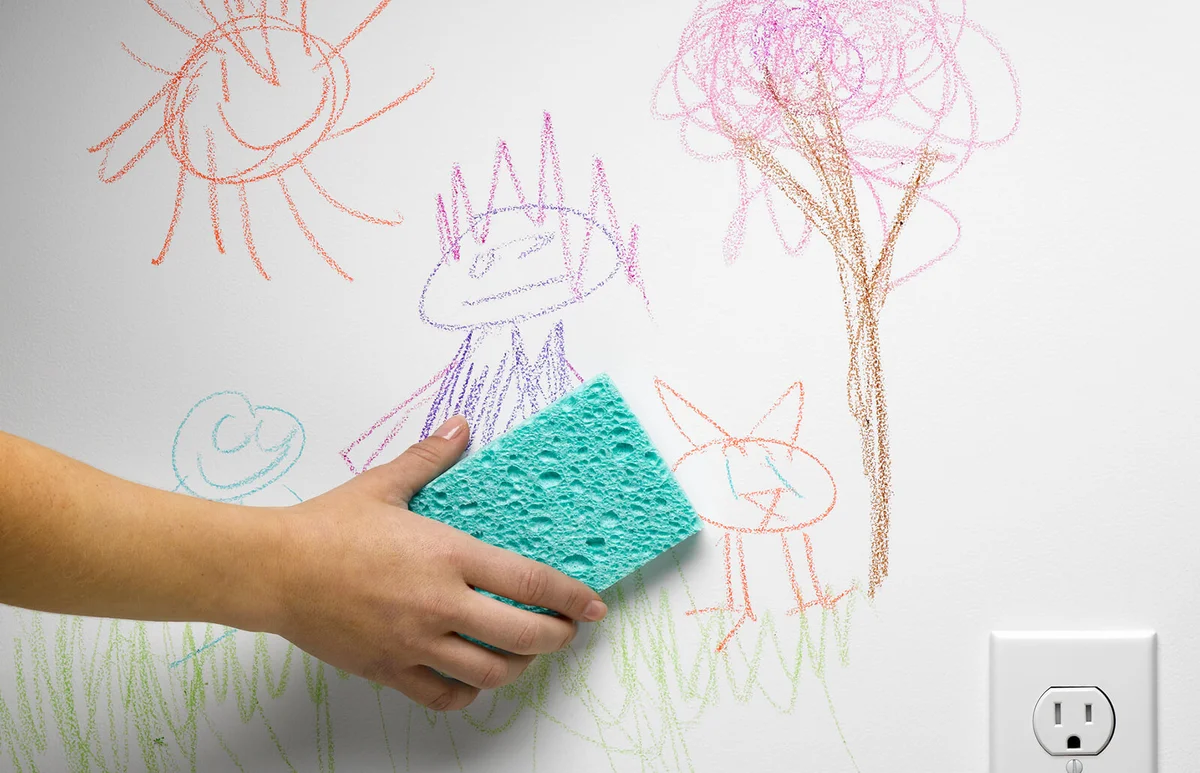
Handling Difficult Stains
Most walls will clean up nicely with some mild soap or vinegar and warm water. If you have stains that will not come out after your cleaning process, such as children's crayons, take some baking soda and use warm water to form a paste.
- Apply the paste to the stained area and wait five to 10 minutes.
- Remove the dried paste from the wall with a soft sponge dipped in warm water and dry with your towel.
If after a few applications you still cannot remove the stains, you can purchase a commercial foaming wall cleaner like Zep. Since these products have stronger chemicals in them, you should wait several hours after using them to make sure the wall is completely dry before painting.
Tackling Grease Stains on Walls
Cleaning and preparation of kitchen walls can involve some extra work, as these walls can have grease stains from cooking. In this situation, a dish soap with a grease-cutting formula works well. If you still have grease stains after using the soap, you can use a foaming wall cleaner or a product called TSP, which contains trisodium phosphate. TSP is an effective cleaner, but it is also a harsh chemical solution. You will need to use safety goggles and rubber gloves to use TSP safely, as well as make sure the room has adequate ventilation. TSP works well for grease stains, stubborn crayon stains, and bathroom walls with a heavy accumulation of dried soap and chemical residue.
Removing Smoke Stains From Walls
Another common stain that can be more difficult to remove is from cigarette smoke. This not only leaves stains on the wall, but also an unpleasant odor. The warm water and baking soda paste can be very effective for these types of stains and smells.
- Using a damp soft sponge or wet cotton cloth, gently rub the paste on the stained walls and allow it to sit for up to five minutes.
- Your rinsing solution will be a mix of one gallon of warm water in a bucket and one cup of white distilled vinegar.
- Take a clean sponge or rag and dip it in the rinsing solution. Run the sponge or rag over the walls and remove all the baking soda paste.
- Once all the paste is removed from the walls, take your dry towels and remove as much excess moisture as you can.
- Allow the walls to dry fully before painting.
Make Sure You Clean Walls Before Painting
While you may be tempted to skip cleaning your walls before you begin to apply paint, it is an important step in the process. Cleaning debris, dust, and cobwebs from the walls will ensure that your paint has the best possible surface to adhere to. This means a longer lasting and smoother finish for your painting project.