
If you've got a wall that you've been longing to freshen up, peel and stick wallpaper might be just what you're looking for. Easier than traditional wallpaper (what a mess), peel and stick wallpaper is perfect for renters who want to customize (it's so easy to remove), low-commitment accent walls, and upcycling projects. So, if you'd like to learn how to hang peel and stick wallpaper to quickly freshen up your space, try my tips to help you get it right the first time.
How to Hang Peel & Stick Wallpaper: Tried & Tested Tips
As a parent who spent years with kids, dogs, cats, and assorted spiders traipsing through my bedroom at all hours of the day and night, I was overdue for a change. Now my husband and I are empty nesters (except for the occasional spider that finds its way inside). And it's the first time in our marriage that our bedroom is ours alone. Unfortunately, the years of kids and pets left it sorely in need of an update. Because we both loathe painting, we turned to peel and stick wallpaper.
Don't Expect It to Be Cheap
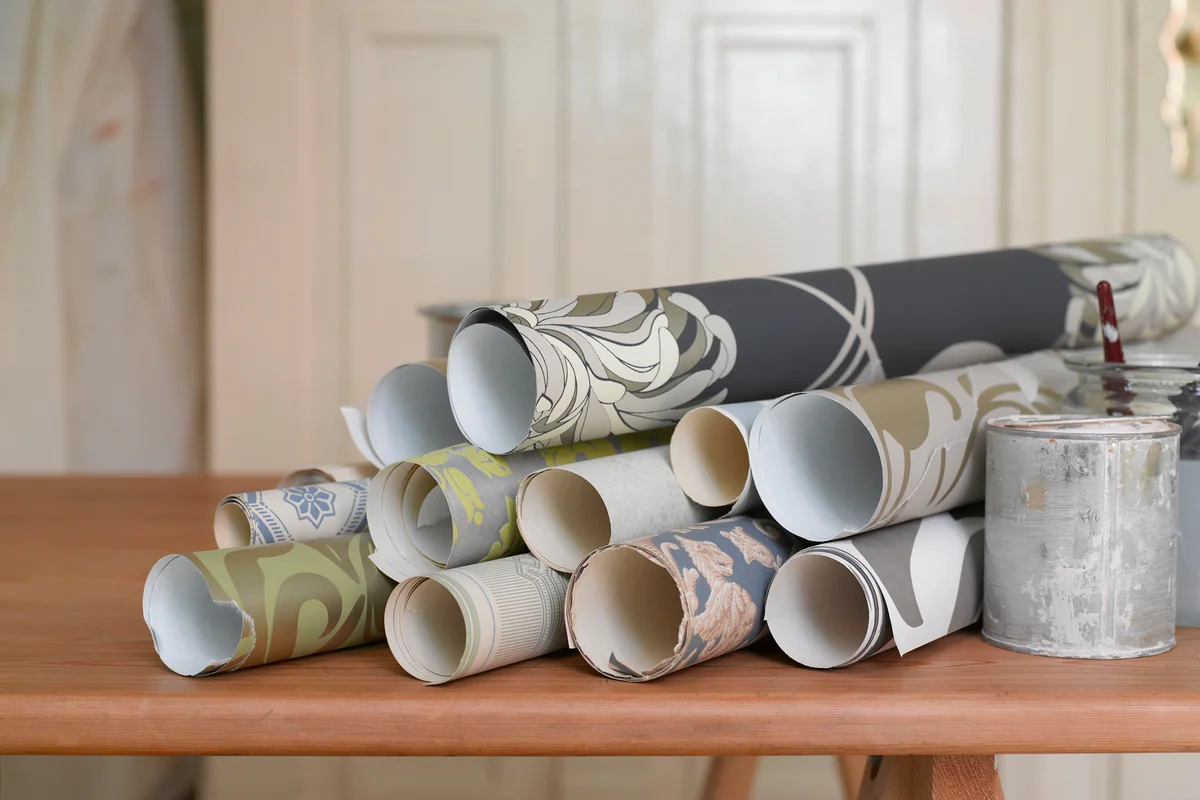
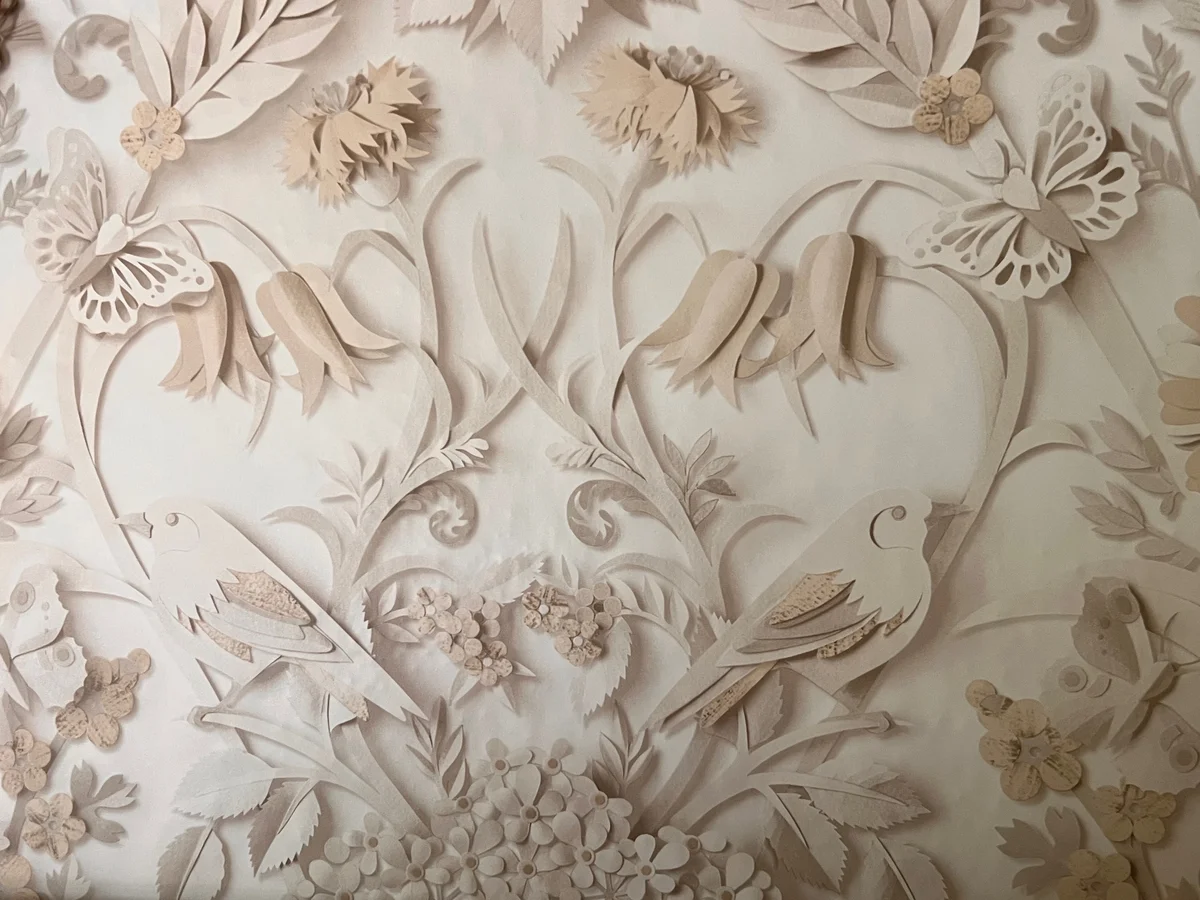
Peel and stick wallpaper is still high-quality wallpaper - it just has a peel-away backing instead of requiring you to paste it to the wall. And while you can find affordable versions (around $0.20 per square foot), much like other wallpapers, it ranges in price depending on quality. Just as with traditional wallpaper, some high-quality peel and stick wallpapers cost quite a lot. I settled on cute, a mid-range garden-themed vinyl wallpaper (NuWallpaper Taupe Eloise) that costs about $1.25 per square foot. Cute, huh?
It May Not Hang on Textured Walls (but It Might)
The walls in my bedroom have an orange peel texture, but it's not super bumpy. After some research, I discovered that peel and stick wallpaper does best on smooth, untextured walls, and it doesn't hang on highly textured (popcorn) walls, but for orange peel walls, it just might. It really depends on how deeply textured your orange peel is. But since many rental spaces and newer homes have textured walls, I wanted to at least give it a try.
Hang a Test Piece for a Few Weeks
This is where the test piece comes in. Many peel and stick wallpaper companies offer test squares for a nominal fee. I recommend ordering a test piece (or if they don't have it, just a single roll) before you go all-in, especially if you have textured walls. Test it on the wall where you intend to hang it. Clean your wall and let it dry, peel off the backing, and stick it up. I left mine in place for about three weeks, and it hung well without any issues. It also easily peeled away without damaging the wall.
If It Doesn't Stick
If the wallpaper doesn't stick, you're not dead in the water yet. If you're a homeowner, you can either scrape or coat your walls to make them smooth (which won't work for renters or people who want it to be an easy project). When I was in college and living in the dorms, we stapled wallpaper to our walls - so that might be an option for renters.
If You Have Textured Walls & Want to Try It, Choose a Busy Pattern
While the test piece was in place, I also wanted to make sure it didn't look weird with the wall texture coming through the wallpaper. Since the one I ordered was a thick vinyl with a fairly busy pattern, any wall texture that came through was barely noticeable. If you do insist on installing it on textured walls (like I did), experts recommend using a busier pattern like a ditsy floral or a faux grass cloth so the wall texture won't show as much.
Order About 15% More Than the Area of Your Wall Surface
Once you're sure you've got the right wallpaper, it's time to order. Measure the surface you plan to paper, and order about 15% more than you'll need to cover the space. The extra 15% leaves room for error and allows you to line up patterns when you apply the paper, and it's always best to have a little extra on-hand unless you accidentally stick the wallpaper to itself and can't get it unstuck. Since I'm that type of person (I'm a disaster with contact paper), I ordered an extra full roll.
Dust & Clean Your Walls First
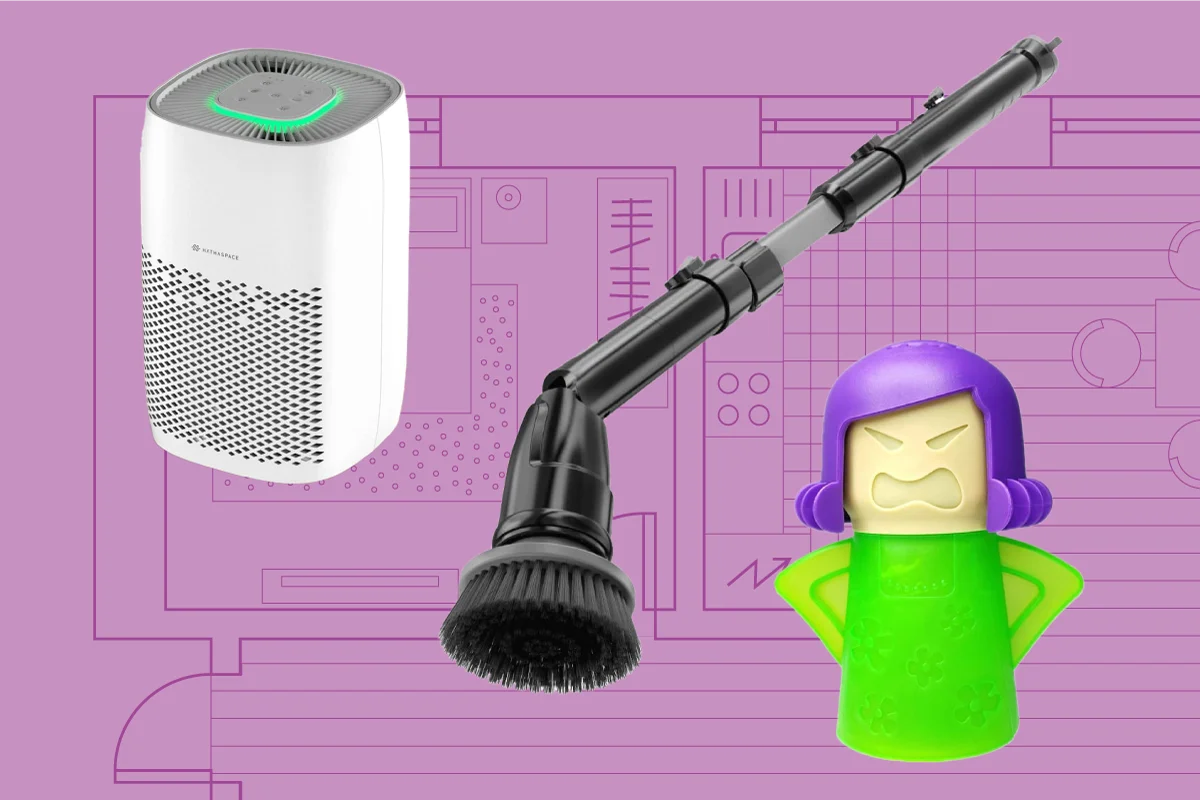
Since you want to give your walls the best possible chance of the wallpaper sticking, you must clean them beforehand. Because of the aforementioned spiders, I gave our walls a thorough dusting and vacuuming, and then I wiped them down with a damp cloth dipped in a 1:1 mix of water and isopropyl alcohol, which is the recommended cleaning prep. Let the walls dry completely before you apply the wallpaper. I let mine dry for 24 hours.
Remove Light Switch and Outlet Covers Before You Begin
Unscrew and remove cover plates from outlets and light switches on the wall you'll be papering. That way, you can paper right over them, trim around them with a craft knife, and then put the covers back on for a seamless look.
It's a Two-Person Job
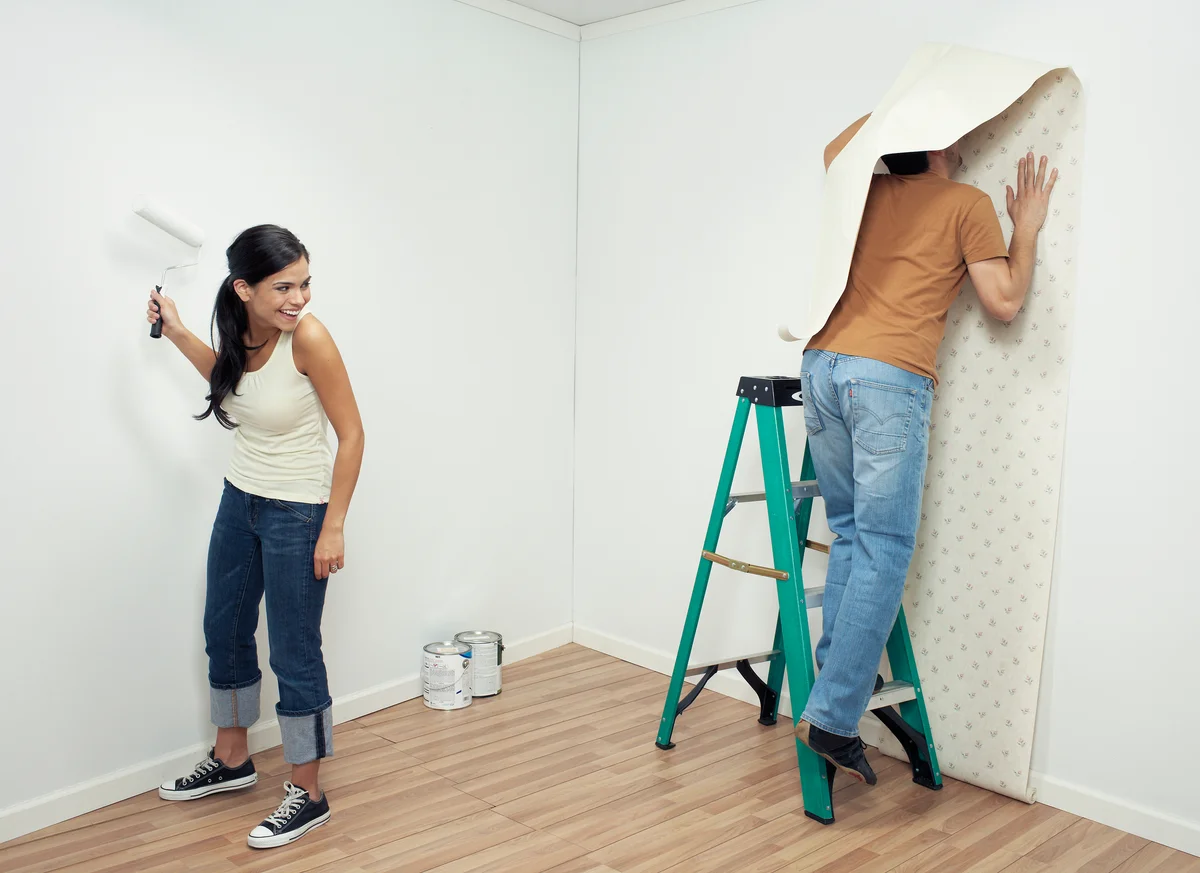
Ask me how I know. I tried to do it by myself before I enlisted my easily irritated (at least as far as home improvement projects go) and somewhat swear-y husband to help. I just wasn't able to do everything that needed doing when working alone. So enlist help - whether it's your swear-y significant other or a good friend. One of you can hold the paper on the wall and smooth it, while the other peels away the backing.
Start in the Middle of the Wall & Work Outward (if It's a Feature Wall)
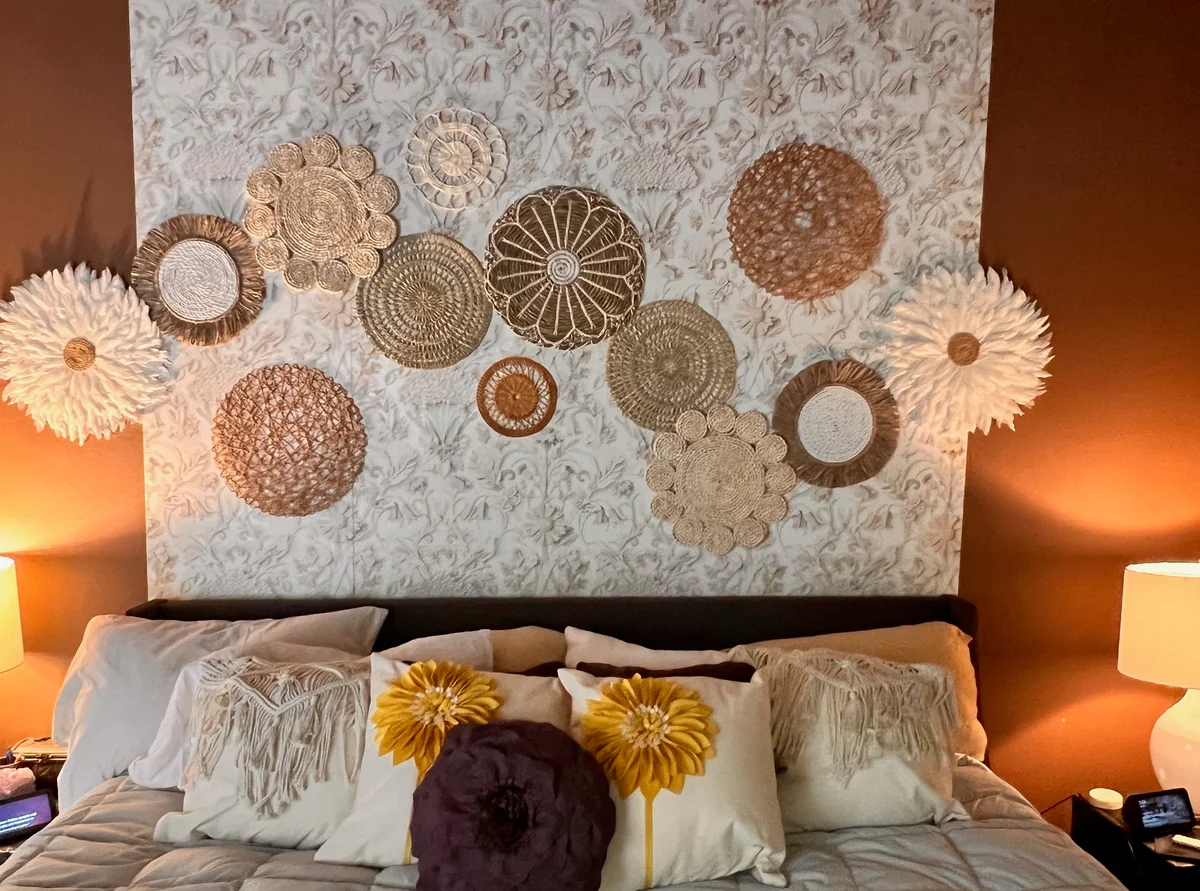
With a feature wall, starting in the center of your wall helps center the pattern so it looks balanced. Since we were only wallpapering right behind our bed and not the rest of the wall, we measured the very center of our bed and placed the middle of the strip of wallpaper there. If you're doing the whole room, starting in the middle isn't necessary.
If You Don't Hang It Quite Straight, You Can Unpeel & Restick (As Long as Your Walls Are Clean)
So here's what happened. The guy that built our house wasn't a builder. He was just a guy who wanted to try building a house. Which made the house super cool and custom, but it also made it a little wonky with almost no straight lines or 90° angles. Which is kind of a nightmare for every home improvement project we've done in the past 20 years (hence the swear-y, impatient hubby).
Anyway - as you're probably guessing by that last paragraph, when we put on the first sheet, it looked crooked even though we dropped it down a plumb line. So, one of us had to stand back and look while the other one unstuck and adjusted until it no longer looked wonky. Fortunately, it unstuck and restuck with ease, and since our walls were clean, it didn't pull away a bunch of dust and cobwebs that rendered the sticky backing useless.
When You Cut Your Wallpaper, Leave a Backing Overhang
What we did was peeled the backing as we stuck it to the wall. So hubby would be smoothing and sticking from above while I unpeeled more of the wallpaper until we got to the baseboard. The first time I got to the baseboard, I simply used scissors to cut the overhanging wallpaper (still on the roll) and backing. Big mistake. When I went to start the next peel, much like a sticker from the 80s, I couldn't get the backing away easily.
So, on our next pass, I cut the backing and wallpaper separately, leaving an overhang of backing so I could easily start the next peel. Success!
Smooth From the Center Outward
The best way to get the wallpaper to lie flat as you apply it is to start at the top center and smooth outward into the wall, pressing out any bubbles and working your way down the wall as you go. This is especially important as you line up patterns after your first piece. Otherwise, you'll get misaligned patterns and weird bulges on one side or the other. If it still winds up bubbly, just unpeel and restick.
Use a Craft Knife to Clean Up the Edges
We left a slight edge overhang at the baseboard when we applied the paper. That way, it was super easy to go back and trim away the excess neatly - something that is particularly important at my house courtesy of the unstraight, unplumb everything. You could also remove baseboards and paper to the floor, then reinstall the trim for a super clean application.
Peel & Stick Quick Tips From a Pro
Those are my amateur tips for a peel & stick project, but I checked in with our design pro, Sydney Stephens, for a few pro tips.
- Peel and stick wallpaper is slightly less durable than a traditional paste-and-apply. For that reason, keep a small tub of wallpaper adhesive or seam repair on hand for any pesky corners that might pop up as your wallpaper ages.
- If you're working with new drywall, a wallpaper primer is the best way to prep the surface for your peel and stick print.
- An eggshell paint finish is best for applying peel and stick wallpaper. If you have flat walls or gloss walls, you might need to prime and paint with an eggshell finish to avoid damaging your walls upon removal.
- Make sure your craft or X-Acto knife blades are super sharp for clean cuts. Keep a few replacements on hand and swap out the blades every five to six cuts.
- Avoid hanging your peel and stick wallpaper when it's hot and humid. For best results, you want your walls to be roughly the same temperature as the paper.
Sticky Success
We've embarked on plenty of home decor updates over the years, and this turned out to be one of my favorites. All told, it took us about an hour and a half from soup to nuts to put up the wallpaper. And there are so many cool patterns available for peel and stick wallpaper that it leaves me wanting to do more - because now that I know how relatively easy it is, I can't un-know it. But first, I'll have to wait for my husband to stop swearing.