Despite their enormous size and dangerous nature, polar bears are beautiful creatures that many people associate with the Christmas holiday thanks to their magnificent white coats and the fact that they call the North Pole their home. If you want to learn how to draw a polar bear for holiday crafts or just for some fun throughout the year, we detail some easy-to-follow steps that make polar bear drawing easy!
How to Draw a Polar Step-by-Step
Drawing a polar bear is a simple process of creating basic shapes and then connecting them. As you work, you'll add more detail until your drawing begins to look like a polar bear. You can use the same basic process to draw other animals like a fish or an eagle.
Need to Know
The best way to sketch a polar bear drawing easily is to start with an outline and then go back and tweak certain areas. This makes a pencil with a good eraser your number one tool. You can go over your final image with a pen or marker after you are satisfied with your end result.
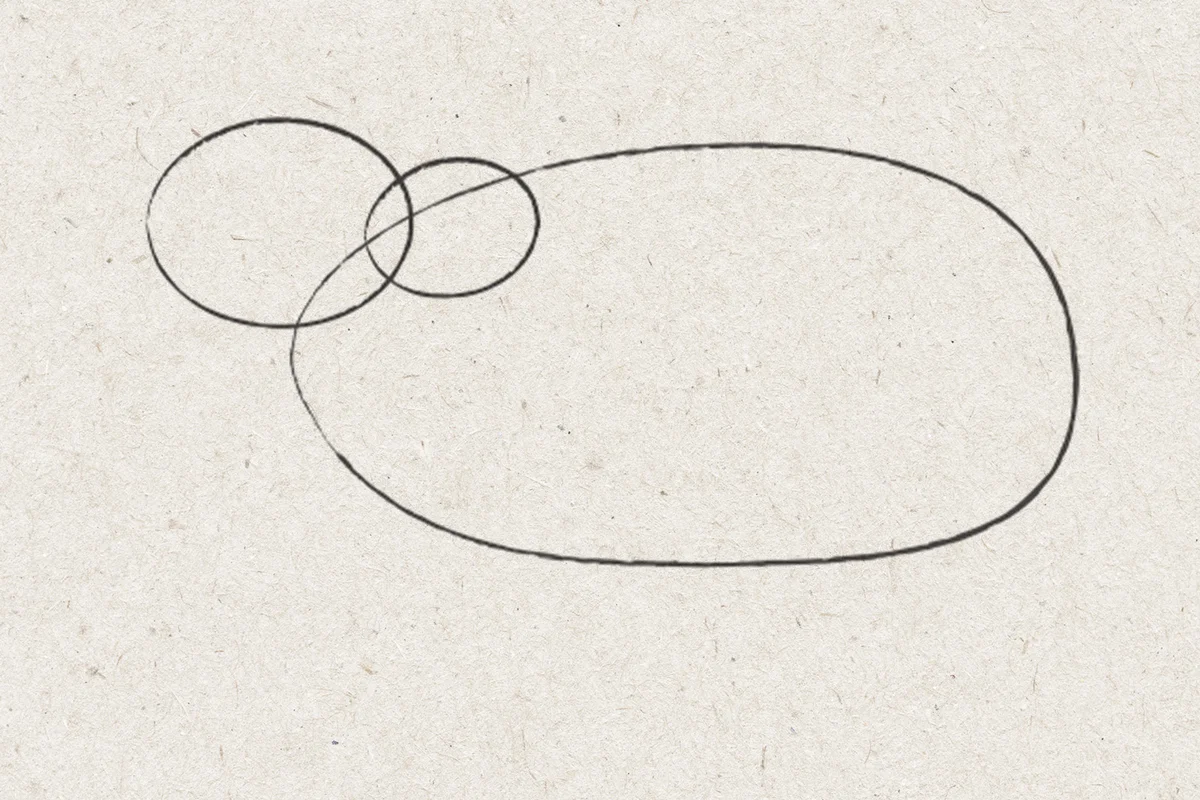
Start the Drawing With Three Circles
Starting your polar bear drawing is simple. All you need is three strategically placed circles.
- To begin a simple polar bear drawing, lightly sketch a horizontal oval that is a little higher and wider on one end.
- Add another smaller oval for the head.
- Add another small oval for the shoulder hump.
Need to Know
The oval for the head should slightly overlap the top (thinner end) of the body, and the oval for the shoulder should overlap the head oval and the thinner end of the body oval.
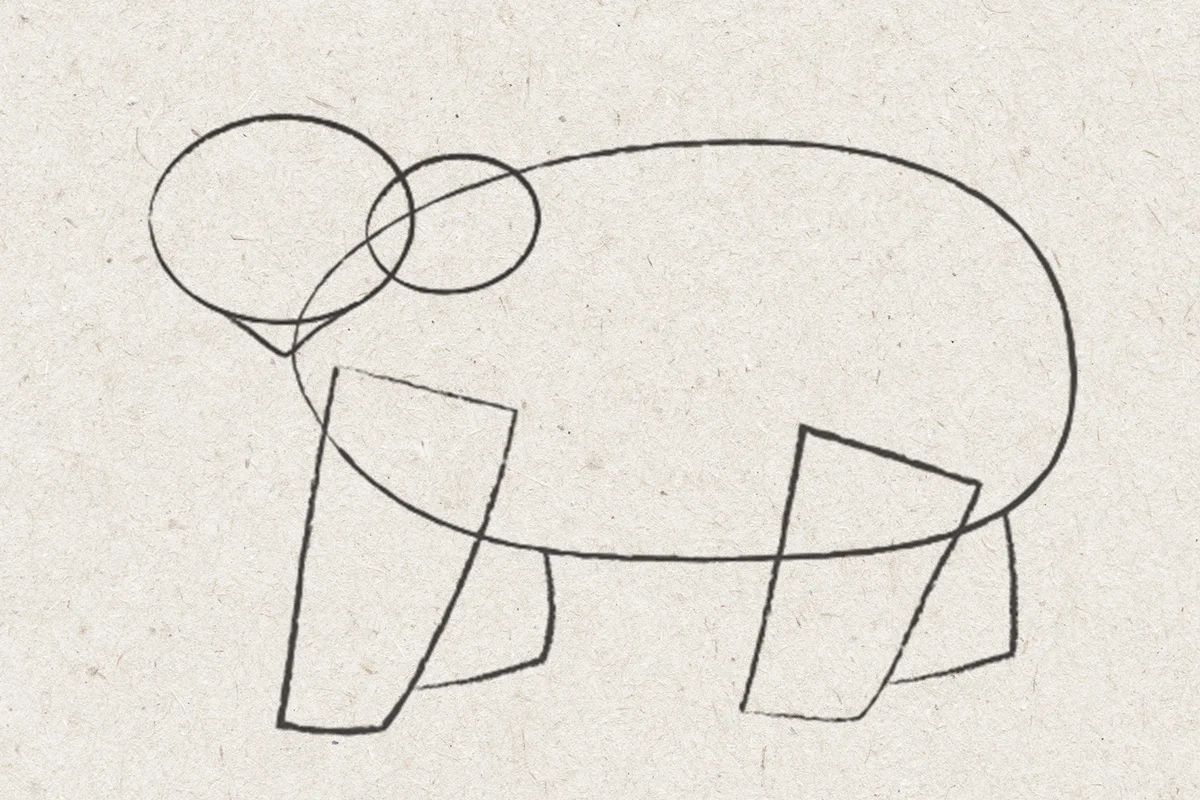
Add the Chin and Legs
For the chin and the legs, draw these shapes lightly, as you will be adjusting them later.
- Add a rounded triangle to the bottom of the oval for the head. This area is the bear's chin and neck.
- Add two rectangles slanting forward, slightly tapered toward the bottom, one on each side of the large oval. Sketch in two triangles behind these rectangles, pointing in the opposite direction. These rectangles and triangles define the polar bear's leg placement.
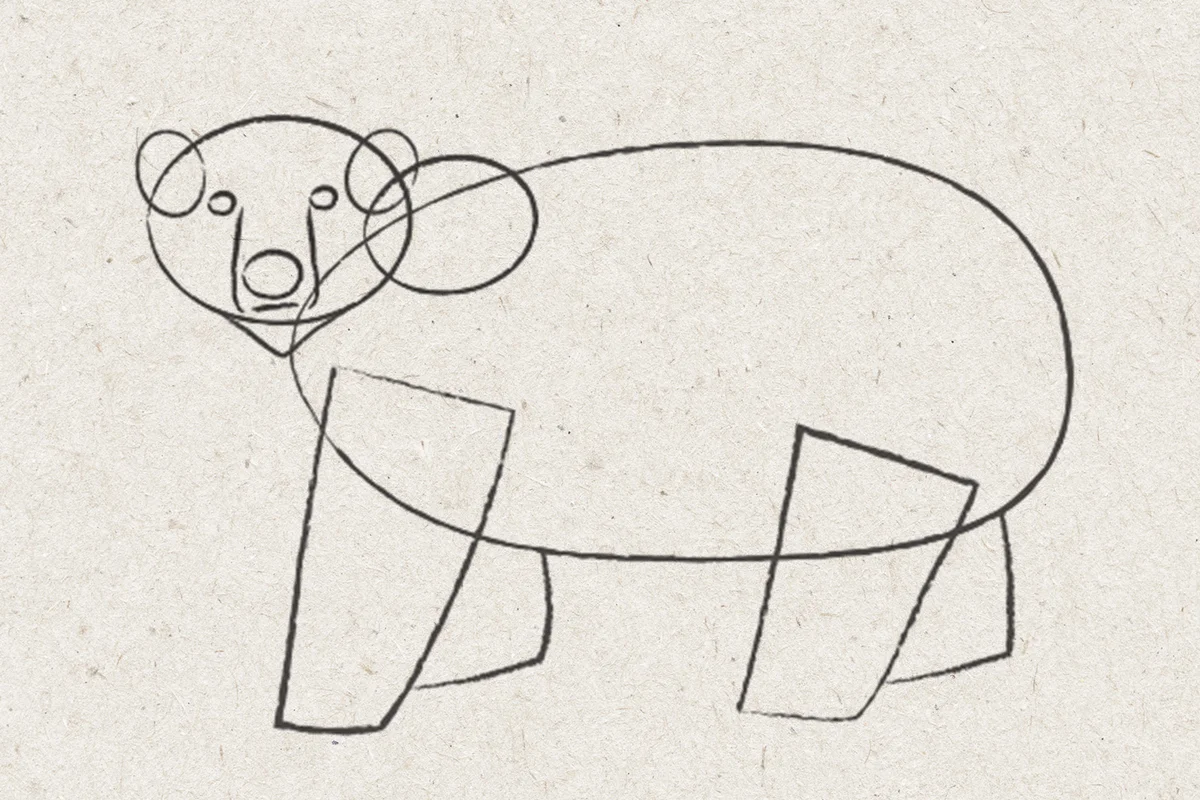
Add the Ears, Nose, Eyes, and Mouth
The bear's facial features will small in proportion to his size. Take a look at the image below before following the steps so that everything fits on the bear's face correctly.
- Add small ovals on each side of top of the bear's head.
- Sketch in an oval for the nose.
- Draw small ovals for the eyes.
- Add two long vertical "J" shapes from the inner eyes to under the nose for the sides of the muzzle. These should mirror one other.
- Draw a horizontal line under the nose for the mouth.
- Once these facial features are drawn, erase the parts of the ear circles that sit on the inner portion of the bear's face and the line that separates the mouth from the chin.
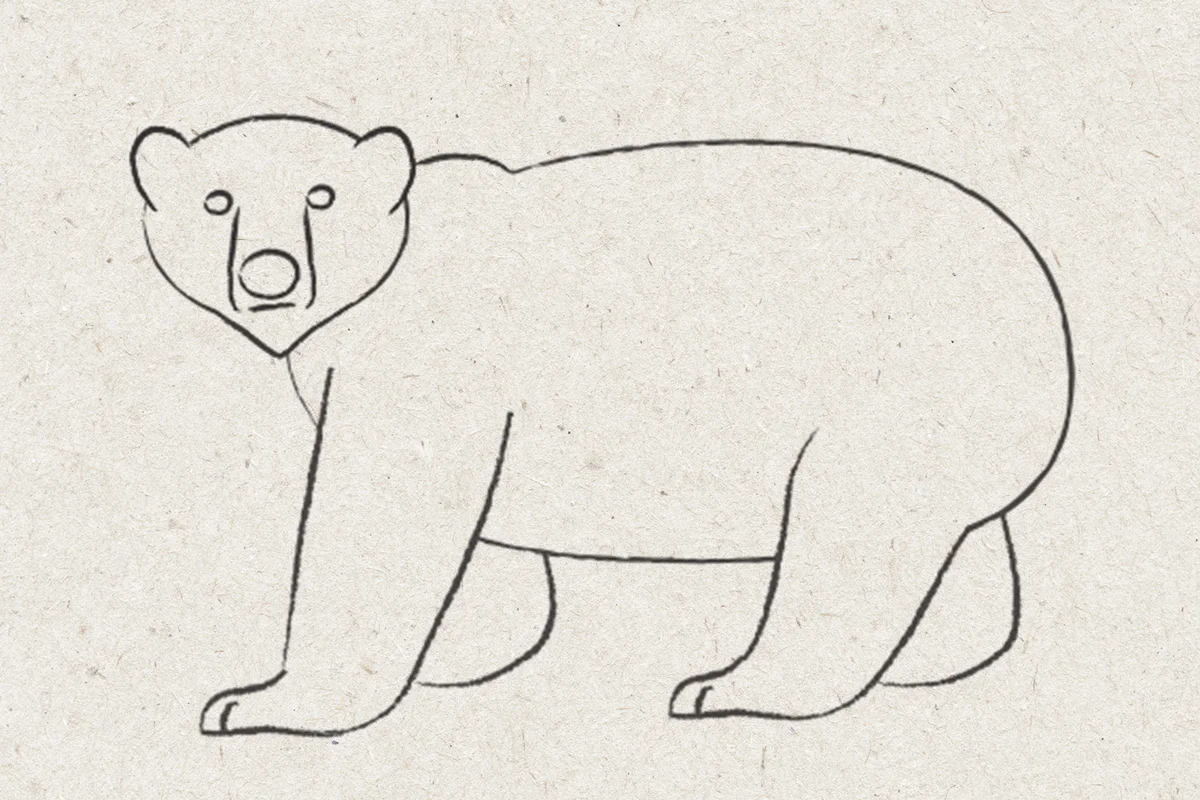
Add the Feet and Finish Legs
In this step, you will round out your bear's extremities, making it look more realistic.
- The bear's feet are big, blocky, and furry. The bear uses his feet like snow shoes so he does not sink into the snow. Soften the lines of the front legs and feet and give them more definition. Add curved lines to mark his "toes."
- Round the back legs slightly.
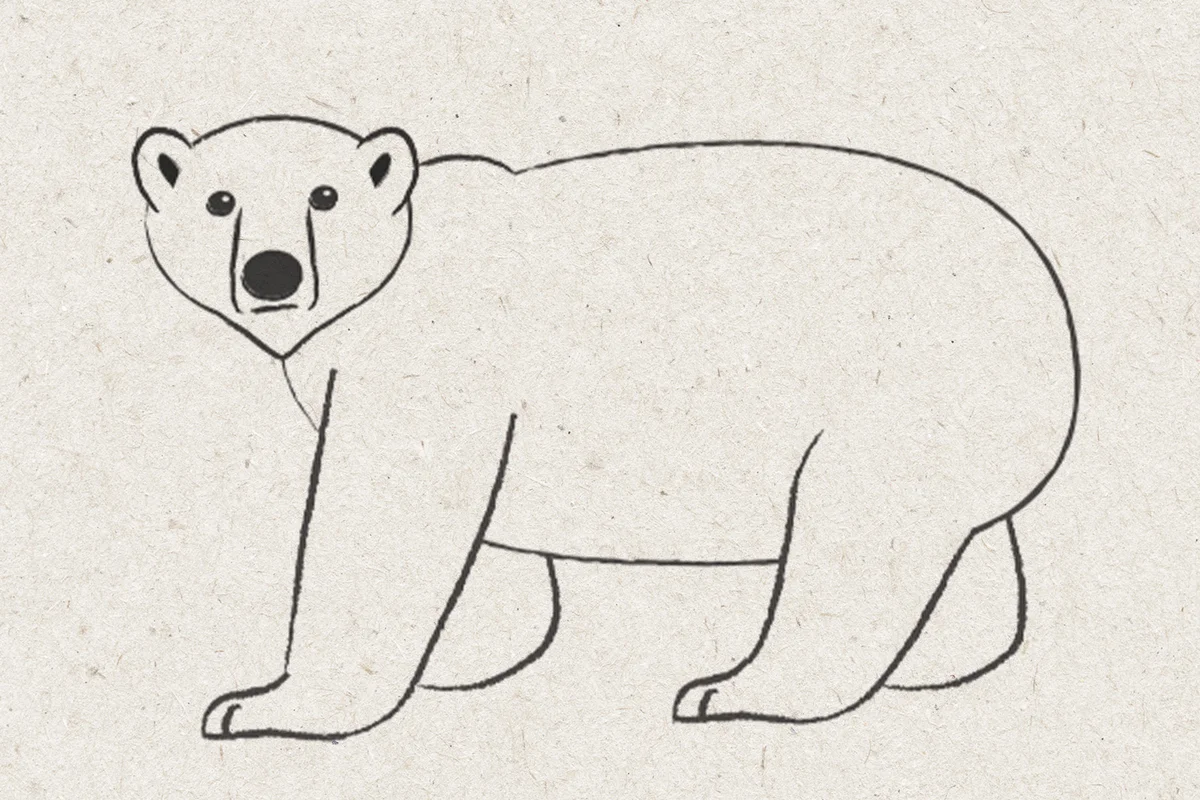
Complete the Facial Features
Make sure that you are happy with the placement of all of your bear's facial features. This is the step where you will shade them in.
- Darken the inside of the polar bear's ears.
- Shade in his eyes, leaving a bit of white in the dark pupils.
- Fill in the nose.
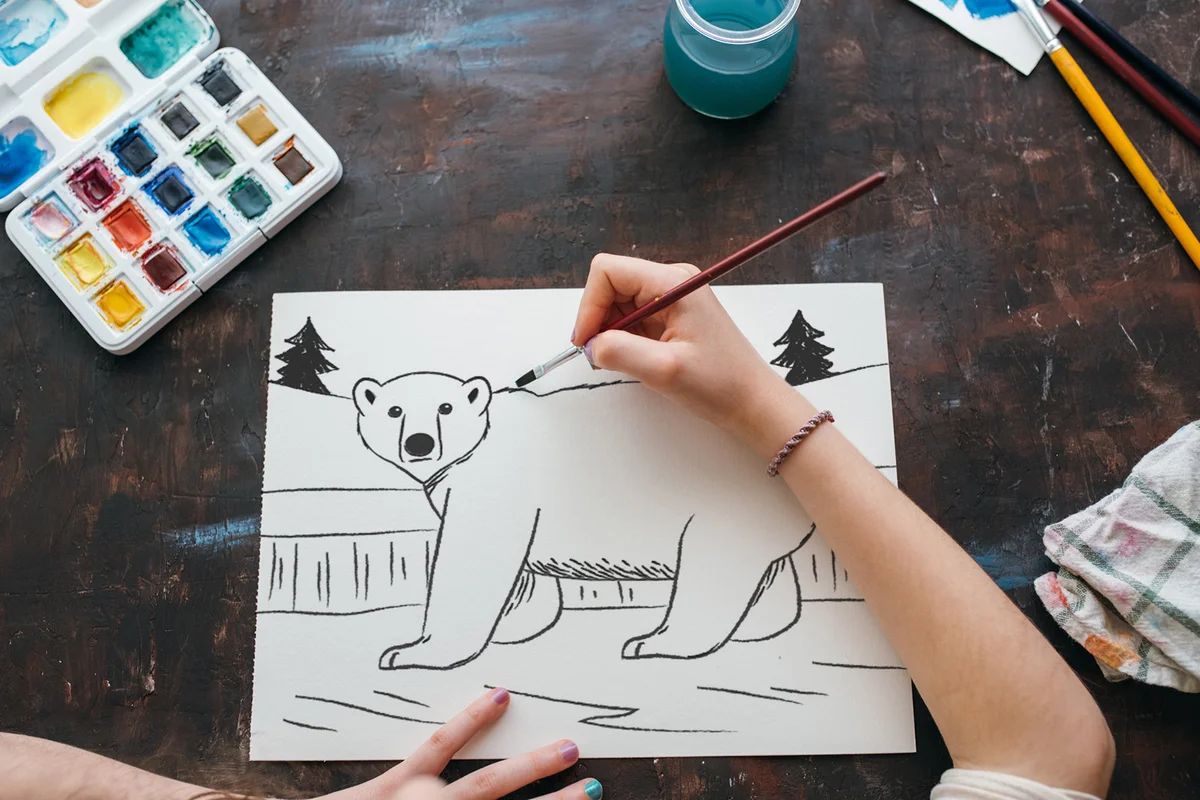
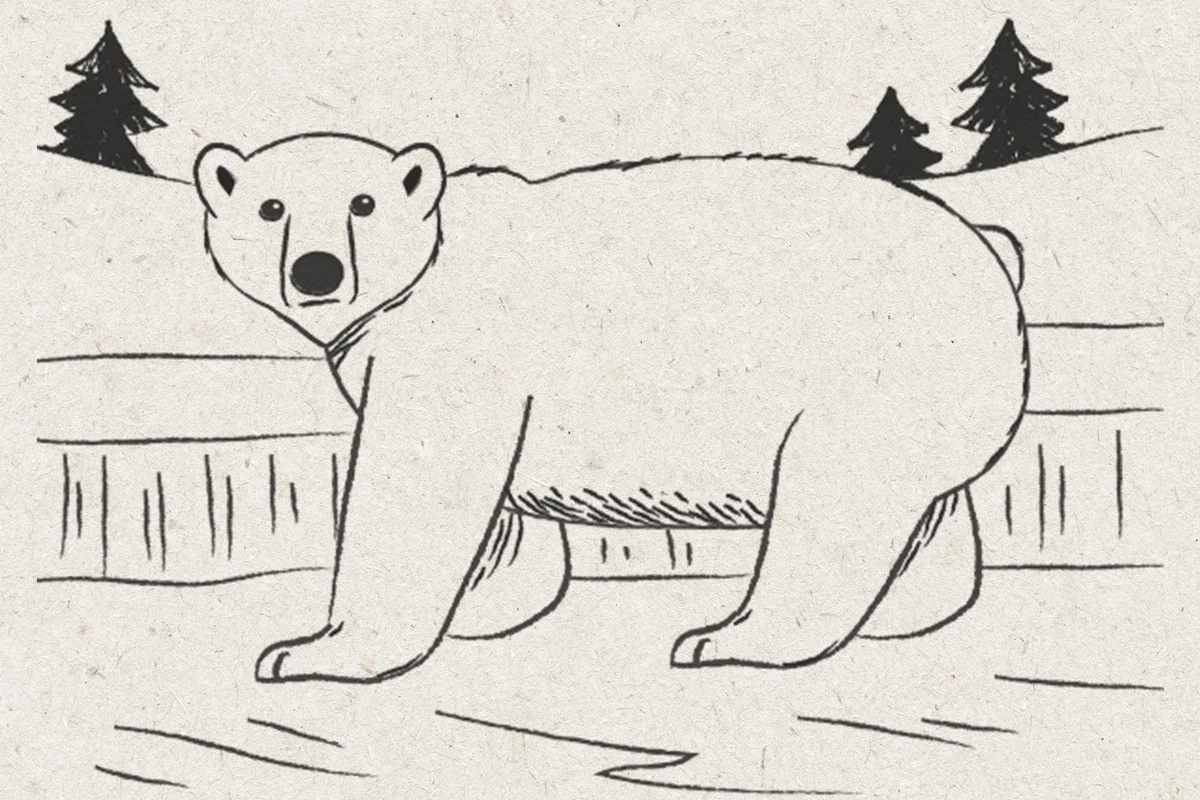
Finish the Polar Bear Drawing
This final step adds small details to the polar bear and provides a scenic background for the image.
- Darken the lines you want to keep and erase unnecessary sketch lines.
- You can shade the bear slightly to give it more dimension.
- Make your outlines slightly rough and fuzzy so your bear appears to have fur.
- Create a very slight "bump" on his rear end to indicate the presence of a tail. (A polar bear's tail is slight and held close to the body.)
- You can add snow drifts, water features, and evergreen trees to your drawing to give your bear a habitat.
READ MORE: Cool Polar Bear Facts
Embellishing Your Simple Polar Bear Drawing
To make your bear more interesting, you can use colored pencils, watercolors, or markers to add more shading or to add bright colors in the background.
Snow and ice tend to reflect pale blues and grays from the sky. Water can be rendered in blue, blue-green, and green shades.
Simple Sketching Tips to Elevate Your Art
For those who are wanting to enhance their sketching skills, we have a few tips that can help:
- Like with this simple polar bear drawing, use basic shapes to help you build your images. These can create a simple outline that can be erased later.
- When making your initial outline, hold your pencil closer to the eraser. This will cause your strokes to be lighter, making it easier to adjust your image as you add in more finite details and remove portions of your outline.
- Then, hold the pencil closer to the tip when you are ready to darken your final image.
- Consider starting with a mechanical pencil. This can give you better precision with your strokes, without an exceptionally dark mark.
- Lay an extra piece of paper overtop portions of the drawing that are already complete. This can prevent smudging, making it an exceptionally helpful tip for left-handed artists!
- Invest in the right tools. Not all pencils are created equal — the harder the lead, the lighter the image. Choosing the right hardness at the right time in the sketching process can make all the difference.
- Don't aim for perfection. Flaws are what make art so incredibly fantastic!

Make Winter More Bearable With Fun Polar Bear Sketches
Drawing, sketching, and other types of art are great indoor activities during the colder months. Once you've perfected your polar bear, you can try your hand at other simple drawings, like people or other favorite animals. And if you want more ideas to sketch, make sure to check out our extensive list of drawing prompts!