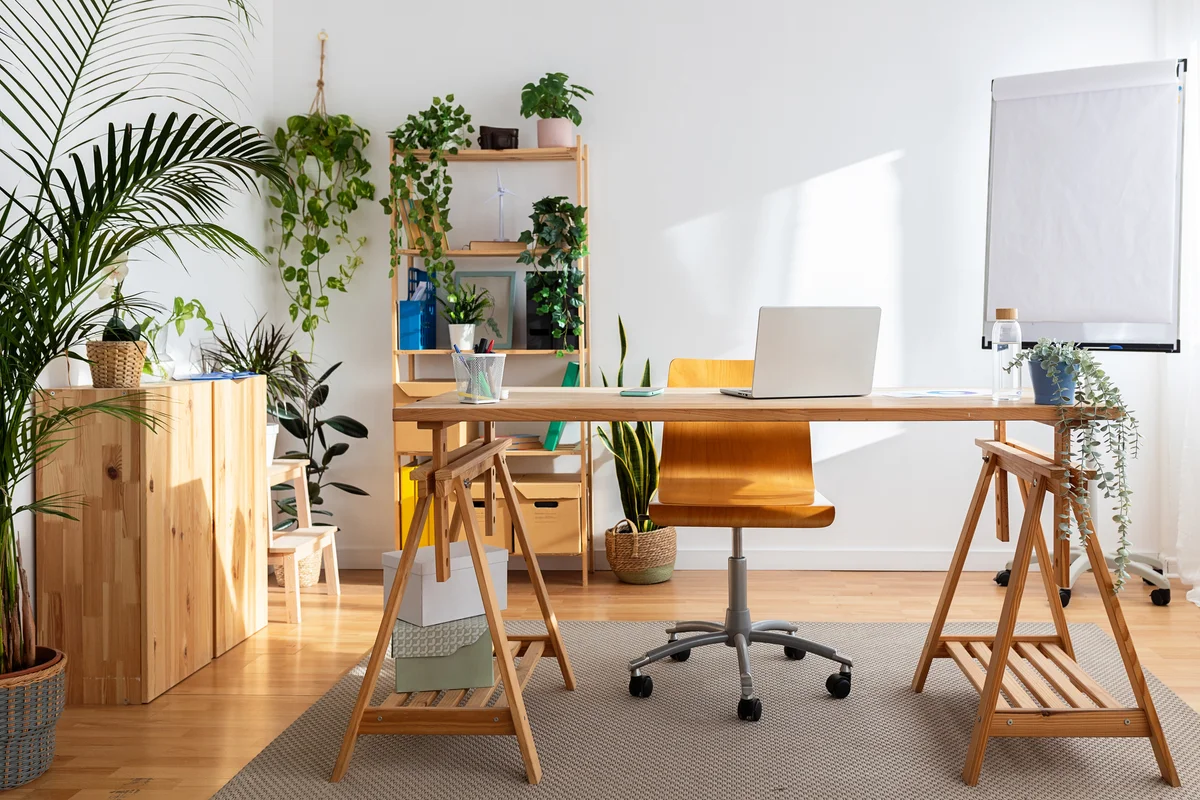
You’d be hard-pressed not to fall in love at least once while scrolling through your socials. No, we don’t mean with a new partner, we mean with a new DIY project. From curtains to rugs to remodeled bathrooms, internet DIYers can fill you with the unbridled confidence you need to tackle interior design.
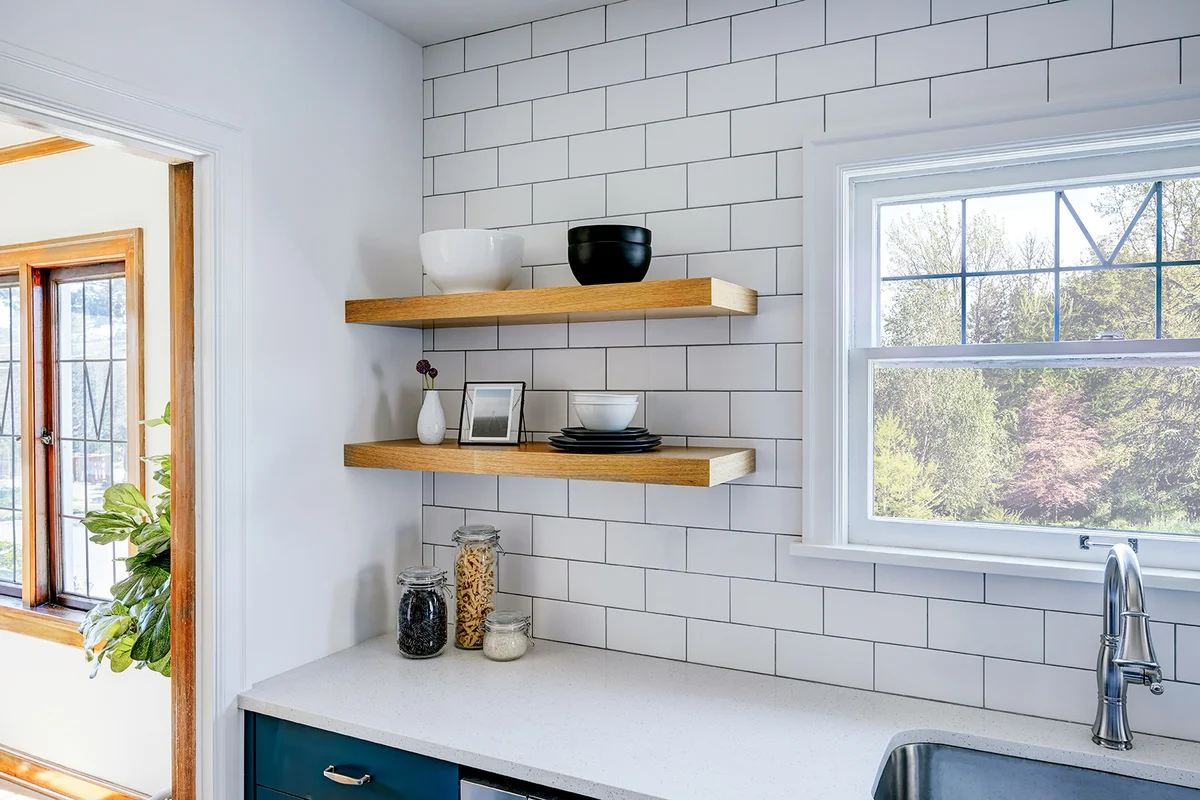
If you’re new to the game and want to build up to that measuring-by-eyeball level of expertise, start with these simple DIY floating shelves.
Step-by-Step DIY Floating Shelf Instructions
These apartment-friendly floating shelves are perfect for adding a sophisticated flair and freeing up space. And you don’t need to be a master builder to put these together.
Materials
- Stud finder
- 18” (or longer) piece of hardwood
- 2 L brackets
- Pencil
- Level
- Screws
- Power drill
Instructions
- Before fussing with your shelf, use a stud finder to locate the studs in your wall and mark them. Attaching the shelf to the wall on a stud is the safest way to go.
- Line up the L brackets to the piece of hardwood and mark where the screws need to go.
- Screw the L brackets into the hardwood.
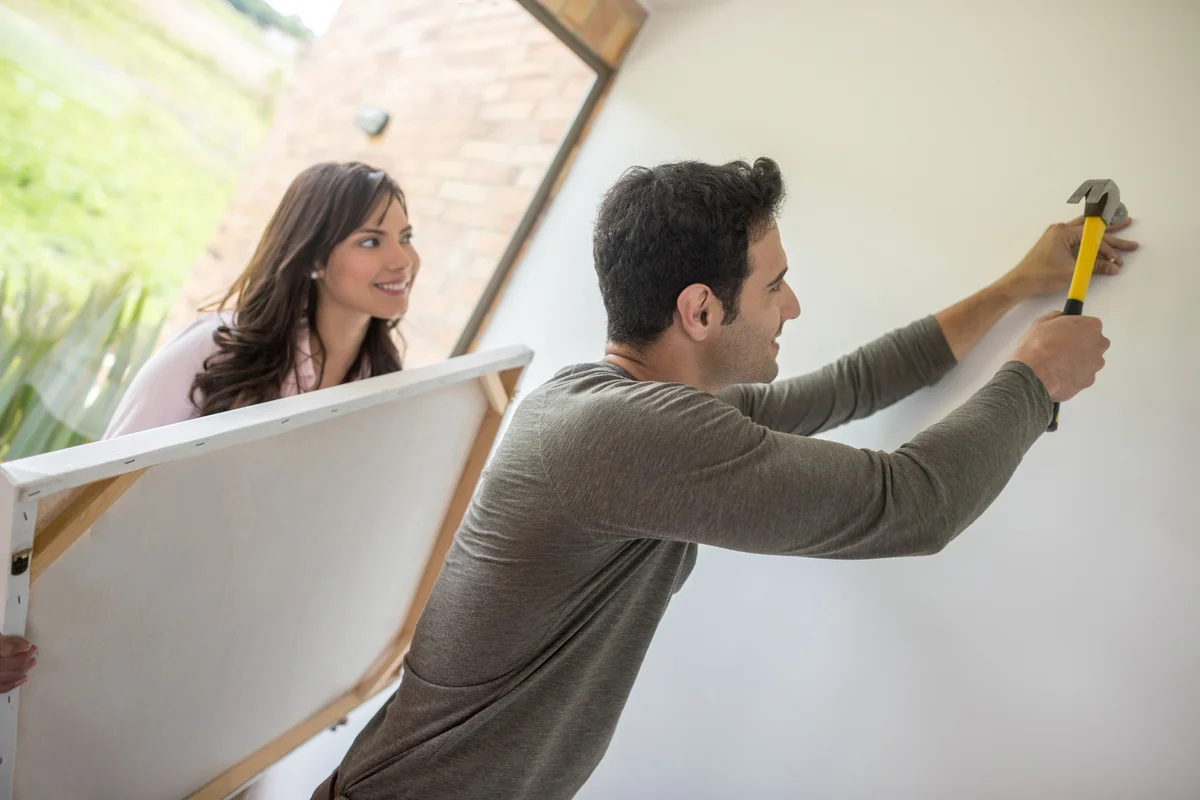
- Take your hardwood and mark where you want it to go on the wall. Use a level to check that it’s straight before you commit to screwing it in.
- Screw the L bracket onto the wall. Lightly push on your shelf to make sure it’s secure.
Helpful Hack
If you plan on using floating shelves to store your houseplants, you’ll want to coat them with a sealant before screwing the L brackets on. This will help keep your shelves from warping and rotting over time.
5 Tips for Floating Through This DIY Shelf Project
If you’re like us, then you do your best when everything that could possibly go wrong is laid out for you beforehand. Rest assured that you can float your way through these shelves, and we’re here to help you do it.
1. You May Need to Use Drywall Anchors
If you’ve got your heart set on a specific spot on your wall to put up your floating shelves and there aren’t any studs near it, don’t let it stop you. All you need is a few drywall anchors. Mark the walls as you normally would to match up with the L brackets but drill the drywall anchor in first. Then you can drill the screws into the anchors to secure it in place.
2. You Can Use Painter’s Tape to Mockup the Shelves
If you’re afraid of commitment, painter’s tape is your new best friend. Tear off a piece of painter’s tape the length of your shelf and stick it to the wall wherever strikes your fancy. Move it around until you find the perfect spot.
3. Laser Alignment Tools Can Give You an Extra-Precise Placement
Laser alignment tools are just fancy cross-line projectors that you can adjust to get the most precise measurement on the wall. This will help you align your shelf without worrying about it being crooked.
4. Save Money by Cutting Your Own Shelves
If you want to put up several floating shelves — or multiple different-sized ones — one way to save money is by cutting them yourself. Head to your local hardware store and pick out a much longer piece of wood than you need.
Measure and mark the shelves, and, using a bandsaw, slice them up. Make sure you sand the rough ends before attaching them to the wall.
5. Be Mindful of the Weight
Not every shelf can hold the same amount of weight, so be conscious of what you want to set on the shelves and how heavy it’s going to be. The heavier it is, the sturdier the frame needs to be. For example, you can swap out cheap L brackets for steel ones if you're planning on making floating bookshelves.
Transform Your Space in Minutes
Nothing brings us more joy than finishing a home project in under 30 minutes. If you’re someone who’s always starting projects, but never finishing them, this lightning-fast DIY floating shelf is perfect for you.