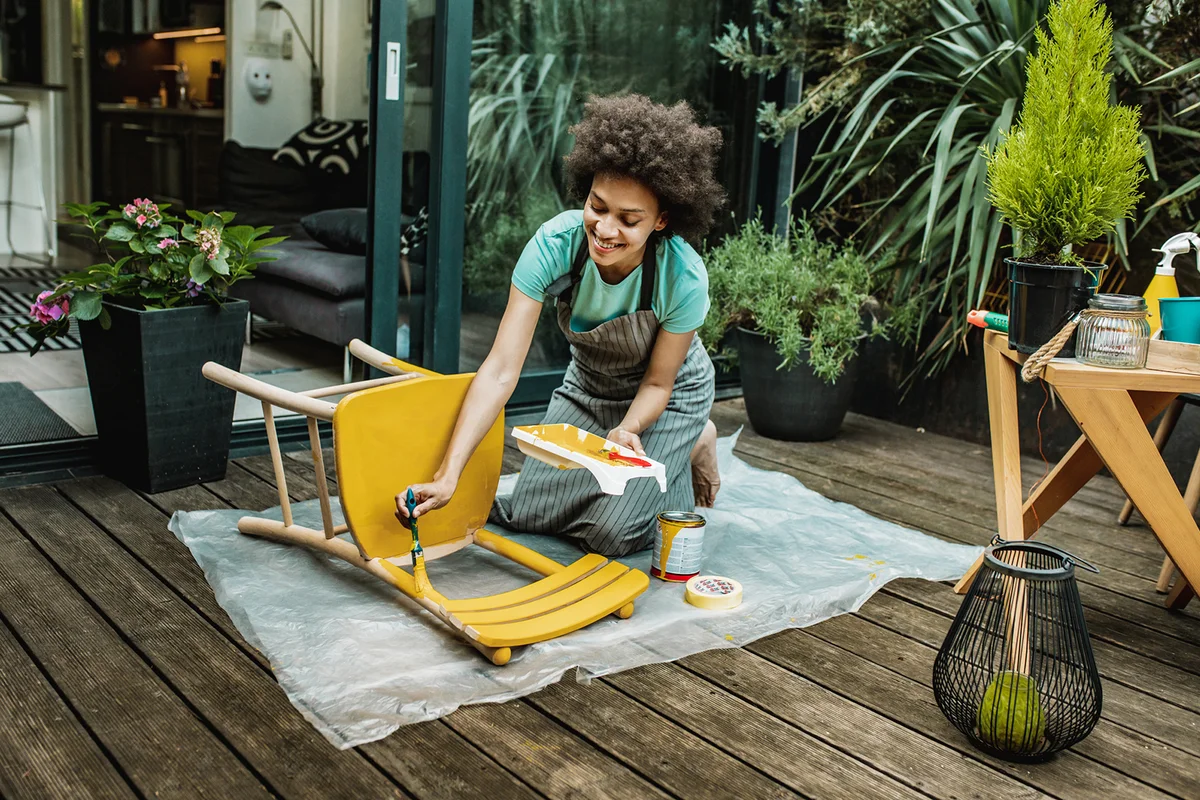
Everyone needs a little refresh once in a while, and the next time you get the urge to cut yourself some bangs, take that energy and put it towards a DIY project instead. Bring something exciting into your everyday life by painting your old furniture. Painting vintage furniture is one of the easiest home improvement projects you could undertake, and it's somewhere you can let your artistic side shine.
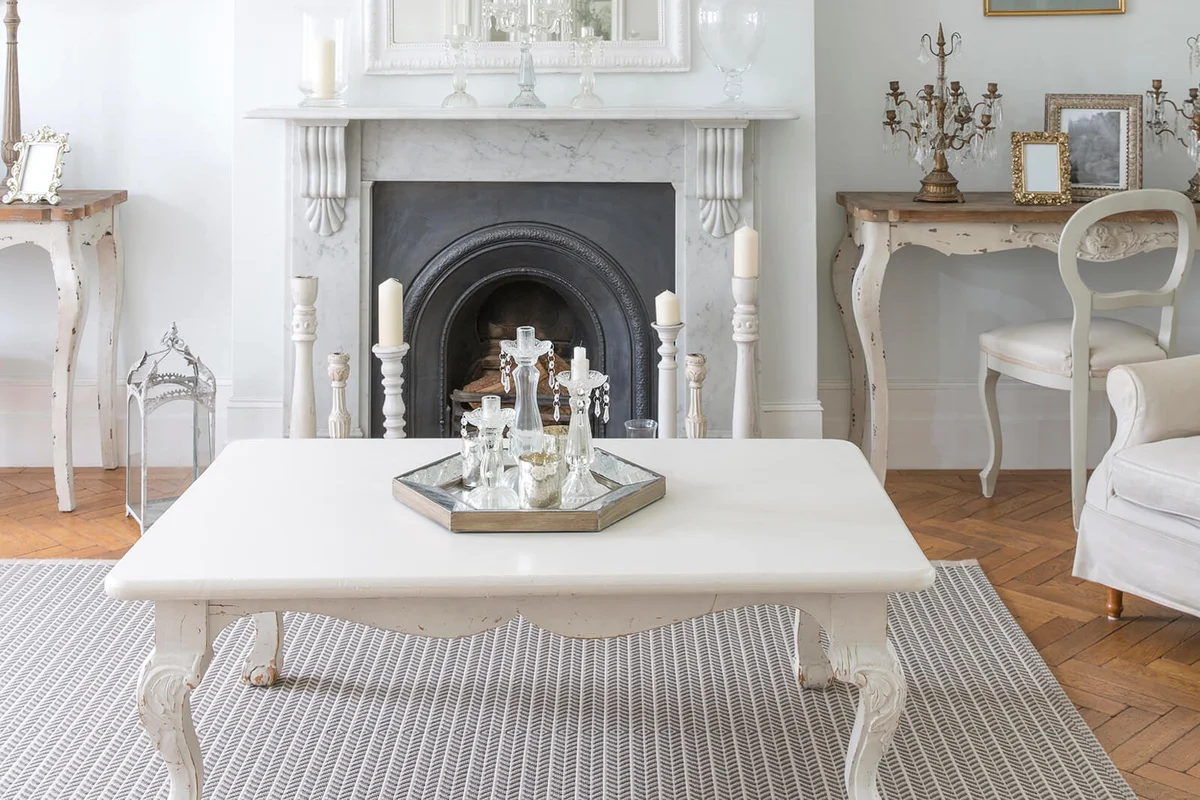
Paint It White for a Farmhouse Chic Look
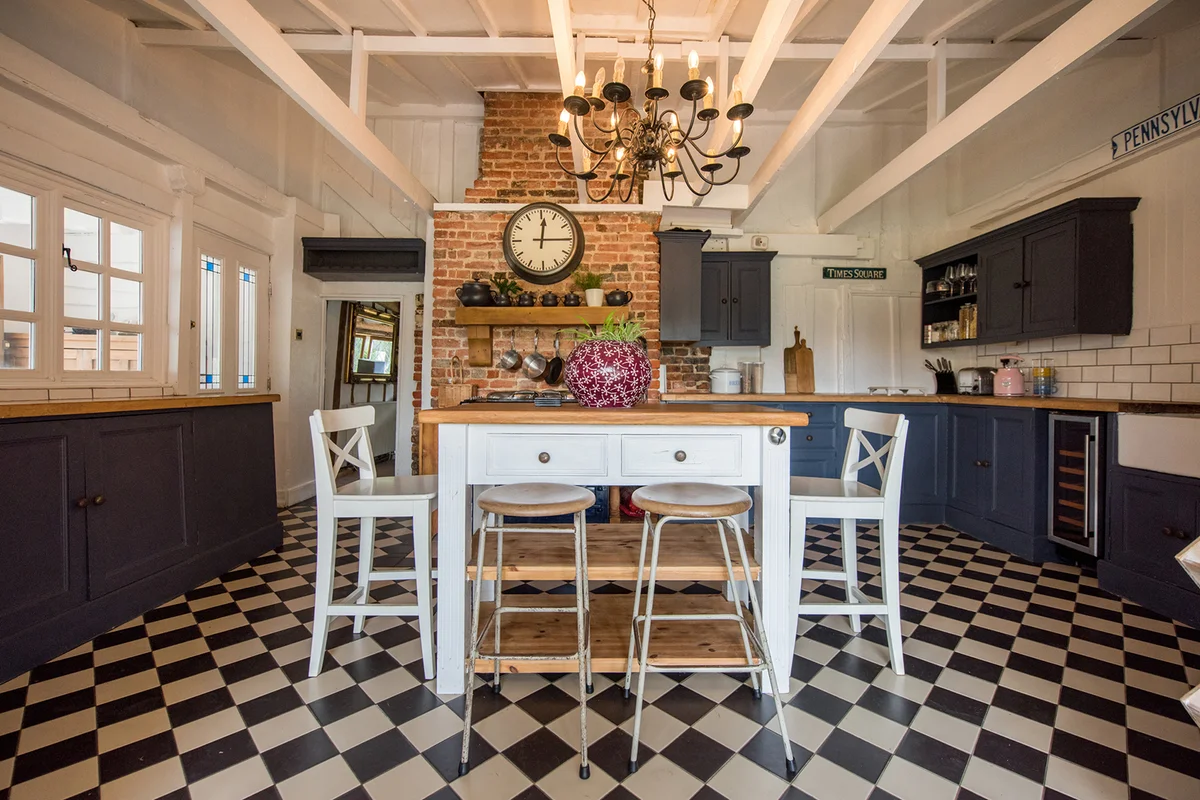
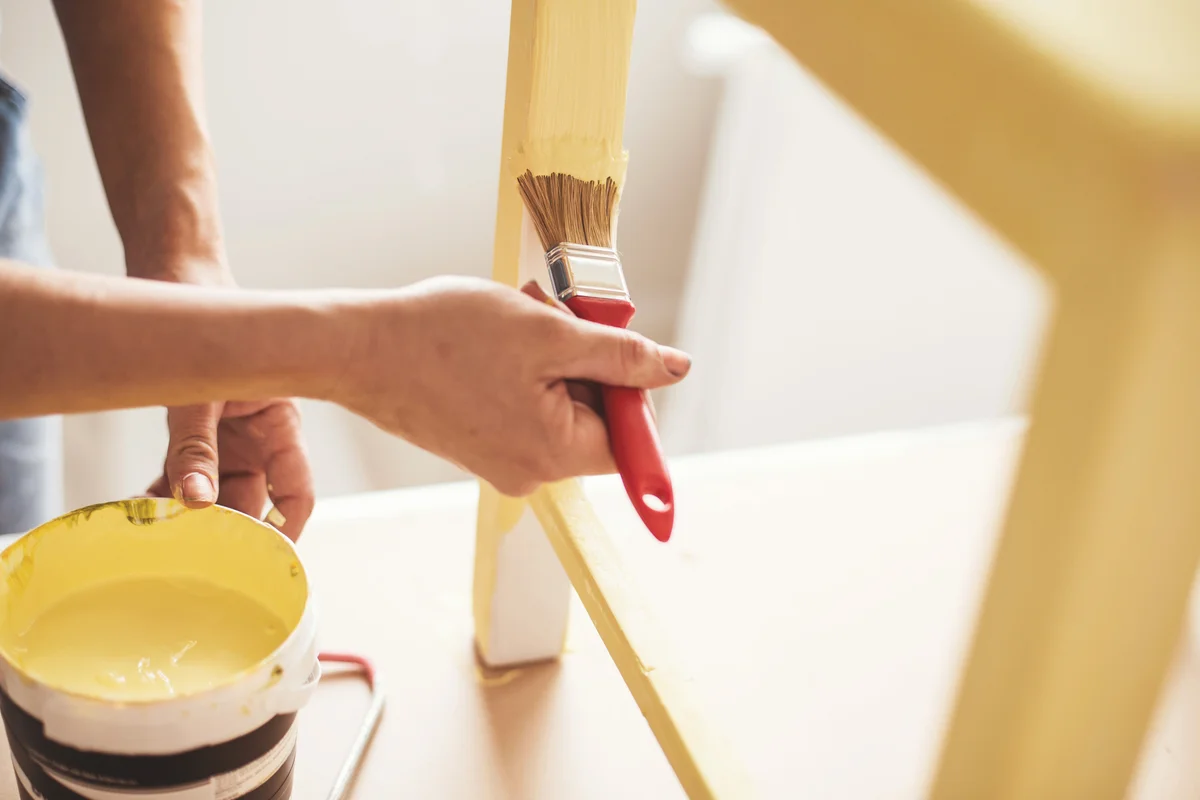
What do shiplap and Joanna Gaines have in common? They both love white paint. It's classic, is perfect for any impromptu realty showings, and covers just about any other color. If you want to brighten up wooden or metal furniture and make your small kitchen feel bigger, repaint your table and chairs white.
This is one of the easiest things for people with very little DIY experience to do. All it takes is an angle brush and a small roller from your hardware store plus a can of your favorite white paint. Then, it's just a few liberal coats and waiting for it to dry. You can even leave the tabletop in its original color and only paint the legs if you want.
Quick Tip
Sometimes, you don't have the space to pull your furniture outside or into a covered garage to work your painting magic. This is where a good drop cloth or hefty comforter comes in handy. Remember, you're trying to paint your furniture, not your floors.
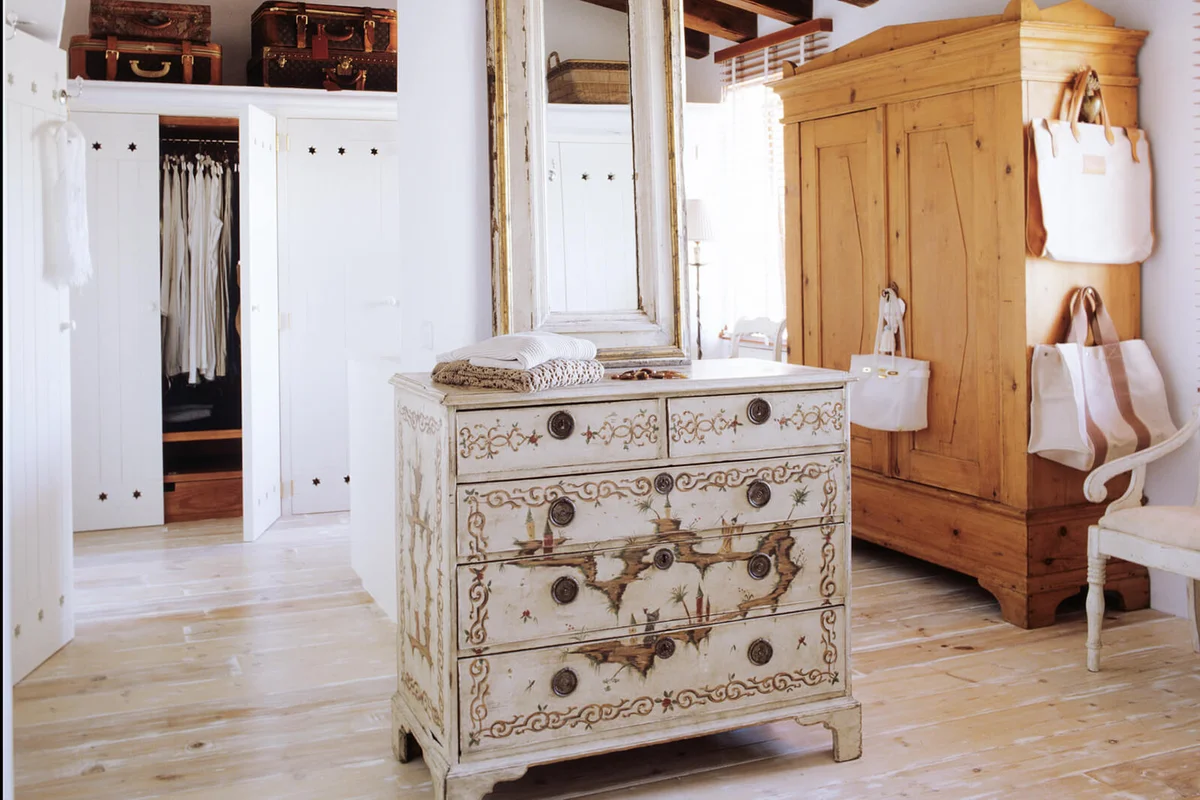
Hand-Paint Flowers for a Folksy Feeling
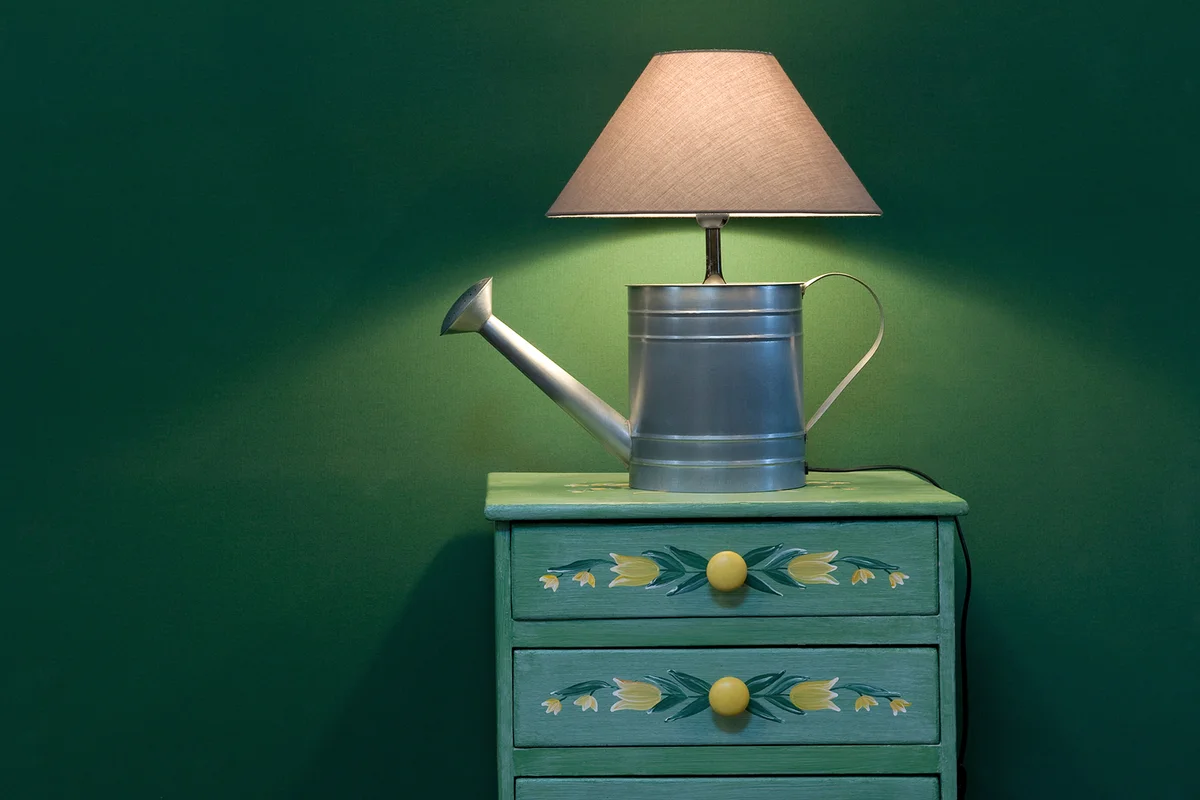
To rejuvenate your old furniture, you don't always have to repaint the entire thing. Sometimes, just painting a few parts of it will turn it into something brand new. Hand-painting might sound scary, but we've got the fastest way for even the least artistic person around to paint the perfect design every time.
- If you've got time to spare, look and see if there are any stencils of a pattern you like online that you can buy.
- If you can't find any stencils online, you can make your own. Professional stencils are made out of rubber or plastic, but a sturdy piece of cardstock or poster board will work just fine.
- Either free hand or copy any image you love onto the poster board, and cut out the image, leaving a stencil behind.
- After cleaning your furniture, place the stencil where you want to paint it with painter's tape. Then, taking furniture-safe latex or oil paint, fill in the stencil.
- Once you've finished, you can peel off the stencil, touch up any areas, and leave it to dry.
Quick Tip
Make sure you remove your stencil before the paint has dried. This gives you the chance to wipe off any that got out of the lines before your easy mistake becomes a bit more permanent.
Go Wild With Color
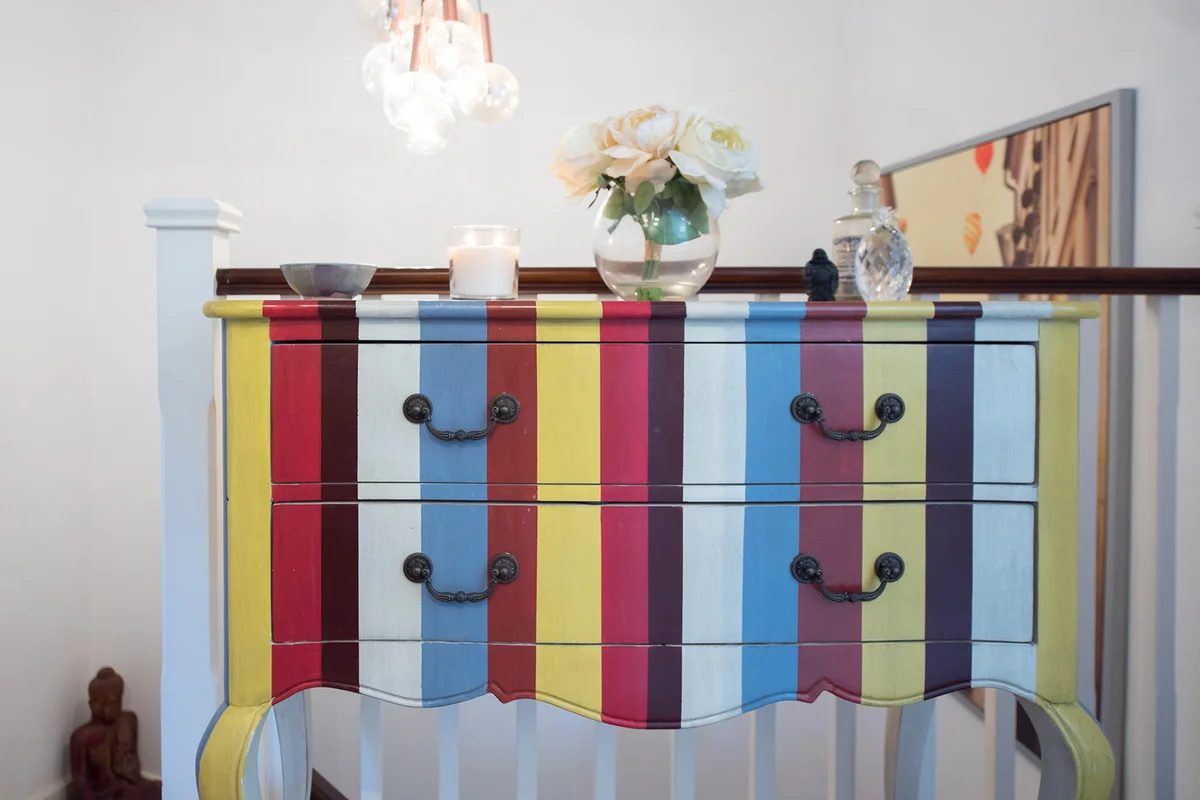
Typically, people want to switch up their furniture because it feels bland and boring. One way to spice up your interior is going really wild with color. We're talking, rainbow fish kind of color. Just like this fabulous chest of drawers, you can hand-pick a collection of colors you enjoy and paint stripes of each one all the way down your furniture. Now, the only downside to this project is that you'll have to wait for paint to dry…a whole lot of paint.
Replicating this vibrant chest 'o drawers only requires a few steps:
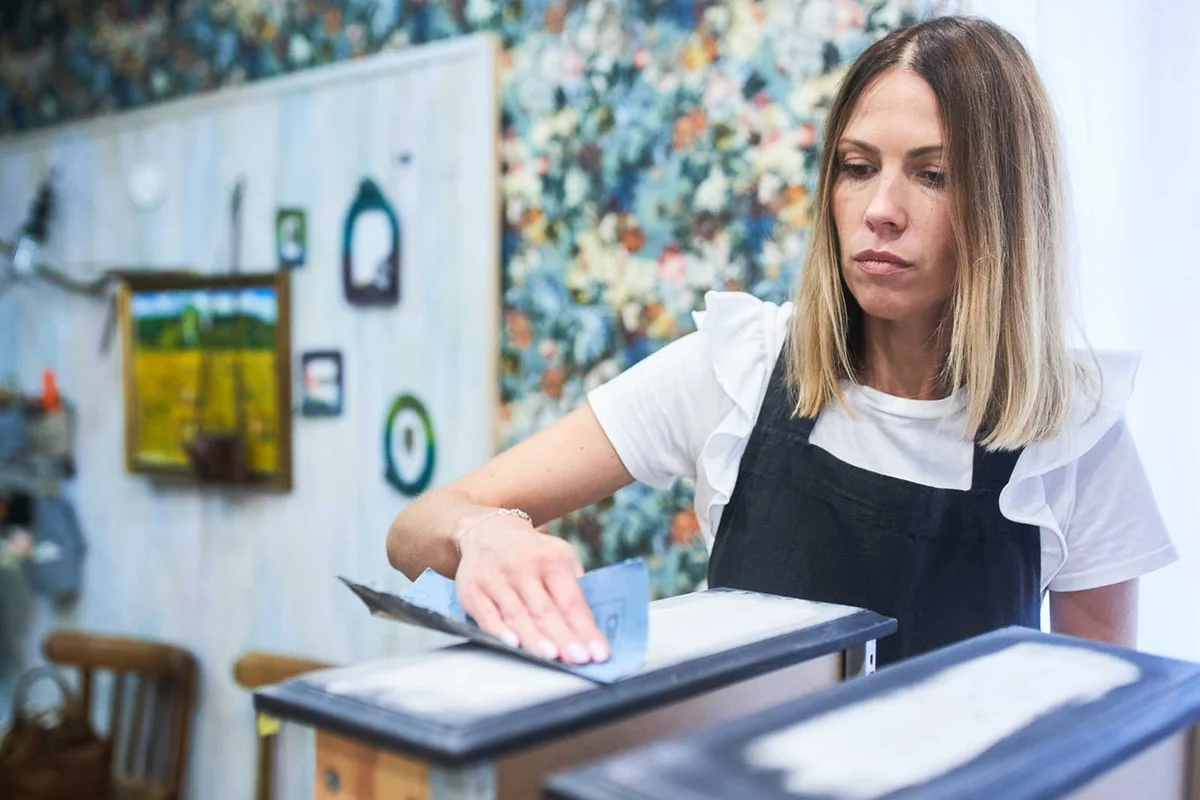
- Clean your furniture, and sand down any old paint that was there before.
- Move it onto a drop cloth and into a ventilated space.
- Remove any accessories like handles or knobs.
- Using a ruler or a projector (if you have one), measure out the width you want the lines to be. Then tape down a few sections using painter's tape. The best way to start is leaving the space for the stripes of one color all the way around.
- Get an angled paint brush and pick up a few sample sizes of the colors you like most. We like using sample sizes because they're cheap, and you're not trying to cover the whole thing with one color.
- Set up your brush and paint with a cloth nearby, and paint an entire color's worth of stripes. Let dry.
- Re-apply painter's tape for new stripes and paint the new lines.
- This will take a few days to complete as you wait for each new paint color to dry before adding new painter's tape.
Quick Tip
Professionals everywhere will recommend using a spray tool for a faster application. But, they're somewhat expensive and not always precise enough to get into the small nooks and crannies. In most cases with furniture, using a good old paint brush and small roller is actually the best choice.
Painting Tips to End Up With Instagram Worthy Pieces
The last thing you want to do after going through all the trouble of picking out paint, disassembling furniture, and slathering it with the stuff is to mess it up because you thought it was dry since it looked dry. This is just one of the many mistakes that are too easy to make when painting old furniture. So, it's vital that you do your reading before jumping headfirst into this DIY project.
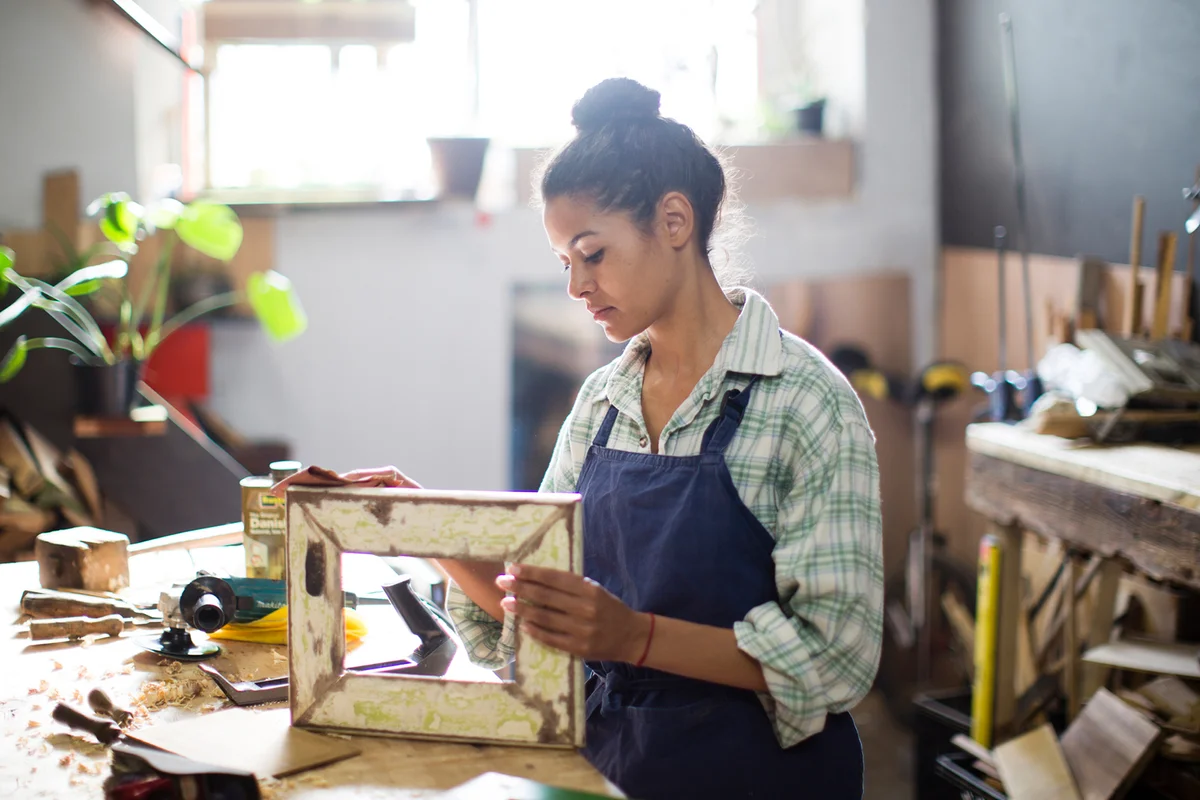
Always Clean Your Furniture First
When you've got that excited DIY fever going on, it's hard to stop yourself from jumping right into the fun part. Unfortunately, you've got to do some less fun things before getting to watch your furniture transform before your eyes. You absolutely have to clean any furniture you're looking at painting. The last thing you want is to paint over the grime and dust. Take a microfiber cloth and the appropriate cleaner for the material it's made out of, and give it a little TLC.
Film Yourself Taking Your Furniture Apart
If it's something that has a lot of screws and pieces, or if you've never taken it apart before, then the quickest way to make sure reassembly goes right is to take a video of yourself while you break it down. That way, when you're faced with a few baggies-worth of nuts and bolts, you'll know where they go.
Leave Furniture Alone for Several Weeks
If you've ever painted your walls multiple coats, then you know that even though it's been the allotted number of hours for something to dry, it isn't always done on time. For days afterwards, you can still have that faint wet feeling on your fingers when you run them over the walls. The same thing happens to furniture sometimes. It's best to leave your pieces alone for a couple of weeks once you've finished painting them. Try not to move them around too much or store anything in them until you've fully let the paint cure.
Seal Your Paint Before Throwing in the Towel
Furniture, by nature, needs to be durable and handle a lot of wear and tear. If you don't use a paint sealer after you've finished painting, you might find that your paint job will start to chip and fade much faster than you expected. Think about paint sealers like top coats on nail polish; you don't have to use them, but they make everything look better and last longer.
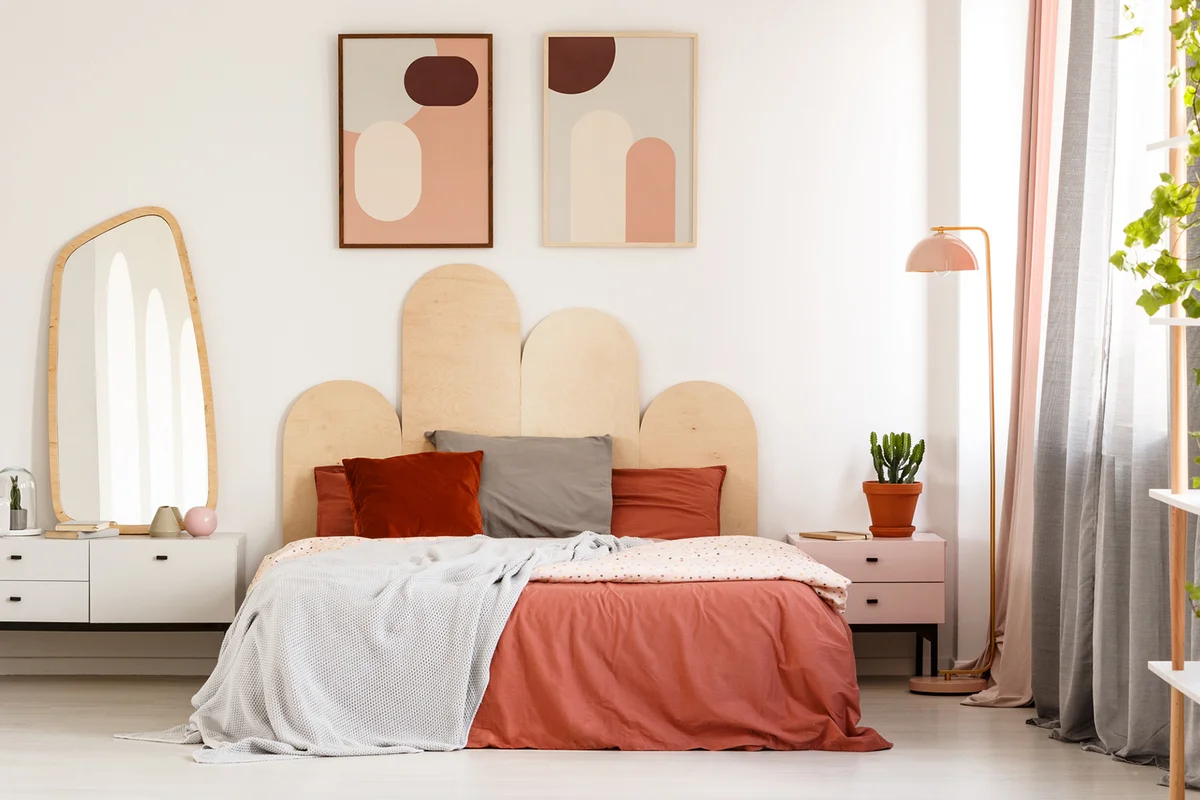
Transform Your old Furniture Into Something New
Give your old furniture its own fairy godmother treatment with a fresh coat of paint and a little whimsy. Transforming your old furniture into something new is a great way to bring a little joy into your home.